InkRoom · Visual & Batch Design Studio
AI comic storyboards with character references
Build comic storyboards from character references and a shot order. Approve key frames, expand shot sizes, then check clothing, gaze and prop continuity against the same character sheet.

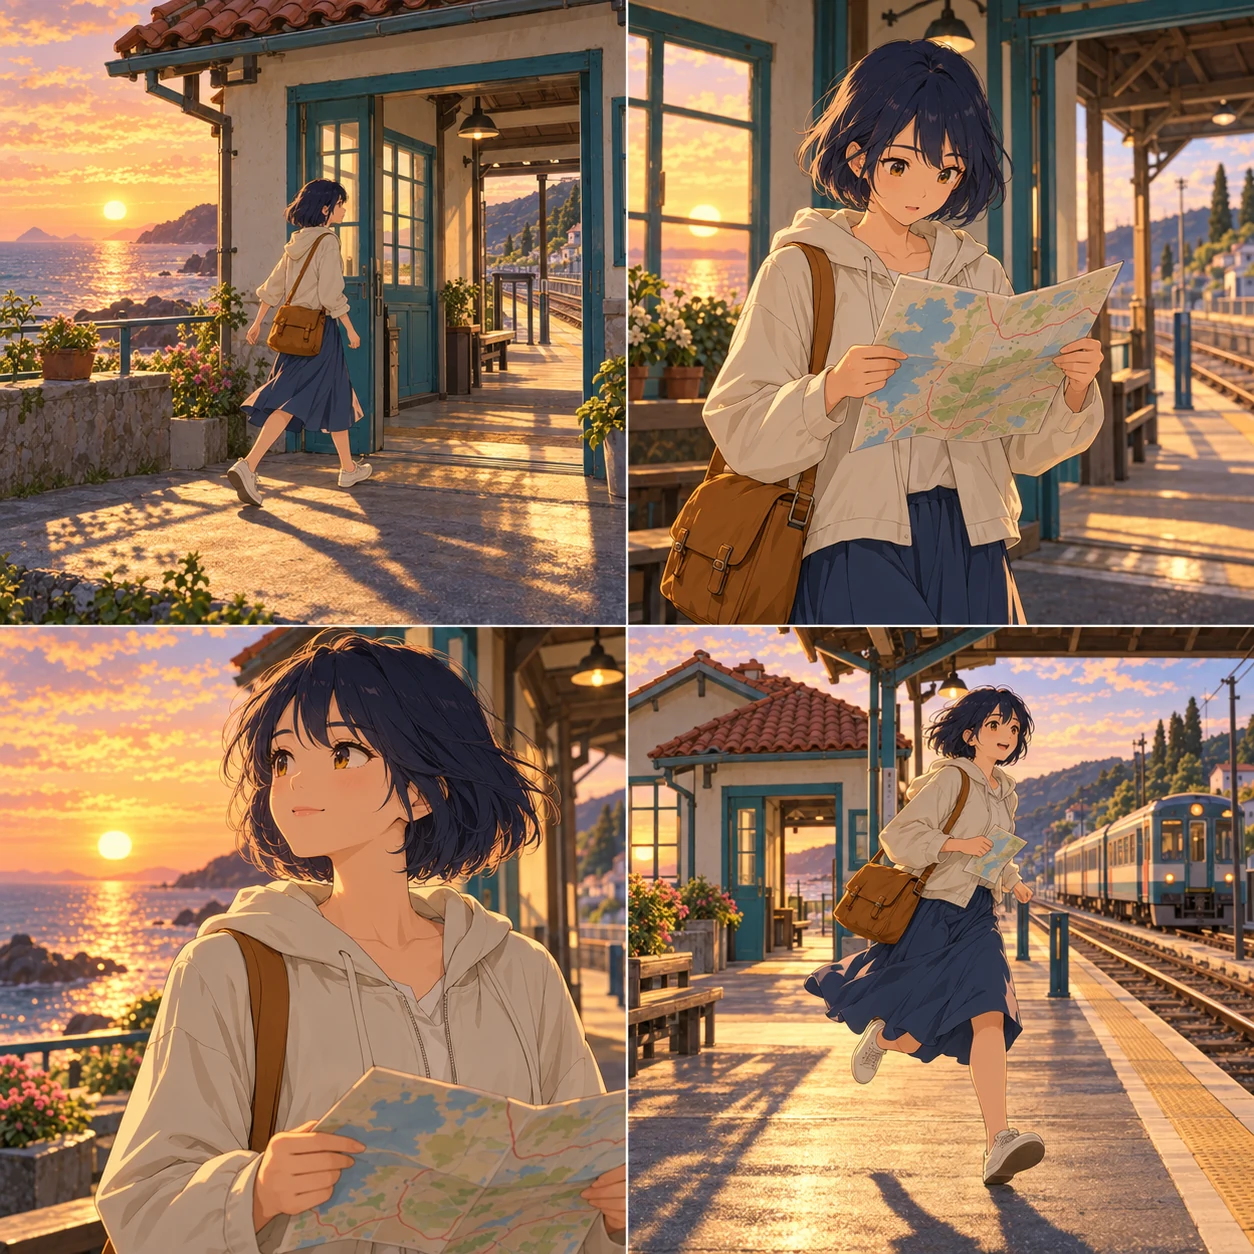
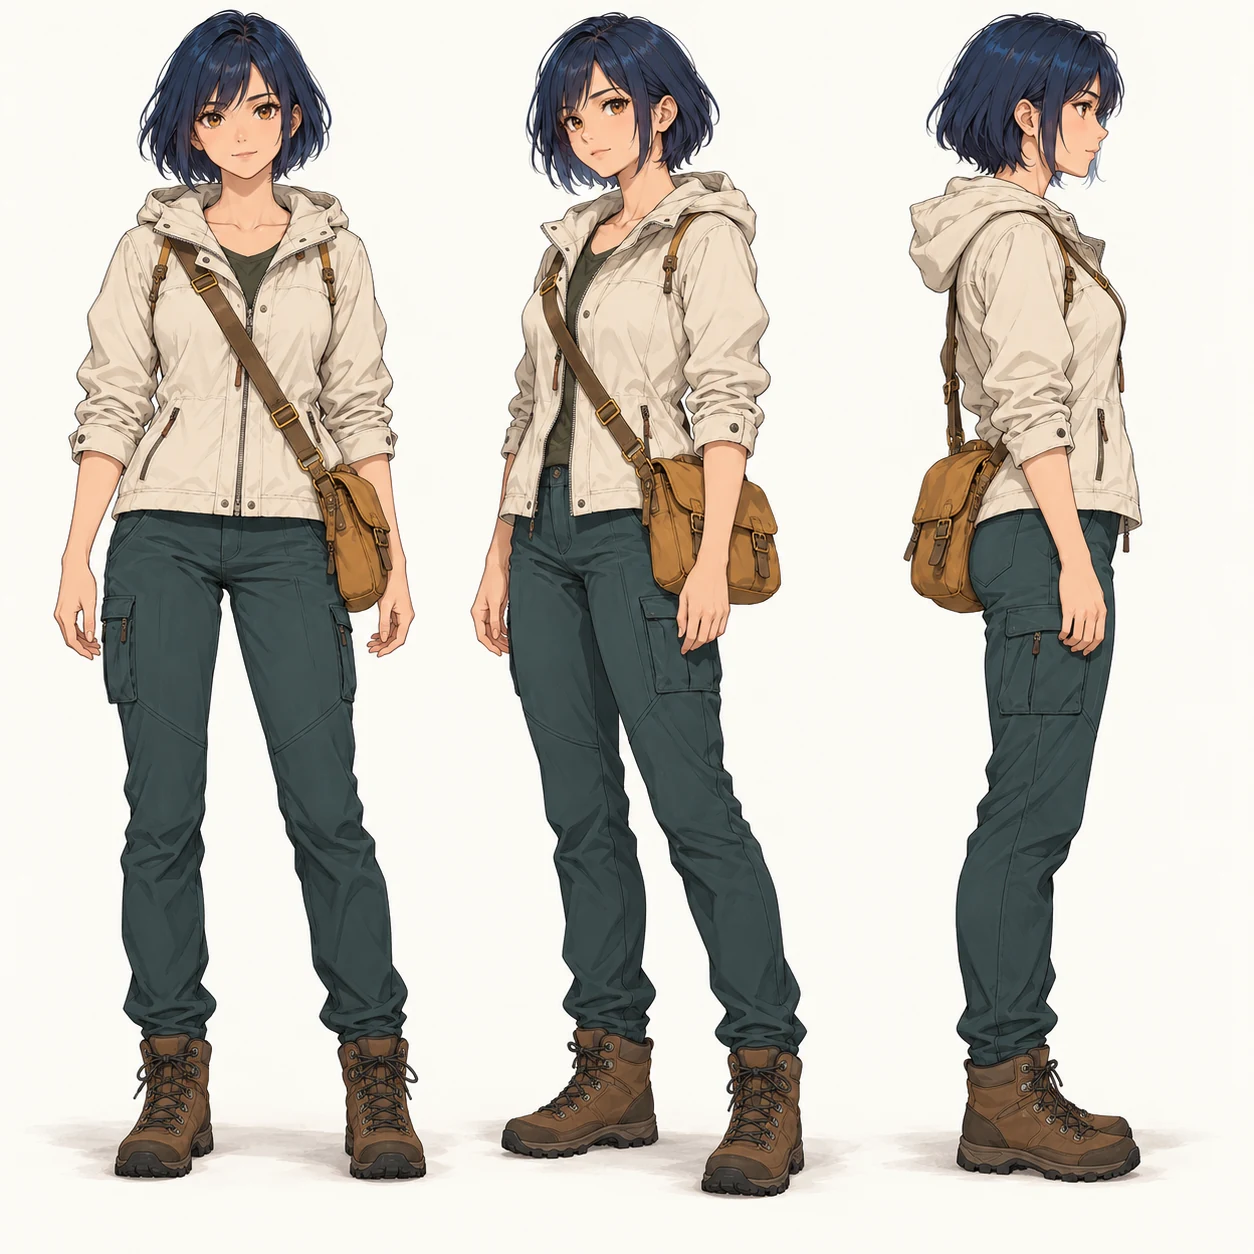
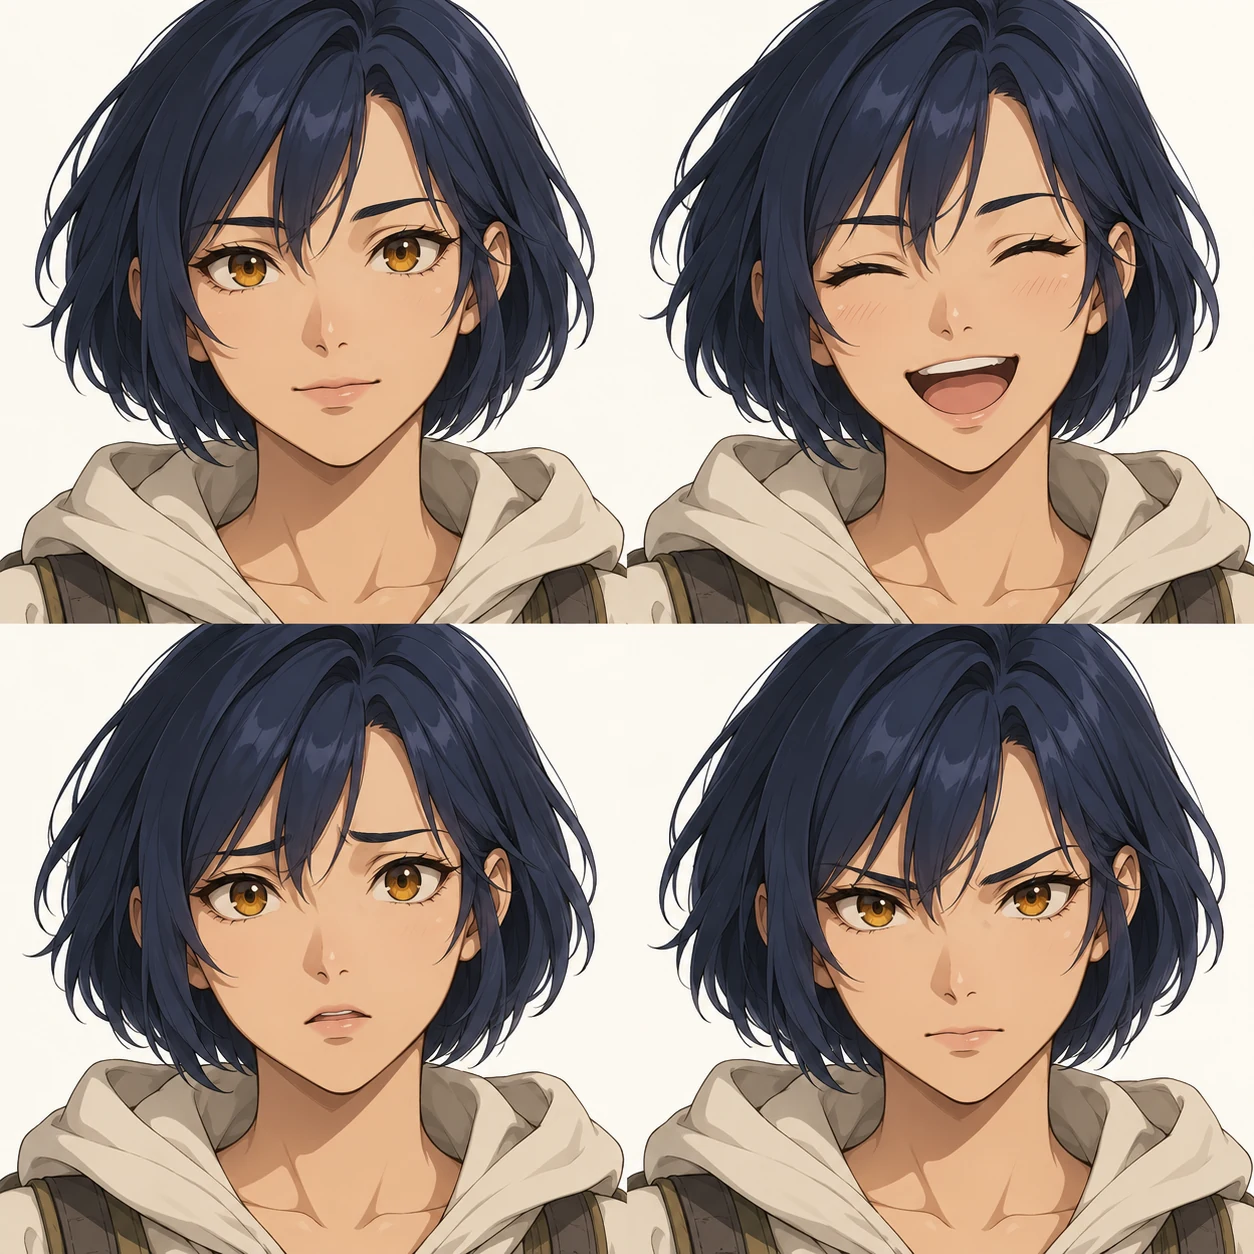
AI-created examples illustrating composition and review points.
How do I turn a scene into producible panels?
| Shot | Story purpose | Reference focus |
|---|---|---|
| Wide | Establish place and character positions | Setting layout and full-body design |
| Medium | Show action and relationships | Clothing, direction and props |
| Close-up | Convey emotion and key details | Face shape, eyes and expression |
Start with these three scene recipes
Opening a template only prefills the prompt. Add the required references, review estimated credits and confirm before generating.
Establishing panel
Reference requirements: Full-body character sheet and street reference.
Use the same character from the reference sheet in a wide anime storyboard panel on a rainy-night street. Place the character on the right with streetlights receding on the left. Preserve hairstyle and coat colors, include clear depth, and add no dialogue text.Turning medium shot
Reference requirements: Previous panel and character sheet.
Keep the reference character and rainy street. In a medium shot, the character turns left toward a sound while holding a bag strap with the right hand. Preserve clothing and bag structure, keeping the camera on the same side of the action axis.Emotional close-up
Reference requirements: Character facial close-up or sheet.
Use the same facial reference for a subtly surprised anime close-up. Keep eye color, fringe and earrings consistent, with restrained eyebrow movement and the streetlight palette in the background. No speech bubbles or text.Pre-publication checklist
- Panel order communicates the scene
- Directions and action axis remain coherent
- No unexpected costume or prop changes
- Dialogue is typeset and checked for reading order
FAQ
Should I generate wide shots or close-ups first?
Start with a key wide shot that establishes the setting and positions, then create action mediums and emotional close-ups using the approved space, lighting and character.
Should dialogue be generated inside panels?
Generate panels without bubbles or dialogue, leaving space for them. Add exact wording in layout software with consistent type size and reading order.
How can I reduce axis jumps?
Fix character positions, gaze direction and camera side in the brief. Reference neighboring key panels and check action continuity before layout.
Sources
Last reviewed: