Wine bottle photography: readable labels, clear shoulders, honest fill levels
Make wine product photographs that identify what is actually for sale. Separate catalog images from lifestyle scenes, work around label reflections, and check product details after editing.
·
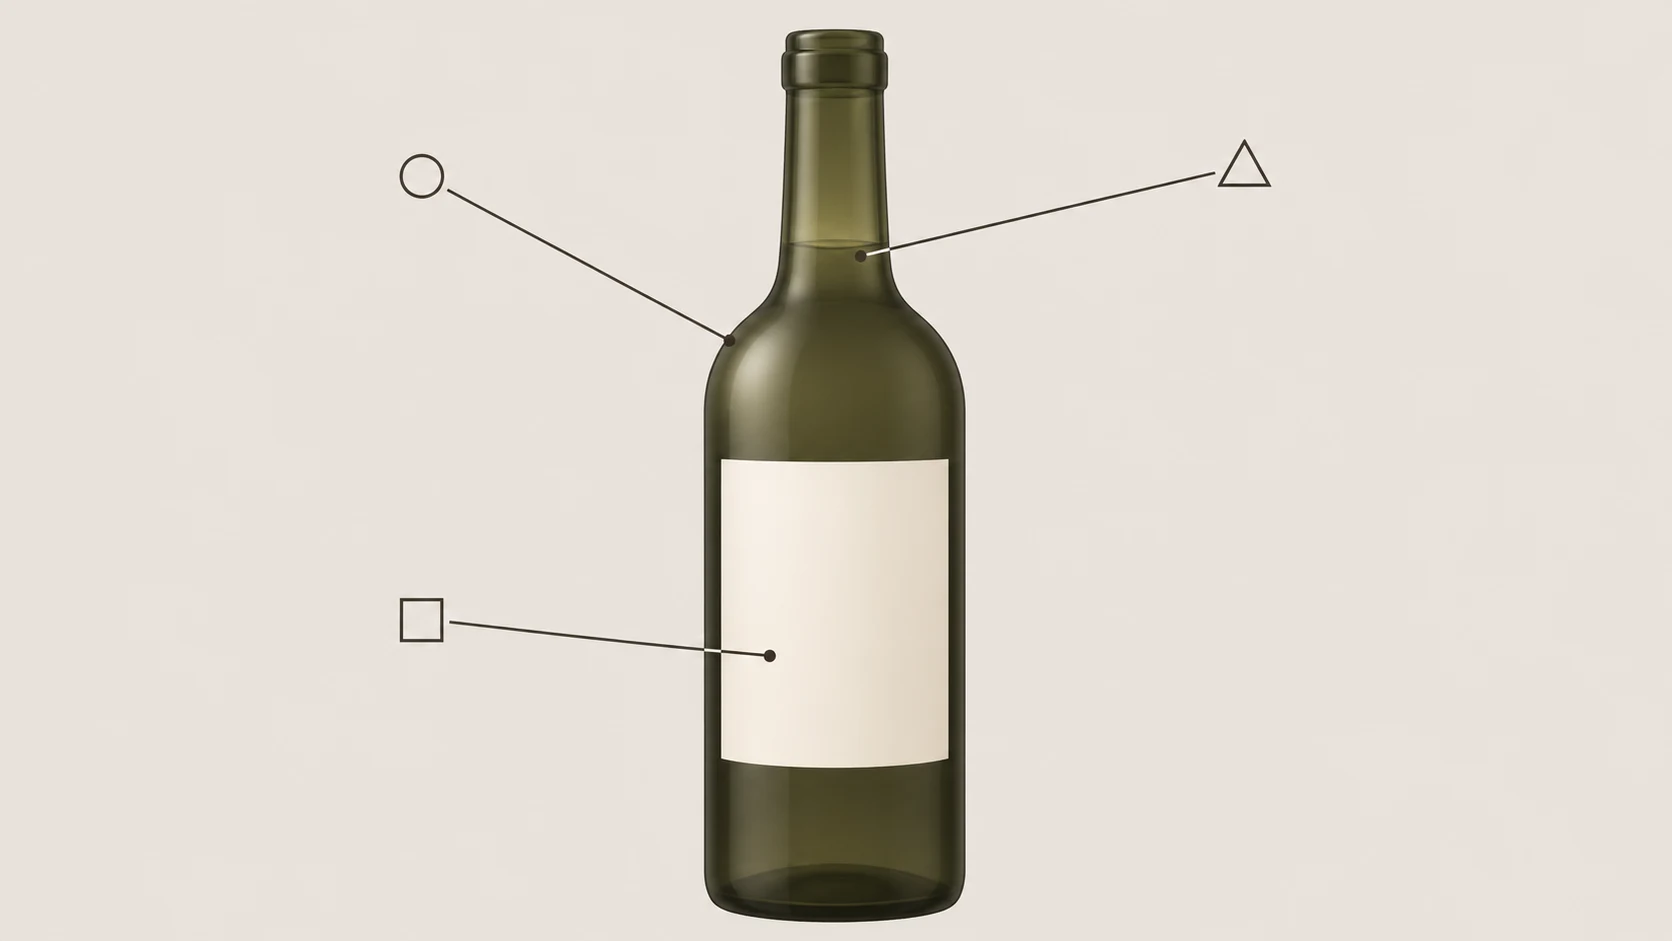
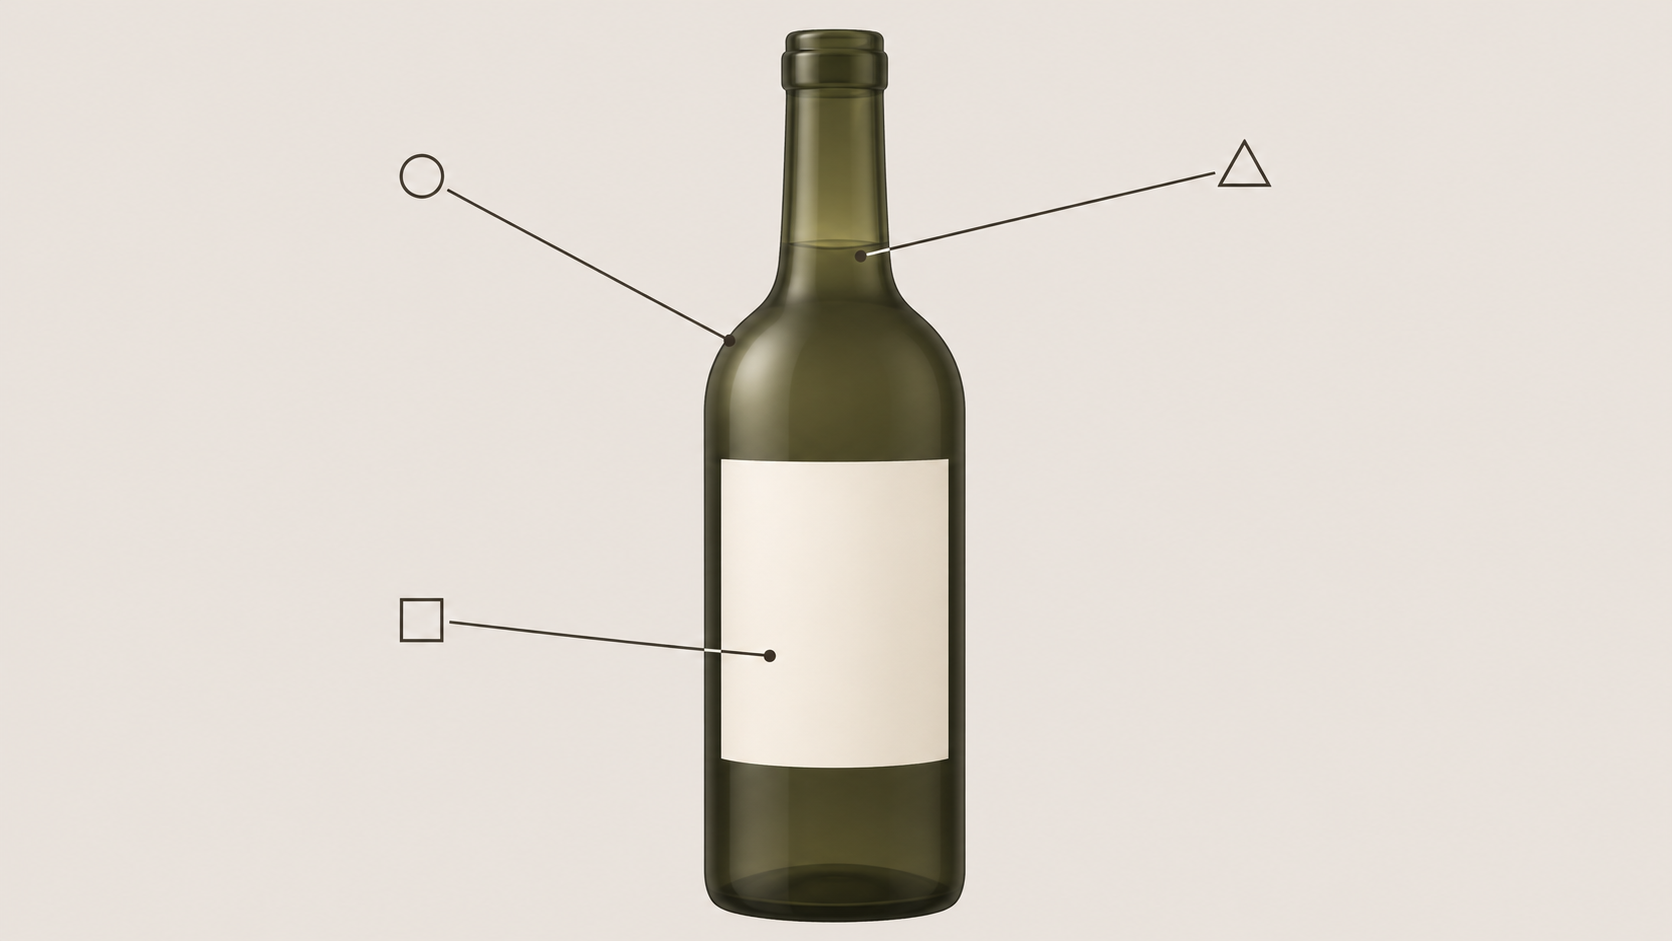
A highlight can describe a bottle’s shoulder beautifully—and hide the vintage in the same photograph. The aim is not to remove every reflection. It is to keep enough light to explain the bottle without losing the information that identifies the wine.
This wine bottle photography guide is for photographing real products. The adjustments below are suggested working methods, not tested results or a universal lighting recipe.
One bottle, two different jobs
World Food Photography Awards’ guide to photographing wine discusses lighting and props as ways to tell a story. For a product photograph, add another question: is this image showing what the buyer receives, or suggesting how the wine might be enjoyed?
| Image type | What it needs to communicate | Boundary to keep clear |
|---|---|---|
| Catalog image | The number of bottles sold, bottle shape, front label and closure condition | Follow the destination platform’s background rules; keep identifying details unobstructed |
| Lifestyle image | The relationship between the wine and a table, glassware or serving occasion | Make it clear which objects are props rather than included items |
Consider making a straightforward front view before styling the scene. If the product is sold sealed, do not substitute an opened bottle for its main product image. A pouring scene can accompany a separate photograph that shows the actual condition in which the bottle is sold.
Follow the light across three parts of the bottle
Keep the camera and bottle in repeatable positions while comparing adjustments. Reflections are not automatically defects: they can describe shape, provided they do not conceal the product information.
At the shoulder, look for a readable transition. Try a broad, softened light source from the side and watch how the bright area moves from shoulder to body. If a concentrated patch overwhelms that transition, change the light’s position relative to the bottle before changing several other things. Adjust one variable at a time and compare the outline, not simply the brightness.
At the label, read the smallest important details. Enlarge the image to inspect the vintage, volume, and any origin or certification wording actually present. If glare crosses a line, try a small change in light angle or bottle rotation. Check that the label has not become too oblique in the process. Foil and textured labels may require a compromise between surface character and legibility; unreadable wording is not an invitation to reconstruct it from a guess.
At the fill level, show only what is genuinely visible. Where the bottle transmits enough light, try changing the background brightness to see whether the liquid boundary separates from the reflections. Dark glass or an obstruction may make that boundary impossible to see. Do not open or top up a sale bottle, or draw in a line, merely to create a more convenient fill level. A reflected edge is not evidence of the liquid surface.
If important details remain too small in the full-bottle view, photograph the label or closure separately. An additional view is preferable to rebuilding product information inside the main image.
Edit the setting, then verify the product
If an existing photograph needs further work, you can submit it with a specific editing description through the InkRoom image editor. Describe the background or composition change you want and identify the label, closure and bottle areas that should not change. Those instructions express your intent; they do not guarantee preservation. The editor accepts existing images and editing descriptions, while available models and parameters depend on the current interface configuration.
After editing, compare the original and output side by side, then check against the physical bottle or verified product records. Look at label lettering and content, vintage, volume, closure, visible fill level and bottle shape. Origin claims, certification marks and actual wear must not be invented, substituted or removed simply to make the image cleaner.
A missing vintage digit, a redesigned seal or a raised liquid line makes the image unsuitable as a faithful product representation, however attractive the new background looks. Return to the undistorted original, narrow the edit or reshoot. When the source does not reveal a detail, obtain a better photograph rather than asking a model to supply a plausible answer.
Related articles and cases
- Hand Model Product Photography: Natural Grips, Credible Contact
Plan small-product shots around visible details, believable support and useful scale cues. Learn what to check in a real photograph or an AI composition sketch without treating either a hand or a generated image as measurement evidence.
- Plant Product Photography: Show Shape, Leaf Condition and Pot Size
Photograph live plants so buyers can understand their current shape, leaf condition and size. Build a useful shot list, identify individual or batch photos, and check that edits still match the plant for sale.
- Stationery Product Photography: Paper, Print, and What’s Included
Plan useful photos of greeting cards, notebooks, and stationery sets. Show covers, interiors, and edges without treating a photograph as proof of page count, exact dimensions, or included accessories.
- Product Photography Props: Make the Product Clear, Not the Offer Confusing
Choose props for support, use context, or decoration. Compare a clean product shot with a lightly styled version, then check visibility, reflections, color competition, and what buyers might think is included.