Product Photography Props: Make the Product Clear, Not the Offer Confusing
Choose props for support, use context, or decoration. Compare a clean product shot with a lightly styled version, then check visibility, reflections, color competition, and what buyers might think is included.
·
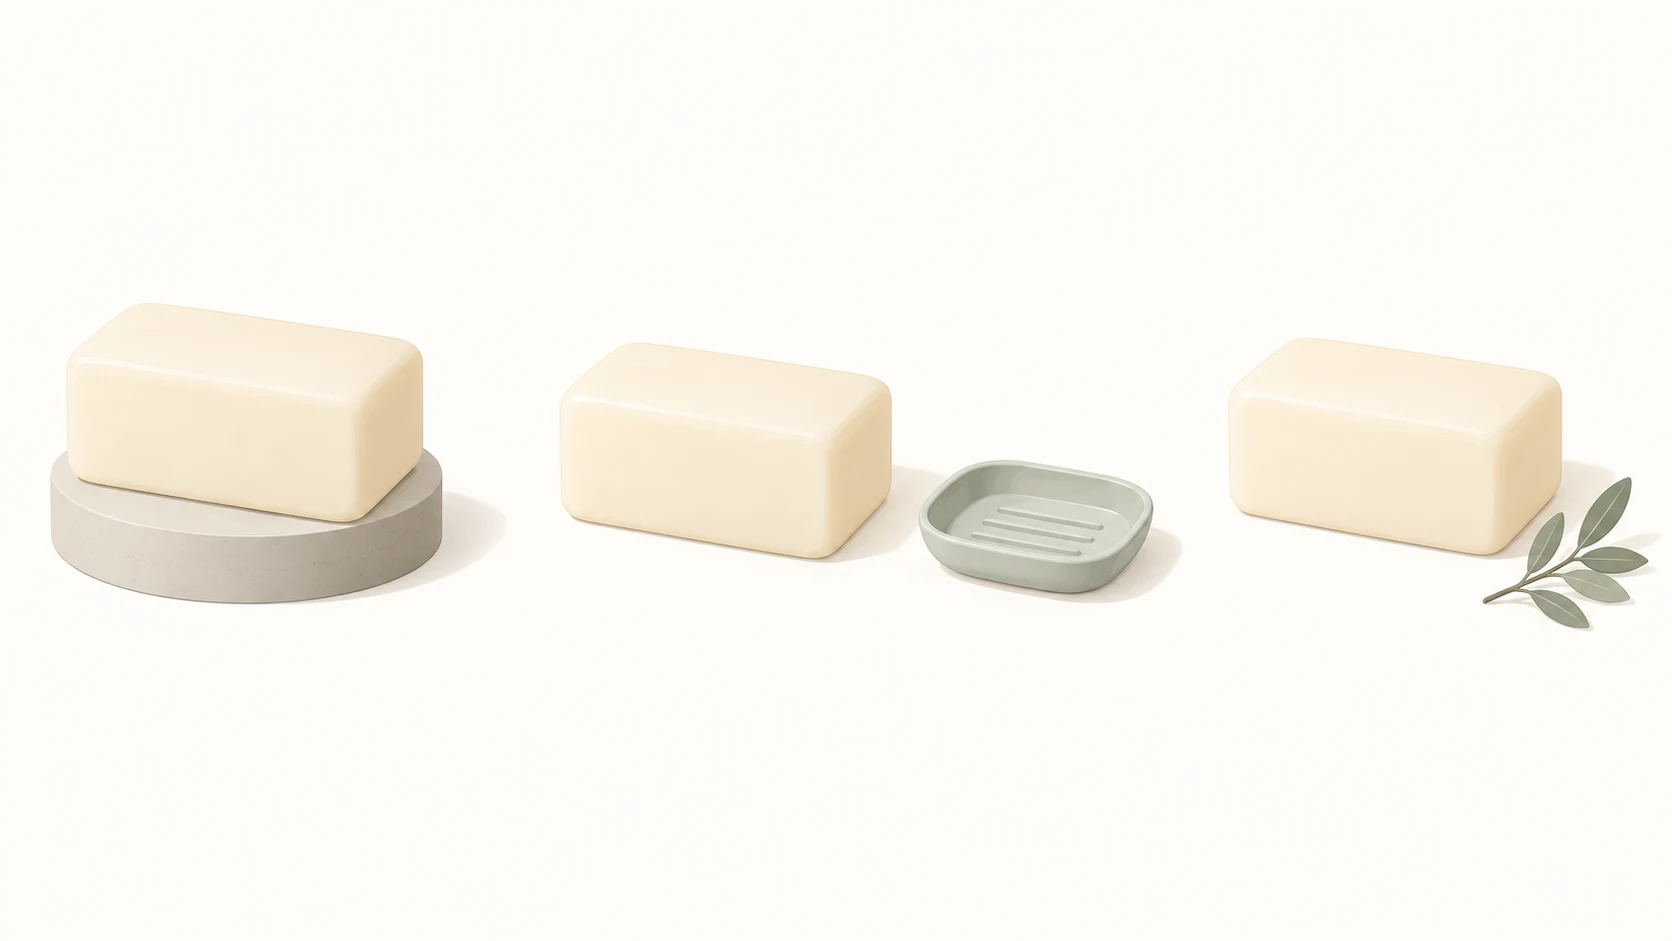
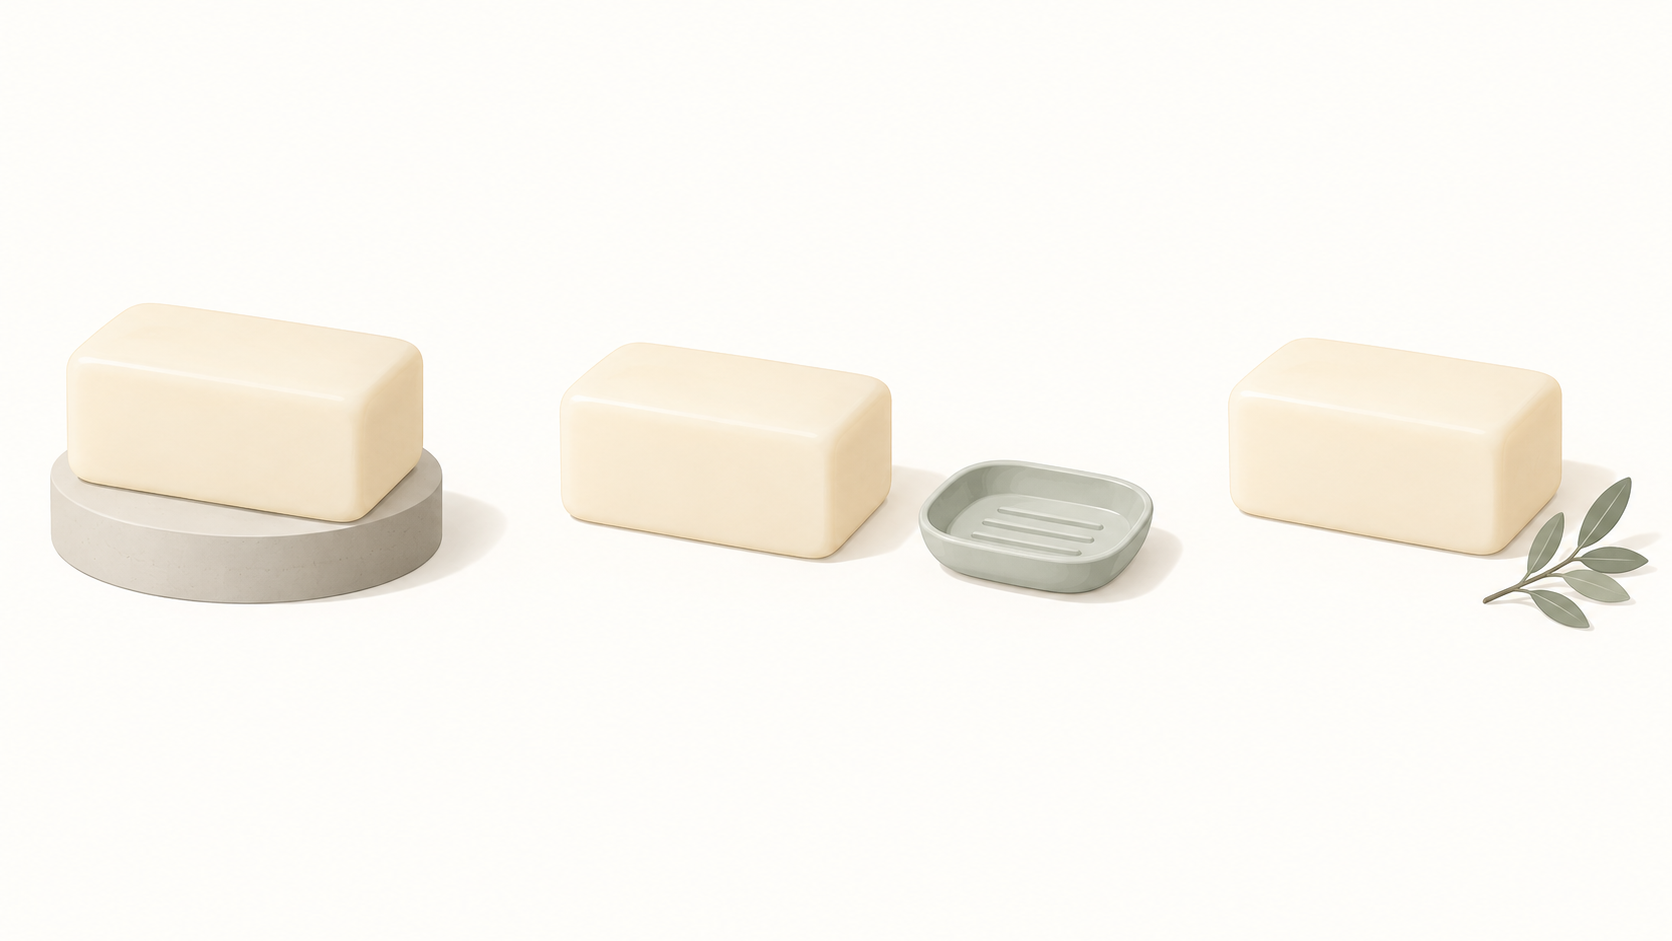
A soap dish beside a bar of soap can make its use easier to picture. It can also make a buyer expect the dish to arrive with the order. Choosing product photography props means deciding both what an object explains and what it might accidentally promise.
For small products, start with the item itself and a photograph without optional props. Add something only when it has a job: supporting the product, showing how it is used, or adding a little atmosphere. This guide focuses on those objects, not on choosing background materials.
Decide what is for sale before styling the scene
Write down the actual contents of the order: the product, quantity, packaging, and any genuinely included accessories. Mark everything else you plan to photograph as a styling prop. Whether an object belongs in the order depends on the real offer, not on how naturally it pairs with the product.
Imagine a candle sold without a tray or snuffer. The tray might support it, and the snuffer might provide useful context. Neither becomes an included accessory by appearing in the photograph. If the arrangement looks like a coordinated set, a distant “props not included” note may leave the visual message unclear. Separate the objects more clearly, or reserve that arrangement for a lifestyle image and use an unambiguous product image to show the offer.
Check the rules of the actual marketplace before adding extra objects to a main listing image. Requirements for one platform should not be treated as universal rules.
Give each prop a job
CandleScience’s prop guide describes boxes and trays as risers, along with practical accessories such as soap dishes and candle tools. Those examples are useful starting points, but your product’s information needs should determine the selection.
| Job | When it helps | Possible objects | What to rule out first |
|---|---|---|---|
| Support | The product needs height, separation, or a clearer outline | A stable plinth, box, or tray | Instability, a hidden base, or a stand that looks included |
| Use context | Buyers need to understand placement or use | A relevant soap dish or tool | Unincluded accessories presented as a set, or an unsupported use |
| Decoration | The product is already clear and needs a small atmosphere cue | A short sprig or a small area of textile | Competing color, hidden labels, or unsupported ingredient implications |
This is not a shopping list. One tray can serve different roles. If you cannot explain what it contributes to this photograph, leave it out for now.
Check support props for stability before appearance. Do not balance a fragile product precariously just to hide a support. Context props should show a real, appropriate use rather than an attractive but invalid demonstration. Decorative objects need a meaning check too: citrus beside a fragrance product can suggest a scent when that information is accurate, but the photograph does not establish that citrus is an ingredient or that the product has an additional benefit.
Photograph the same product with less, then with a little more
A controlled pair of working photographs is more useful than changing the entire arrangement at once. The following is a suggested selection method, not a test performed for this article.
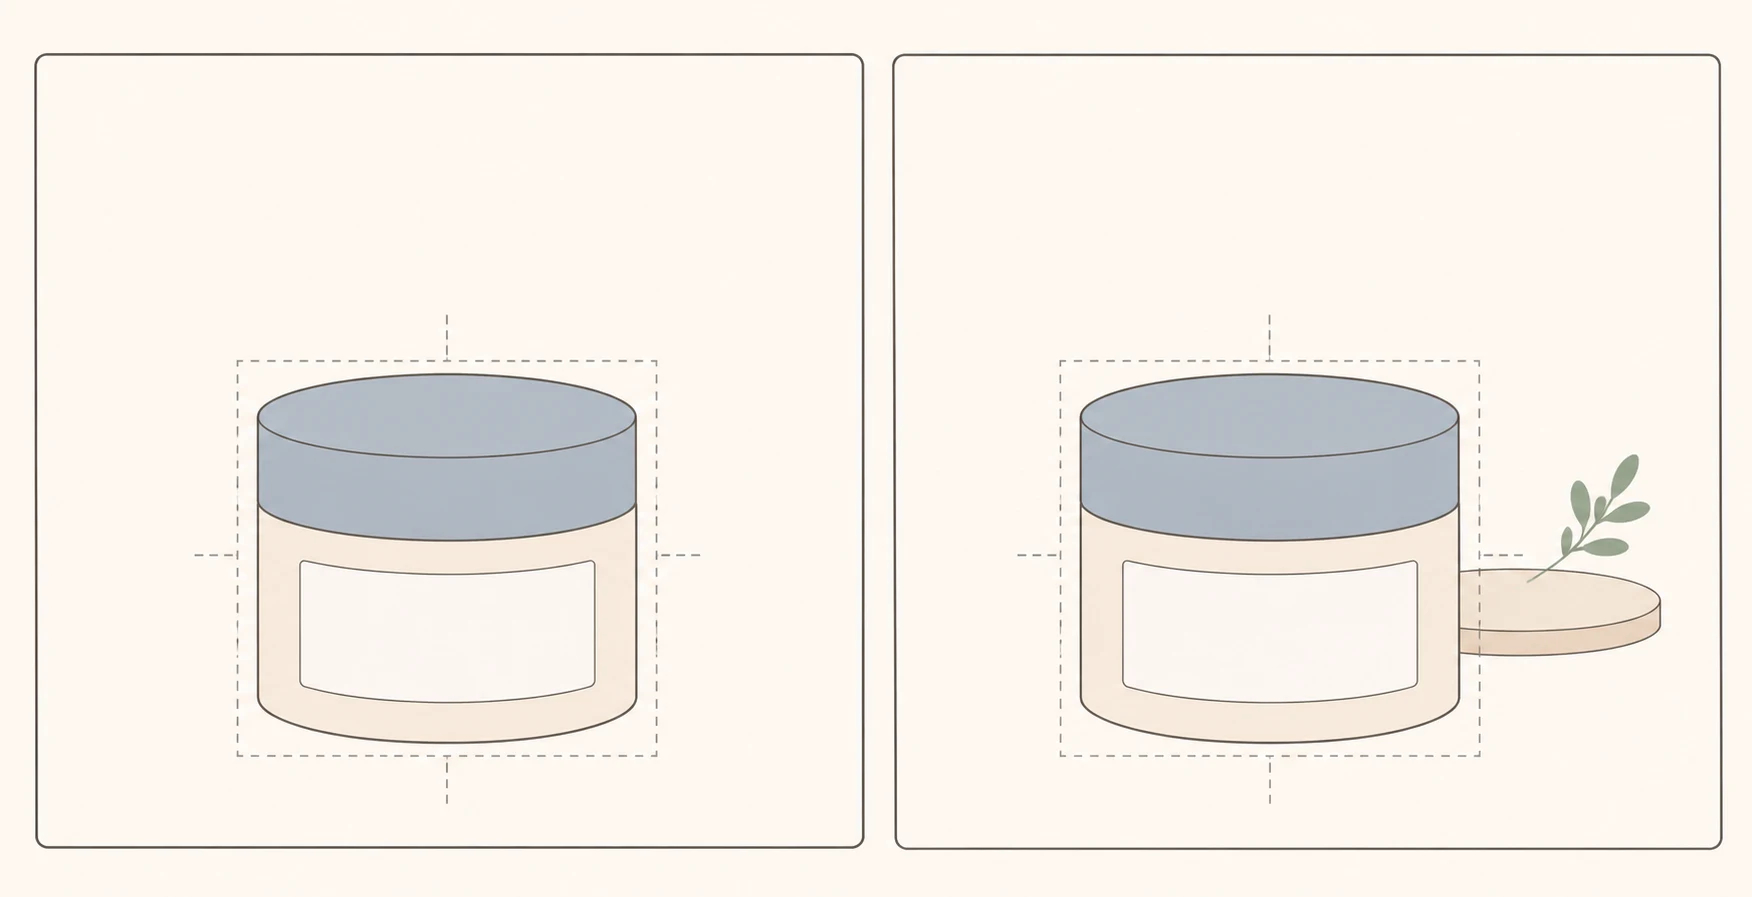
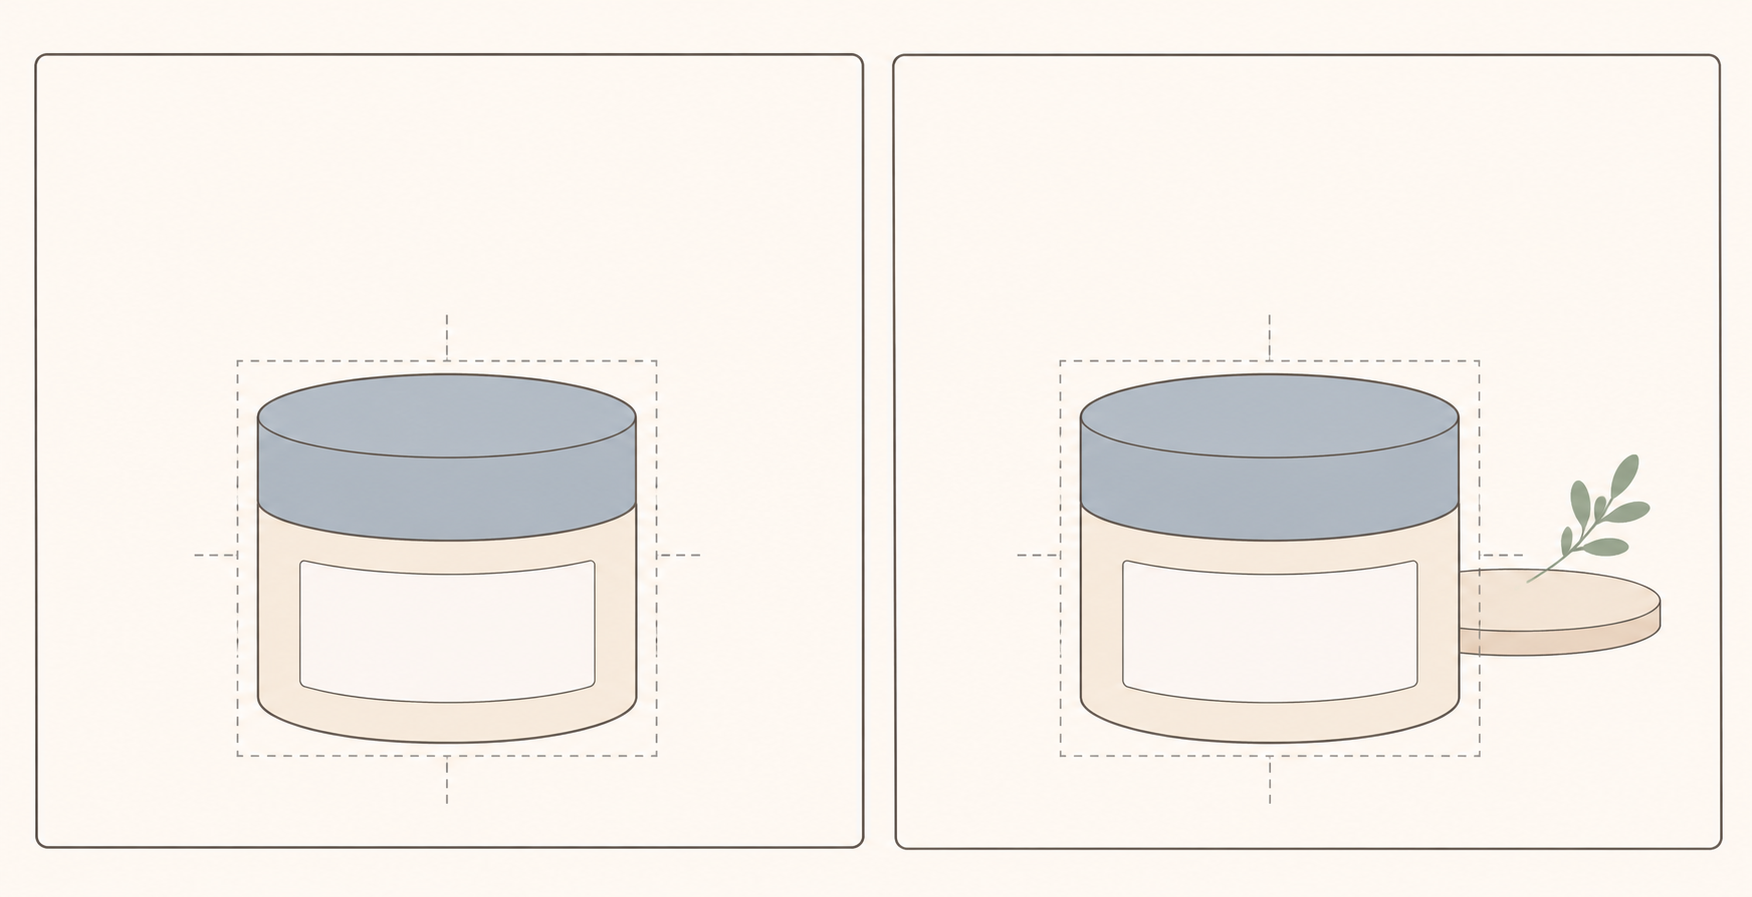
Make image A with the product and any essential safe support. Keep camera position, focal length, product position, lighting, and exposure settings unchanged for image B, adding one purposeful prop. If you want a second prop, make another version. Changing the angle, background, and lighting at the same time makes it difficult to attribute the difference to the prop.
Compare the images at their intended thumbnail size first, then inspect the details:
- Product area: With the same crop, is the product still prominent? If accommodating a prop requires making the product smaller, is the added information worth that trade-off? There is no single useful percentage for every product.
- Obstruction: Are the outline, label, openings, connections, or important features hidden? Try moving the prop to the side or behind the product rather than assuming editing can restore missing detail.
- Reflections: Does a tray or metal tool introduce a bright patch or colored reflection that obscures the product or its text? Move the object or change its angle first.
- Color competition: At thumbnail size, do you notice the product or the decoration first? Reduce the prop’s visible area, choose a quieter color, or remove it if necessary.
- Offer clarity: Without reading the description, does the arrangement look like a bundle? Compare every visible object with the actual order contents.
If image B is merely busier, without making the product or its use clearer, the extra prop has not earned its place.
If you already have a photograph and want to try a small prop adjustment, you can submit the image and a specific editing description through the InkRoom image editor. Available models and parameters depend on the current interface. The editor accepts an existing image and editing instructions, but does not guarantee accurate product preservation, structure, or text. Compare the result with the original, checking the product, label, obstructions, and included items. AI-added scene elements are illustrative; they do not establish package contents or product functions.
Keep a short shoot note, then check the export
Before arranging the shot, record:
- The exact product, variant, quantity, and included items.
- Each candidate prop’s job and whether it is part of the offer; leave out objects with no clear job.
- Details that must remain visible, such as the label, opening, connector, or texture.
- Whether the support is stable and its contact surface is clean and unlikely to scratch, stain, or leave moisture marks.
- Whether the unstyled baseline has been photographed and the intended placement permits this arrangement.
A scene that looked clear during the shoot can become confusing after cropping or editing. Check the final file, not just the working view.
| Export check | What to inspect | What to do if it fails |
|---|---|---|
| Product and crop | At the intended display size, look for a product made too small, cut off, or hidden | Reframe or choose a simpler image; extra text does not restore visibility |
| Label and reflections | Compare enlarged details with the original and real product information | Replace, reshoot, or correct the image; do not publish text you cannot verify |
| Bundle implications | Match every pictured object to the order contents | Remove unincluded accessories or explain them clearly in an appropriate lifestyle image without contradicting the composition |
| Atmosphere and function | Check whether plants, ingredients, or tools imply an unverified claim | Replace the prop; a visual suggestion is not evidence |
| AI edits | Compare product shape, accessories, text, and added objects with the original | Do not use unverifiable details as product evidence; identify concept scenes as illustrative |
The strongest prop is not necessarily the most distinctive object. It is the one that explains this product with the least room for misunderstanding.
Related articles and cases
- Hand Model Product Photography: Natural Grips, Credible Contact
Plan small-product shots around visible details, believable support and useful scale cues. Learn what to check in a real photograph or an AI composition sketch without treating either a hand or a generated image as measurement evidence.
- Plant Product Photography: Show Shape, Leaf Condition and Pot Size
Photograph live plants so buyers can understand their current shape, leaf condition and size. Build a useful shot list, identify individual or batch photos, and check that edits still match the plant for sale.
- Stationery Product Photography: Paper, Print, and What’s Included
Plan useful photos of greeting cards, notebooks, and stationery sets. Show covers, interiors, and edges without treating a photograph as proof of page count, exact dimensions, or included accessories.
- Wine bottle photography: readable labels, clear shoulders, honest fill levels
Make wine product photographs that identify what is actually for sale. Separate catalog images from lifestyle scenes, work around label reflections, and check product details after editing.