AI Wedding Invitation Generator: Layout, Names, Dates, and Print Delivery
Turn a wedding brief into an invitation visual without treating the generated image as a finished invitation. Plan text hierarchy, verify event details, and prepare digital and print versions separately.
·
An invitation can look beautiful and still leave a guest unsure when to arrive. Before choosing flowers or a metallic-looking border, decide which details must be immediately readable.
An AI wedding invitation generator can help turn a wedding idea into a visual direction. A more controllable approach is to separate that visual exploration from the final wording: use generation to explore composition, while keeping names, dates, and arrival details tied to an approved text draft. The guidance below is a proposed workflow, not a product test or a documented client case.
Decide what guests need to read
Start with an undecorated text draft: both names and their display order, the date, arrival and ceremony times, the venue name and full address, and the RSVP method and deadline. If the ceremony and reception are in different places, label each location rather than expecting guests to interpret a list of addresses.
MolyPix’s invitation generator page also identifies RSVP information, location, and time as inputs. That supports the information-planning approach here; its claims about accurate text and editable templates are marketing statements, not independently verified results or evidence of another tool’s capabilities.
Add cultural preferences and text priorities beside the draft. Be specific about languages, name order, motifs to include, and symbols to avoid. A broad label such as “traditional” is not a substitute for the couple’s preferences. Names and the date may lead the design, but the address and response instructions must remain readable at the final size.
For a bilingual invitation, approve both complete versions before allocating space. Do not finish the decoration first and squeeze the second language into whatever remains.
Give the first visual room for the wording
Divide the brief into fixed information and flexible visual choices. Keep the fixed information in the approved draft; describe palette, borders, decoration placement, orientation, and text areas in the visual brief. This lets you change the composition without rewriting event details.
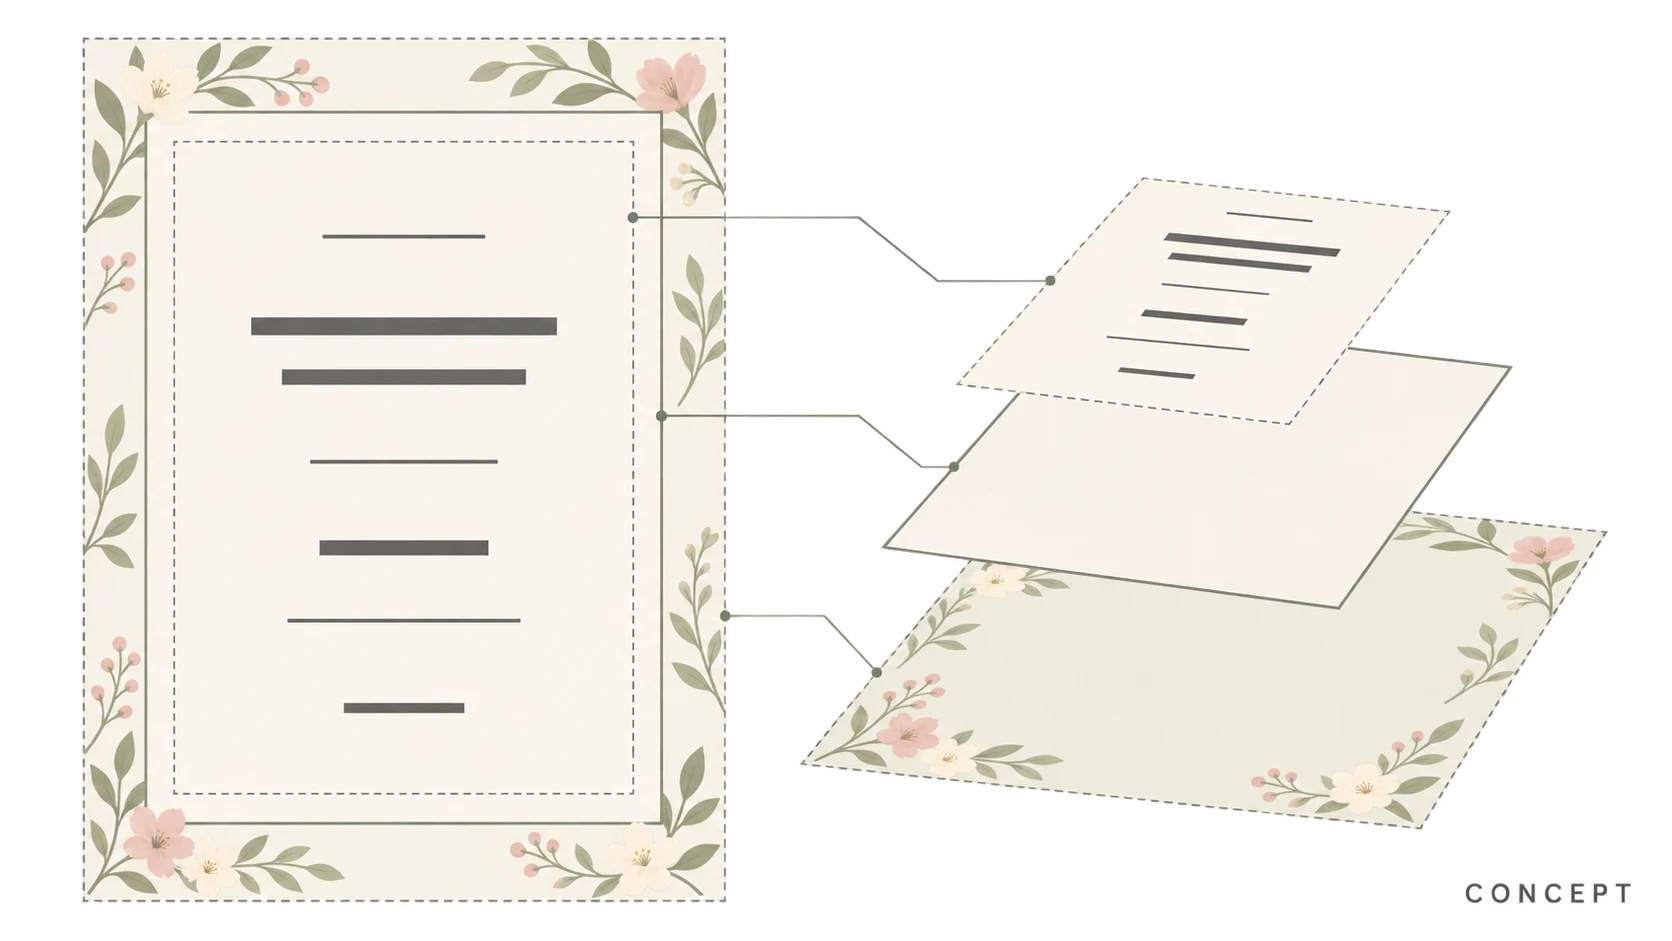
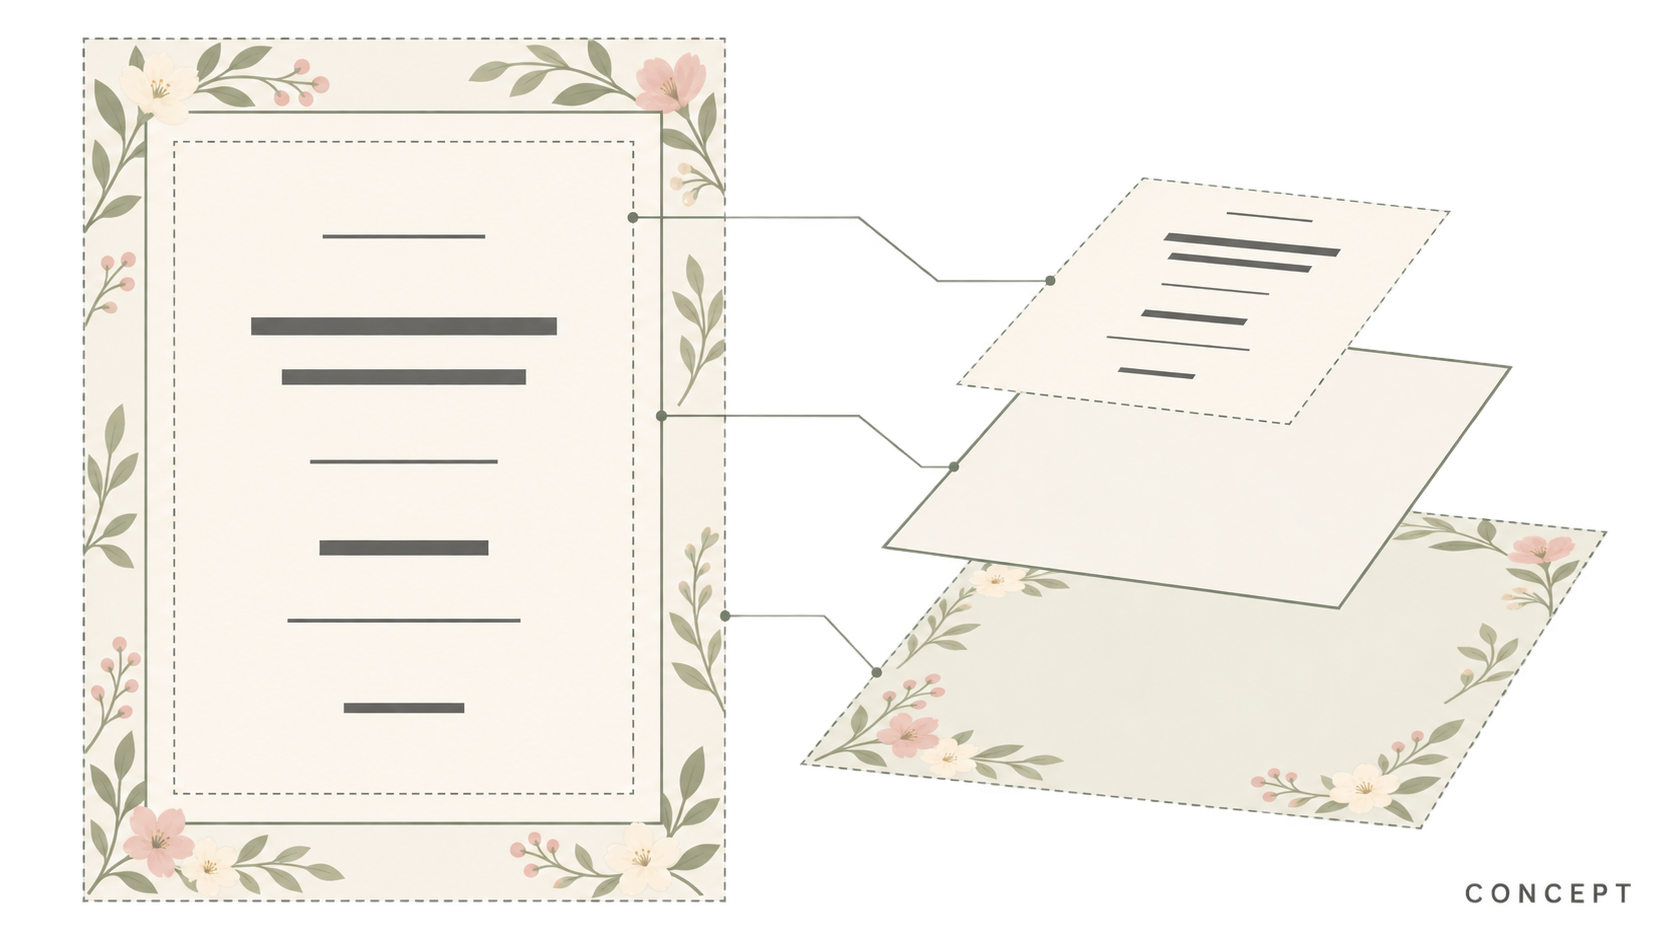
For an invitation with floral edges, for example, specify an uninterrupted central text area, decoration that stays clear of names and times, and no dense miniature lettering. You may choose to request full wording in the generation, but the result still needs checking. For more control, add the approved wording separately in a layout tool that supports text editing.
To create an initial visual, turn those visual requirements into a prompt in InkRoom’s image generation entry, then select a configured model available in the current interface. Availability, parameters, and fees depend on the interface and account configuration. This is an image-generation entry, not a guarantee of correct names, editable invitation templates, or print-ready files.
Review it as a guest, not just as a designer
Ask someone who was not involved in the design to read the invitation in this order: who is inviting me, on what date, at what time, where, and how do I respond? Anything that requires zooming, guessing, or a follow-up question deserves a clearer position or explanation.
Compare names character by character with the approved draft, including spaces, accents, and language-specific spellings. Check more than the date numerals: if a weekday is included, confirm that it matches. Distinguish arrival, ceremony, and reception times. Add the relevant time zone when remote participation or guests’ interpretation makes it necessary.
Check both the venue name and its full address. If using a QR code, create it from a verified destination and scan it in the final exported file; do not rely on a plausible-looking code inside generated artwork. Keep a readable response method or essential instruction nearby for guests who cannot scan. Have a fluent reader check multilingual wording, particularly name order, line breaks, and missing characters.
Digital sharing and printing need different files
The visual direction can be shared, but delivery requirements differ. A digital invitation must work on phones and through the intended sharing channel. A printed invitation also has to meet production specifications.
| Delivery | What matters | Recommended action |
|---|---|---|
| Digital sharing | Phone readability, platform compression, working links or QR codes | Receive the final file through the actual sharing channel and test it; a URL pictured in an image is not automatically clickable |
| Print production | Trim size, pixel dimensions, bleed, safe area, file format, and color requirements | Obtain the printer’s specifications before final layout and export; request a proof on the intended stock when needed |
Work backward from the finished size rather than treating “high resolution” as a print specification. As a calculation example only, a 5 × 7 inch finished design at a printer-requested 300 PPI needs 1500 × 2100 pixels for the trimmed area. Multiply inches by pixels per inch. This excludes additional bleed and is not a universal printer requirement. Changing a resolution label alone does not add pixel detail.
The safe area keeps important wording away from the trim line; bleed extends the background beyond it. They serve different purposes. Use the printer’s template for the actual values rather than applying a generic margin. The cover’s layout illustration explains the relationship, not a production-ready cutting template.
Before production, inspect a proof at its final size so that names, addresses, and response instructions are not judged only while enlarged. Color and fine lettering on the selected paper need an appropriate physical proof; a screen preview cannot establish the printed result.
Related articles and cases
- How to Choose an AI Image Editing API: Inputs, Masks, Async Results and Cost
Evaluate an image editing API against delivery requirements, not just sample images. A developer-focused method for checking input contracts, recovering uncertain requests, testing preservation and reconciling actual costs.
- AI Floor Plan Generator: From Layout Ideas to Measurement Review
Turn room requirements into a conceptual layout without mistaking an attractive image for a measured plan. Learn what to describe, how to compare arrangements, and what to check against original measurements.
- AI YouTube Thumbnail Generator: From Content Promise to Mobile Readability
Turn a video's actual content into thumbnail concepts, compare meaningful layout alternatives, and check text, contrast, and focus on a phone. An illustrative example shows the method without claiming tested results.
- AI Image Prompt Engineering: Describe the Goal, Layout, and Editing Constraints
Use a vase-banner example to turn purpose, subject, composition, style, and constraints into a readable prompt. For existing images, separate requested changes from details to preserve. These are writing examples, not tested image results.