AI Virtual Ring Try On: References, Proportion, and Better Corrections
Prepare hand and ring references, compare styles without confusing visual scale with ring size, and identify problems in settings, perspective, contact, and shadows.
·
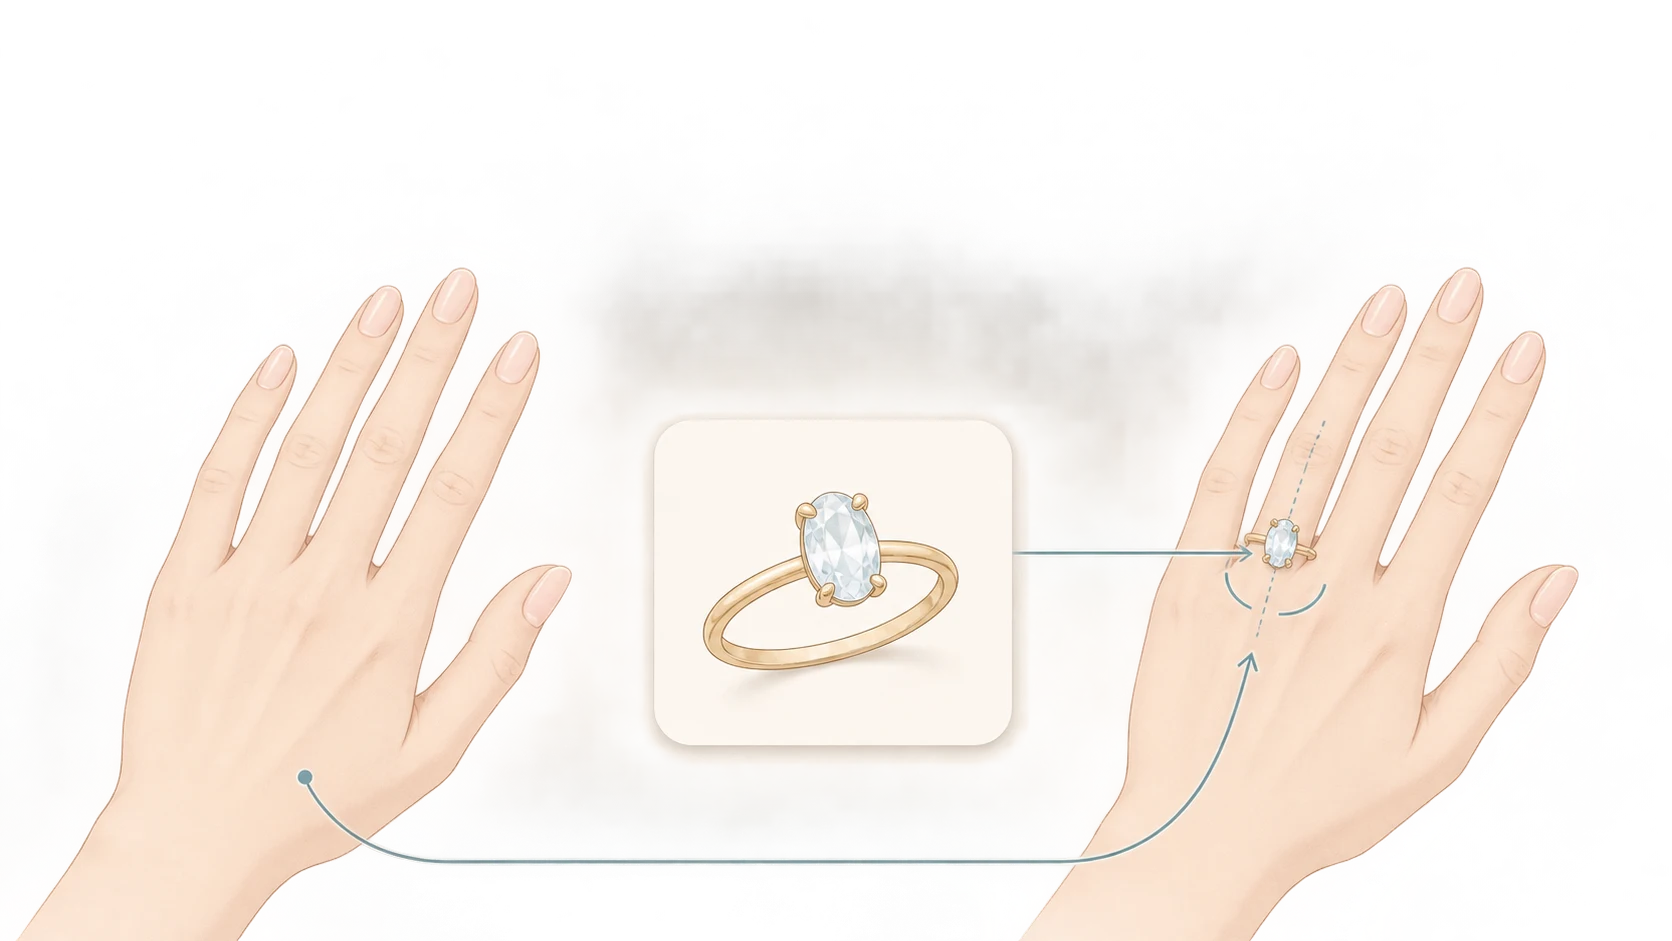
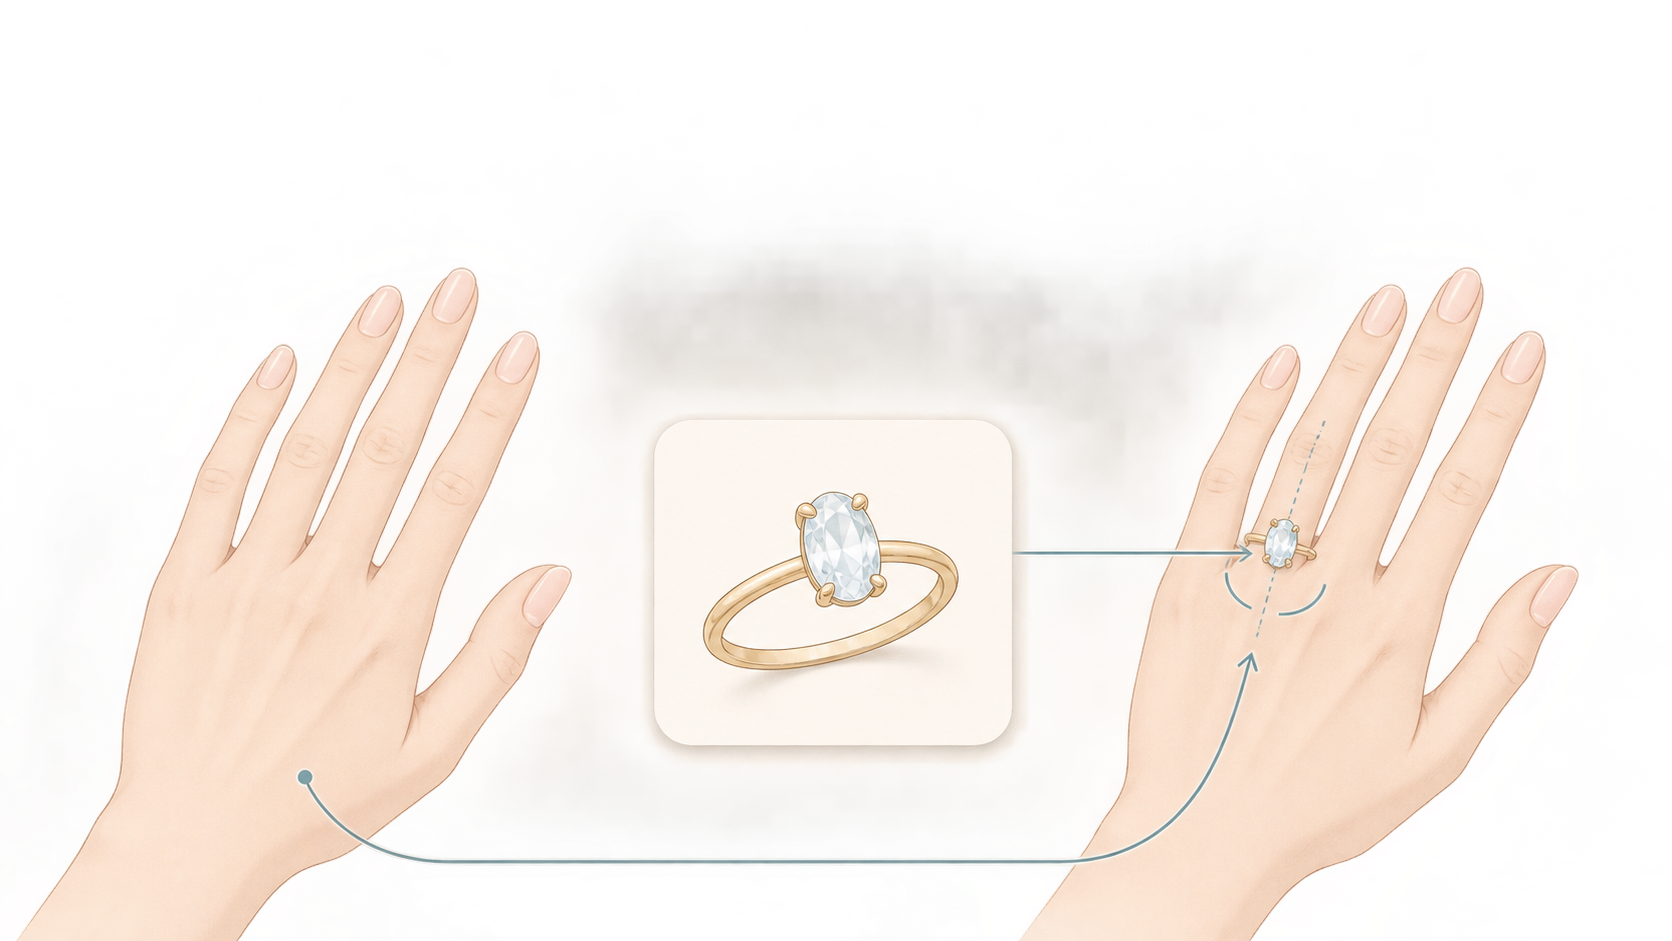
A ring preview can help you picture a style on your own hand. It cannot tell you whether the ring will fit. With ai virtual ring try on, the useful questions are more specific: is this still the ring you selected, and does its placement on your hand make visual sense?
The approach below is an editing recommendation, not a tested workflow or a claim that any particular platform provides dedicated try-on or measurement tools.
Decide what the preview should help you choose
For a comparison between round and oval center stones, keep the hand photograph, target finger, crop, and display size consistent. Change the ring rather than the entire composition. A closer view of the hand can otherwise make one option look more prominent for reasons unrelated to its design.
Comparing actual band widths or stone dimensions requires more than two uncalibrated photographs. Pixel width is not a measurement in millimeters. Without reliable scale and capture geometry, do not work backward from the preview to product dimensions. Keep verified specifications alongside the image, not inferred from it.
Give each reference a different job
NanoMaker’s ring try-on page recommends a clear, well-lit hand photograph with fingers extended and a separate ring image. That describes its input approach; it does not establish dual-image upload or automatic placement capabilities for InkRoom.
For your own reference set, let the hand image establish placement and the ring image establish design identity.
The hand photograph should show both edges of the target finger, its base, and the neighboring fingers. A relaxed, extended pose is preferable to one that hides the intended placement area behind other jewelry. Obtain permission before using someone else’s photograph.
The ring reference should reveal the center-stone outline, prongs, band splits, and metal color. If the preview needs to show setting height, add a genuine side view. A front-facing product photograph does not establish hidden side geometry, and a generated interpretation should not become your evidence for it. Make sure you have permission to use the reference material, too.
An editing request might read:
> Place the ring near the base of the fourth finger from the left in this image. Preserve the hand pose, skin texture, and background. Preserve the visible center-stone shape, prong arrangement, and band structure from the ring reference. Align the ring with that finger and add no decoration. Without scale calibration, treat the result as an appearance preview, not an accurate size representation.
This is an example instruction, not a guaranteed prompt. Check whether the photograph is mirrored before relying on left/right descriptions or finger names.
Check the ring’s identity before polishing its shine
Look at placement in the full image, then enlarge the ring to inspect its structure. Attractive reflections cannot compensate for a different setting.
| Area | What to look for | Suggested correction |
|---|---|---|
| Stone and setting | Changed stone outline, missing or extra prongs, lost band splits | Restore visible design details from the ring reference |
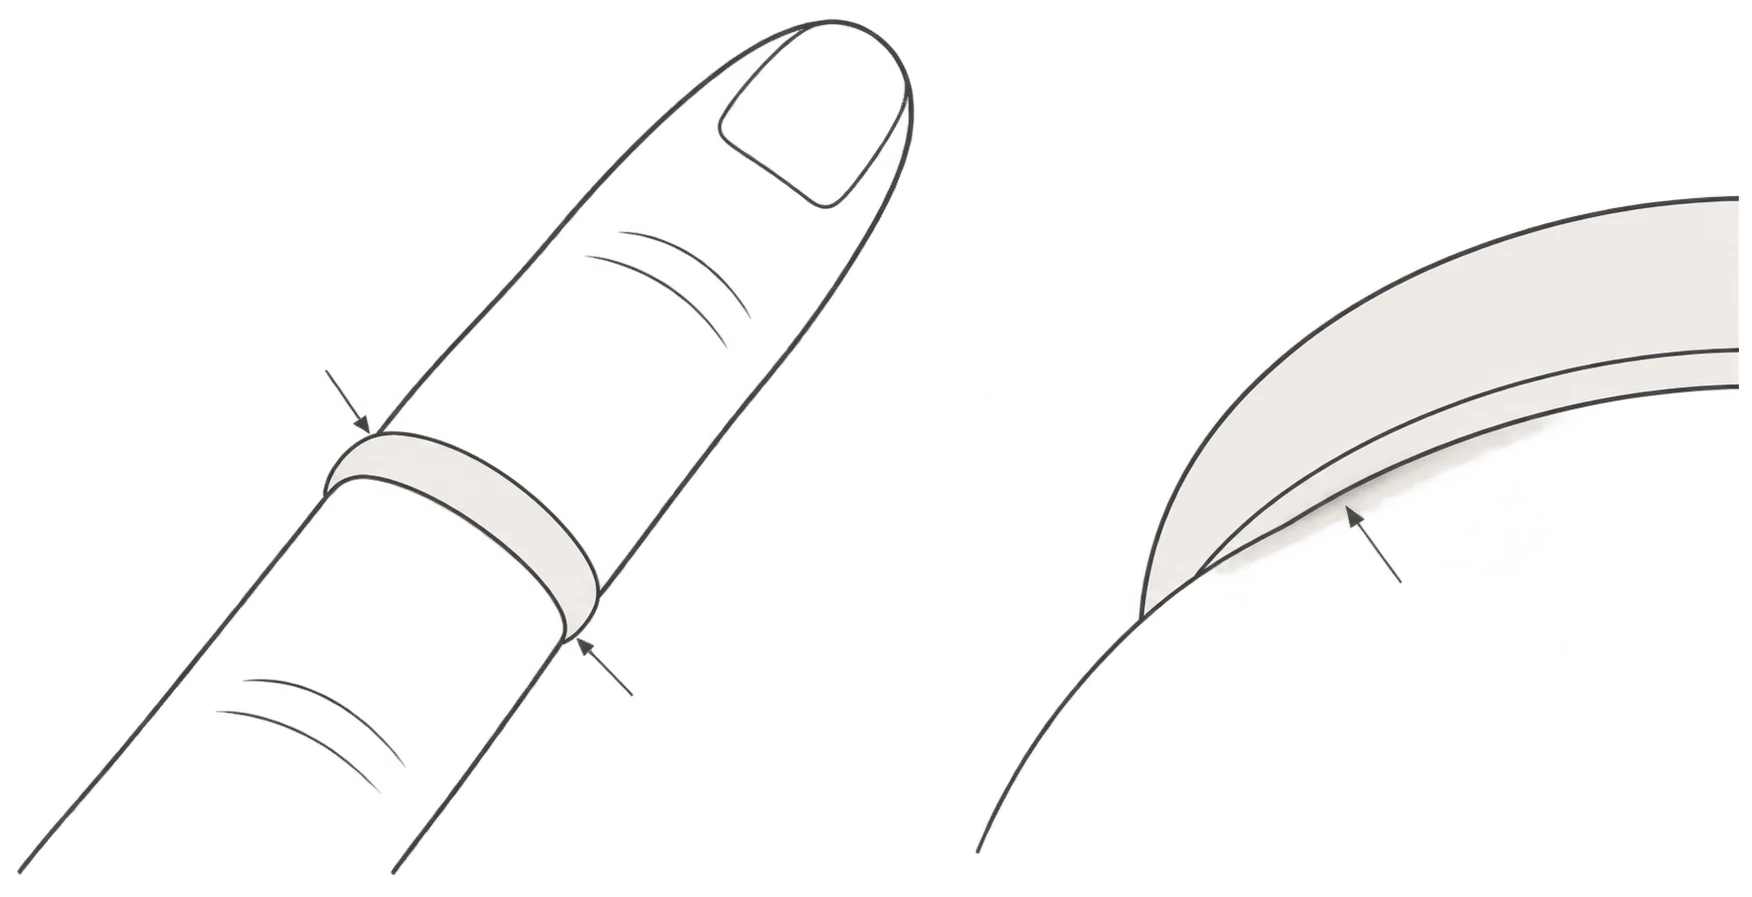
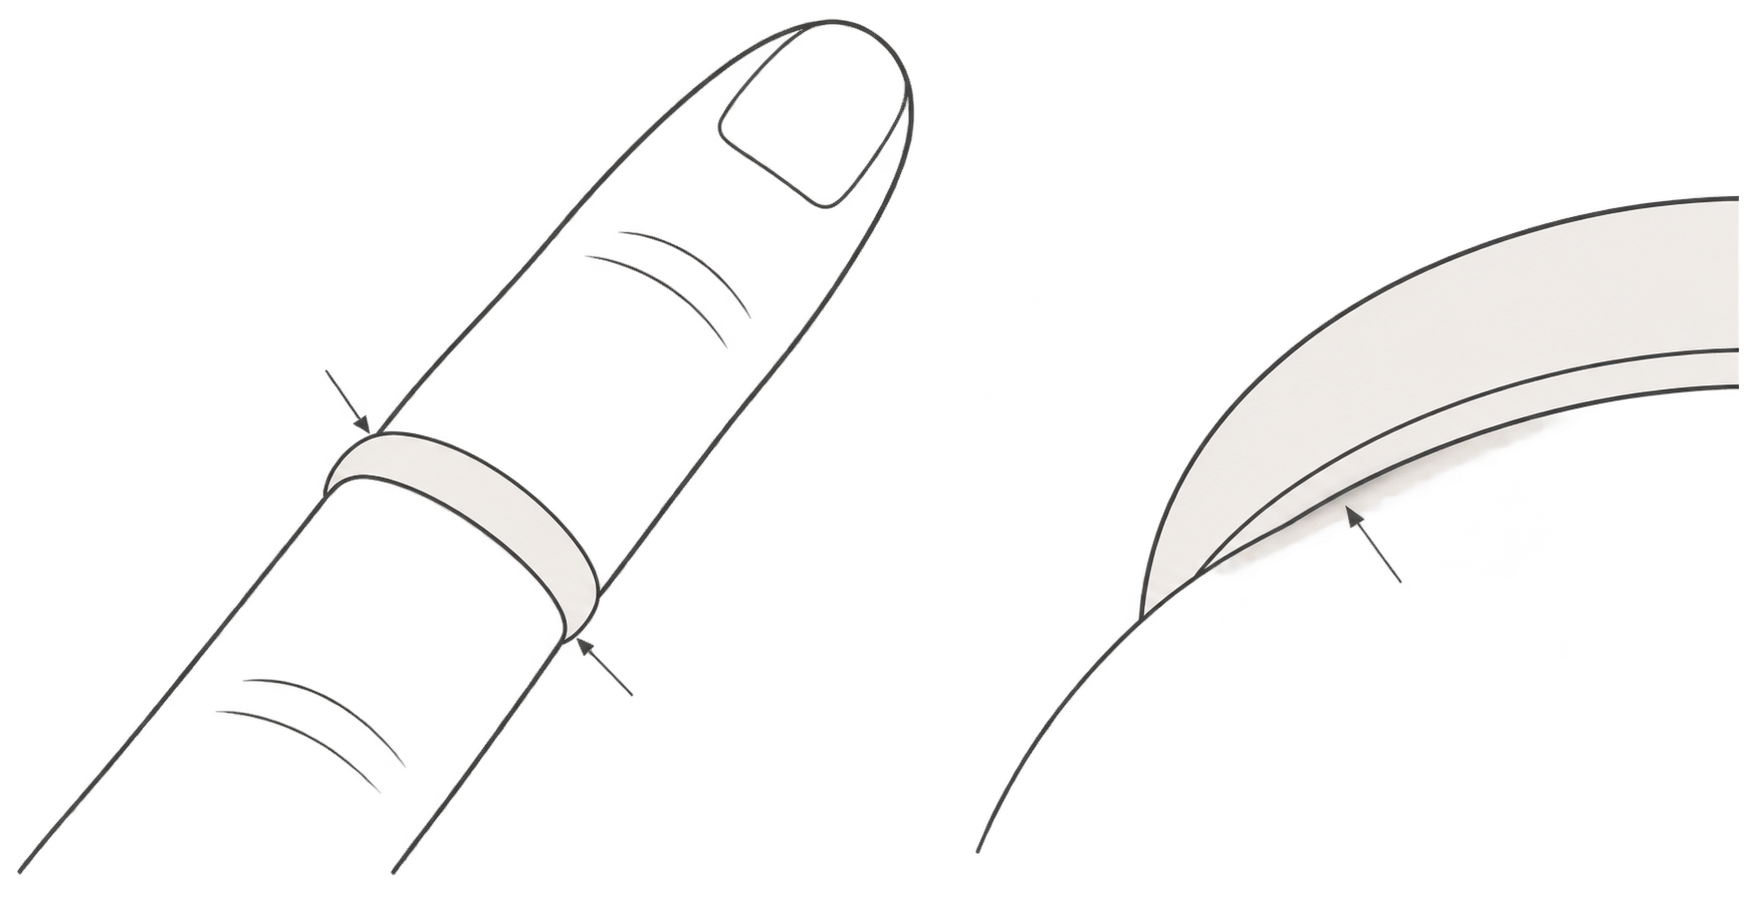
| Orientation | An angled finger paired with a ring opening facing straight at the camera | Align the opening and occlusion with the finger’s direction |
| Contact | A floating band or metal cutting through skin | Correct position and overlap before adding contact shadow |
| Lighting | Ring highlights that conflict with the hand’s main illumination | Use the hand’s existing light cues; do not paint a uniform dark rim |
The part of a band passing behind the finger should not appear entirely on top of the skin. Exactly how much remains visible depends on the pose and ring design. A stronger shadow is not automatically more convincing, and it cannot fix misplaced geometry.
Correct one relationship at a time
Suppose a preview enlarges the stone, leaves the ring floating, and changes the background. This is a hypothetical troubleshooting example, not an observed result.
Return to the original hand and ring references. Specify that the background, hand shape, and ring design must remain unchanged. If your editor supports local changes, limit the working area to the ring and adjacent skin. If it does not, do not assume everything outside that area will stay fixed.
Correct placement and perspective first, then the stone, prongs, and band, and finally contact shadows and reflections. Compare every revision with both original references, not just the previous output. Otherwise, small changes can accumulate into a different ring.
For an existing image that needs further work, visit the InkRoom image editing entry and check the current interface for the operations you need. This is not a promise of dedicated two-image try-on, automatic placement, or accurate size reconstruction.
If local corrections repeatedly alter the hand or ring design, return to the originals and improve the references rather than decorating an increasingly unreliable version. Leave unseen setting details unresolved when no supporting side view exists.
Use the preview to narrow a style shortlist or explain an appearance preference to a jeweler. Measure ring size separately, assess comfort through physical wear, and verify stone dimensions, metal, and setting details against product specifications. If you publish a generated image as part of a listing, identify it as an AI visual preview rather than evidence of the actual product being worn.
Related articles and cases
- AI Image Relighting: Check Skin Tones, Materials, and Color Shifts
Better-looking light is not always more faithful light. Learn how to compare a relit image with its original, assess skin and material changes, and decide when to roll back.
- AI Image Extender: Add Room Without Stretching the Subject
Adapt an existing photo for a banner, portrait layout or product card by planning where new space belongs. Use worked canvas dimensions and practical edge checks without treating generated scenery as recovered fact.
- ai image eraser: What to Check After the Object Is Gone
Removing a distraction is only part of the edit. Define what must stay unchanged, then compare the repair with the original for repeated textures, misplaced shadows, merged edges, and altered text.
- AI Image Prompt Generator: Turn a Vague Idea into a Testable Brief
Define the image’s job and essential details before adding style keywords. Use a reusable brief, compare short and structured prompt examples, and revise one variable at a time without mistaking a clearer prompt for proven image quality.