AI Texture Generator: From Concept Images to Tileable Materials
Generate a texture candidate, then judge it beyond the single-image preview. Describe material scale and neutral lighting, inspect tiling and repetition, and identify what is still needed for a PBR material.
·
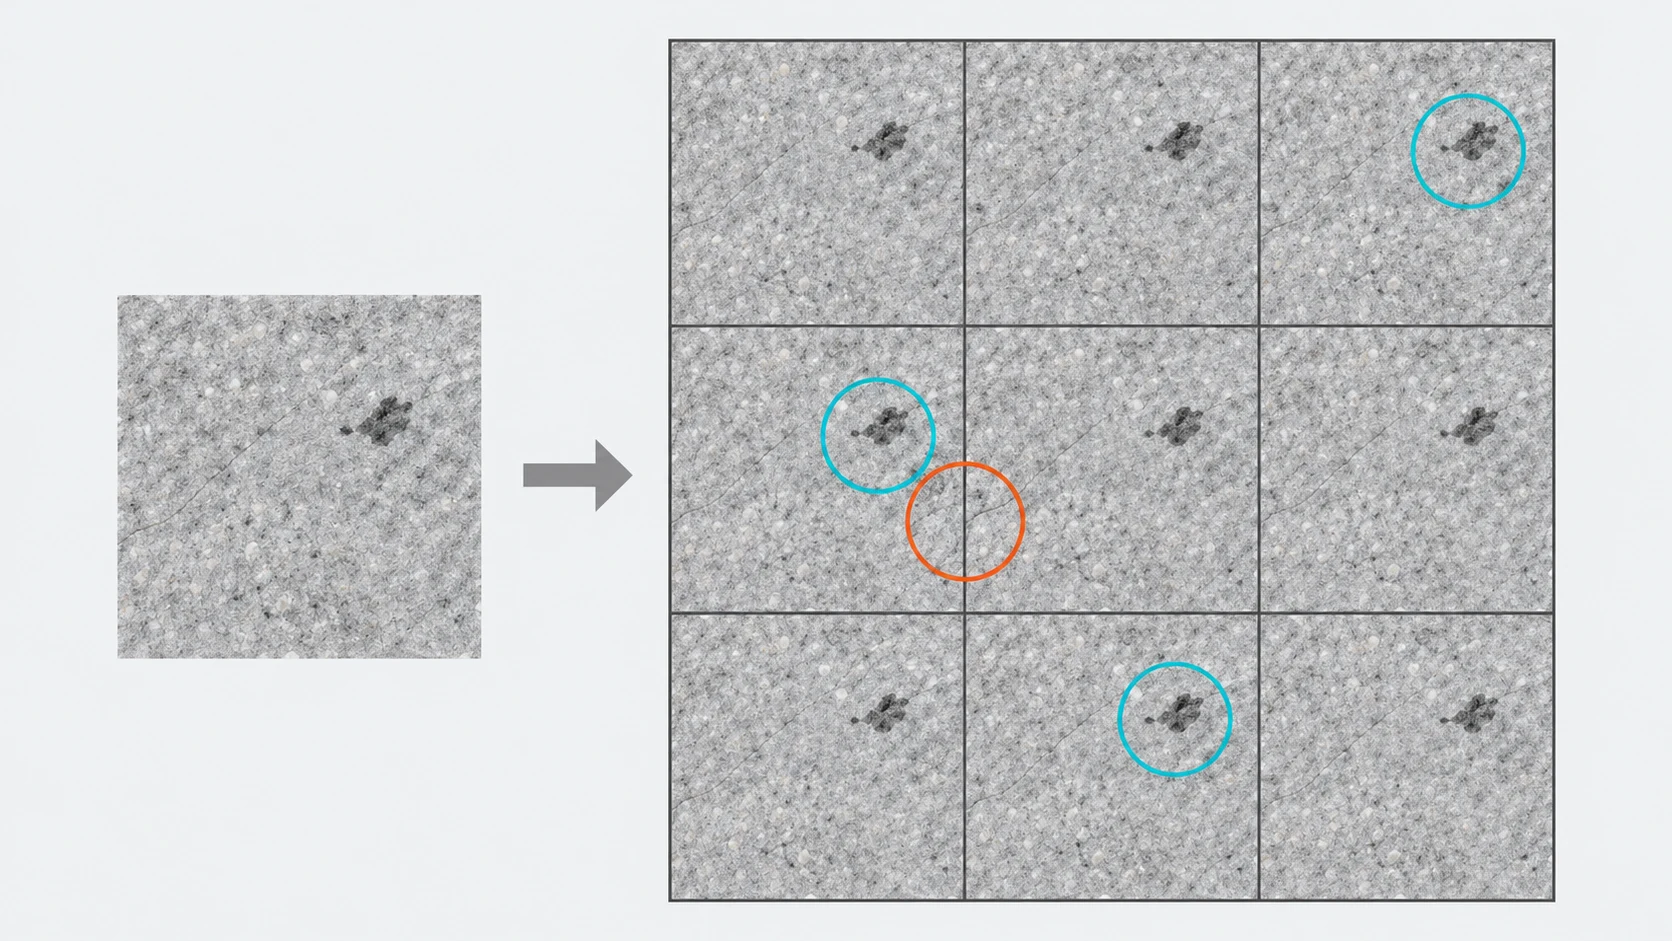
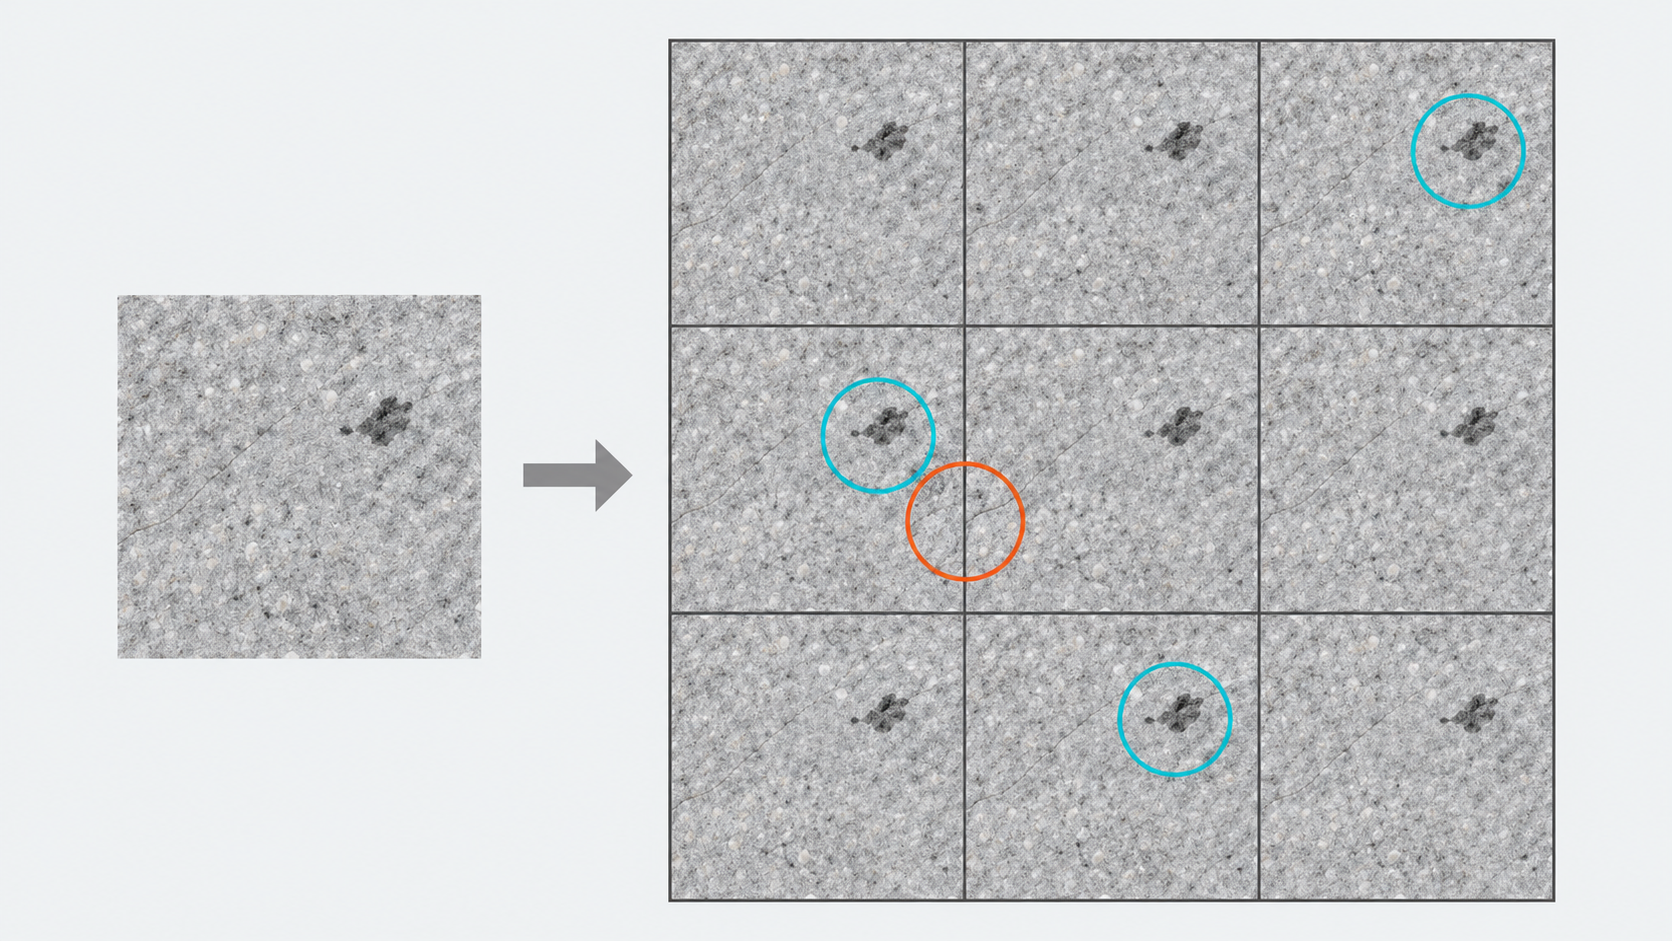
A stone texture can look convincing on its own and reveal a grid of identical dark spots when repeated across a wall. For games and 3D projects, a good-looking image and a usable material are different deliverables.
When using an AI texture generator, treat the first output as a candidate for further work. The Easy-Peasy texture generator page, for example, describes creating texture images with AI. Its available text does not document a verifiable tiling test or a complete PBR material output. An image-generation description is not evidence that an asset is ready for a project.
Describe the surface it needs to cover
“High-resolution stone texture” leaves important decisions open. Specify the material, the intended real-world coverage of one image, the lighting baked into the appearance, and any direction in the pattern. Wood grain may follow the long axis; fabric has a weave; stone may call for a less directional layout.
Here is a suggested starting prompt, not a tested recipe:
> Light gray, fine-grained stone surface, straight-on view, no perspective; intended to cover approximately one square meter; consistent grain scale and low-contrast mottling; even neutral lighting, no obvious cast shadows or specular highlights; avoid distinctive isolated cracks and large color patches; intended to repeat horizontally and vertically.
The coverage is an artistic specification, not a guarantee that the generator produces a physically calibrated asset. Set the UV or tiling scale against an object of known size in your project. Requests for neutral lighting and repeatability also need checking afterward.
To create an initial candidate, you can enter the description and choose a configured model in InkRoom’s image generation interface. Availability, parameters, and costs depend on the current interface and account configuration. Perform the following checks in your image editor or 3D tools; this entry should not be treated as a seamlessness validator or a normal/roughness map exporter.
Look for two different kinds of repetition problems
Start with a 3×3 repeat preview without additional lighting. This is a convenient way to surround a center tile, not a universal acceptance standard.
First inspect the joins for lines, broken features, or sudden brightness changes. Then zoom out and look across the whole surface. A distinctive stain can repeat visibly even when every edge joins correctly. Seamless edges do not guarantee an inconspicuous repeating pattern.
If your editor supports wraparound offsets, shift the image by half its width and height to bring the original edges into the center. Inspect the junction, make any needed edits, and repeat the tiling preview. A clean center alone does not establish that the rest of the image remains usable.
| What appears in the preview | What to try first |
|---|---|
| A line or broken feature at each join | Inspect opposite edges and repair them in an editor with wraparound handling |
| The same conspicuous spot in every tile | Reduce the distinctive feature’s contrast or generate a more even candidate |
| A checkerboard of light and dark areas | Look for a brightness gradient across the source image, not just an edge defect |
| Oversized grain or pores | Check intended coverage and tiling scale before replacing the image |
These are troubleshooting suggestions, not measured results from a particular generator.
Judge resolution at the intended viewing distance
Put the candidate on the target object. Inspect it at the closest expected camera distance and at the normal gameplay or render view, rather than accepting it from pixel dimensions alone.
For a simple coverage calculation, a 2048-pixel-wide image spanning two meters has a nominal density of 1024 pixels per meter. Across four meters, that becomes 512 pixels per meter. These are arithmetic examples, not resolution recommendations or evidence of meaningful image detail. Increasing file dimensions is not proof of additional usable detail either.
Separate source-image color variation from scene effects. If blocks of brightness are visible in an unlit repeat preview, investigate the source first. If they appear only in the scene, also check material settings, lighting, and color management. Keep those conditions fixed when comparing candidates.
A concept image is not a complete PBR material
Base color, roughness, metallic, and normal inputs serve different purposes in a PBR workflow. The required inputs depend on your project’s shader. Do not put the same color image into every channel or assume a dark mark describes a depression or a rough patch.
If the image will become base color, check especially for painted-in shadows and highlights. They remain in the color when the scene adds its own lighting and may conflict with the intended result. Any separately created maps still need to be checked together in the target material.
Keep the prompt, original file, intended coverage, and tiling scale with the candidate. Those records make revisions easier to explain. Accept the texture based on the target object and camera—not the generator’s single-image preview.
Related articles and cases
- AI Infographic Generator: Verify the Data, Then Design the Visual
Keep verified evidence separate from an AI-generated layout draft. Learn how to prepare a traceable brief, choose the right comparison, and finish charts, typography, and source notes with human control.
- AI Book Cover Generator: From Story Brief to Typography Review
Turn a story brief into cover concept art without confusing it with a publication-ready file. Learn how to assess the real title, author name, thumbnail readability, series identity, dimensions, and asset permissions.
- gpt image 2.6 gif: a product-loop brief and unresolved API details
Plan a small product animation and inspect its loop, identity, lettering, and dimensions. Official API routes and animation limits remain unverified in the supplied evidence, so this draft does not offer executable requests or unsupported parameter values.
- AI Poster Generator: Turn an Event Brief into a Publishable Layout
Use a hypothetical event to plan the title, date, colors, dimensions, and text space—then separate visual generation from proofreading and layout for each placement.