AI Sticker Generator Guide: From Portraits to Transparent Backgrounds and Print Edges
Turn an authorized portrait or an original character into a sticker candidate. Learn what to check in expressions, transparency, outlines, and separate exports for messaging and print.
·
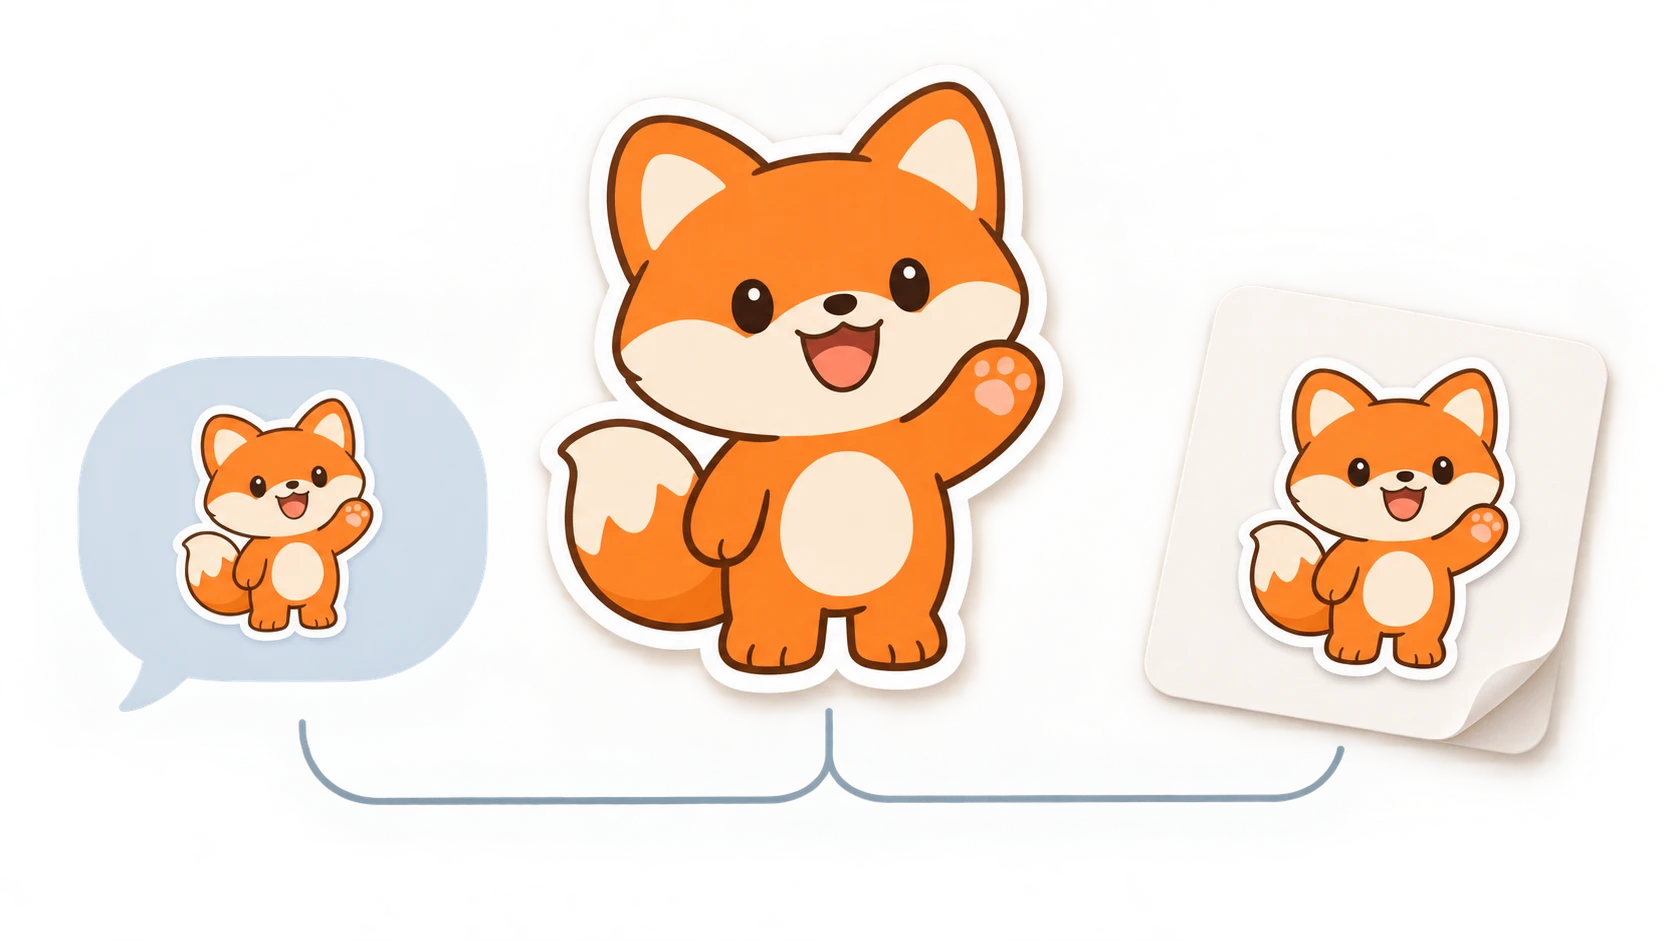
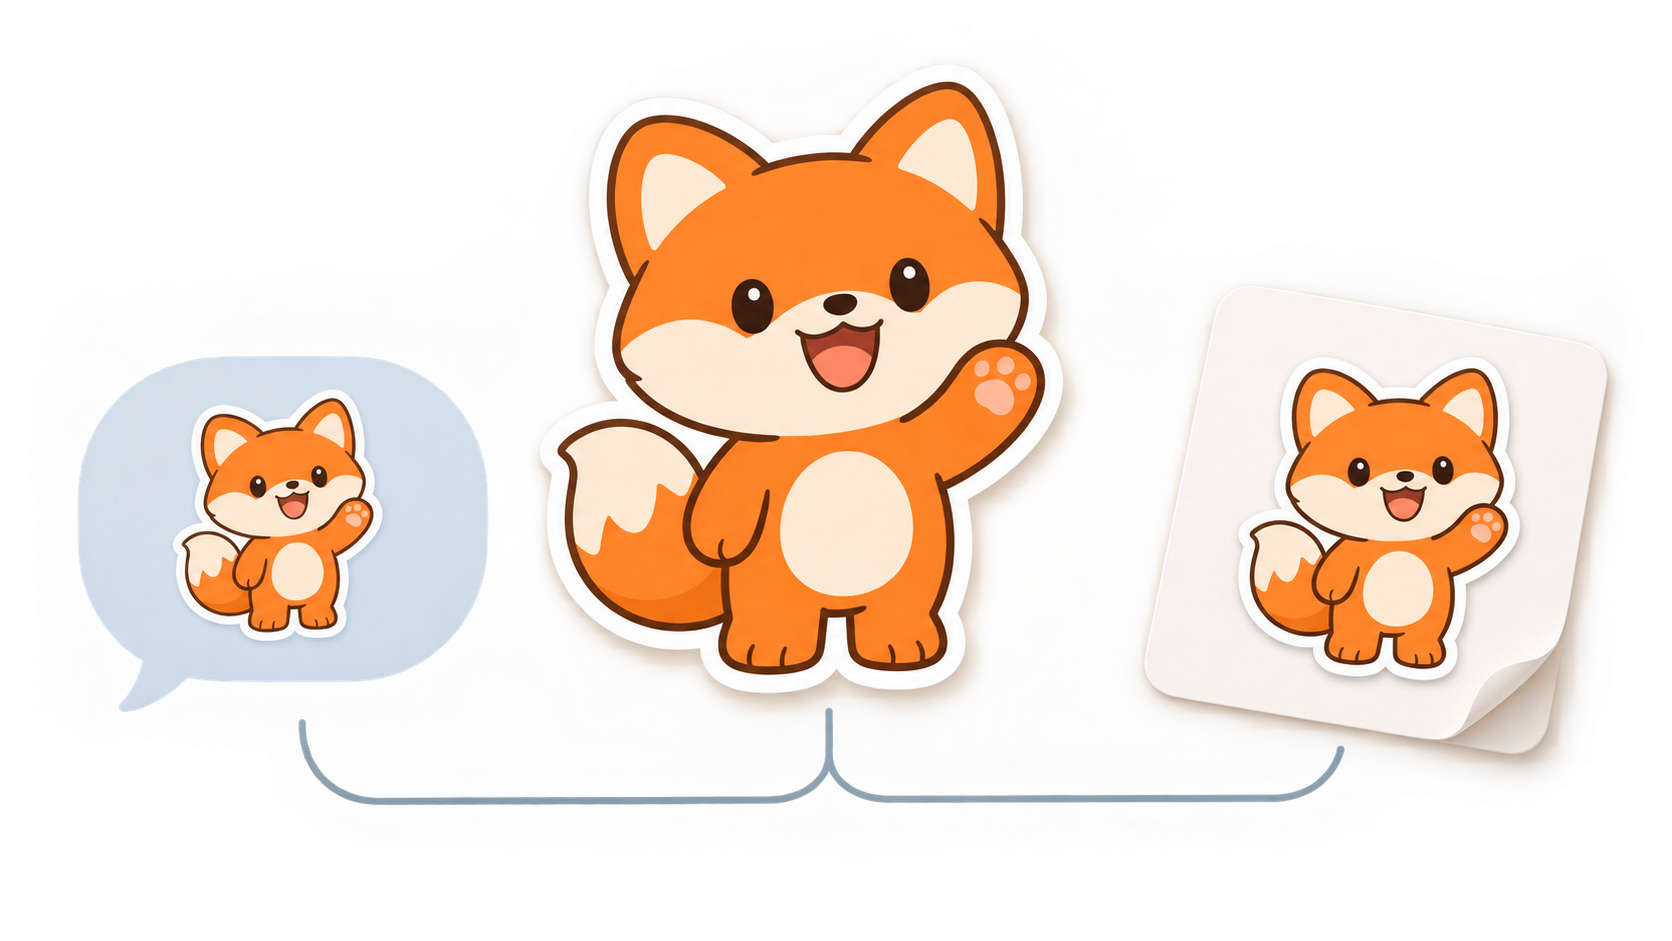
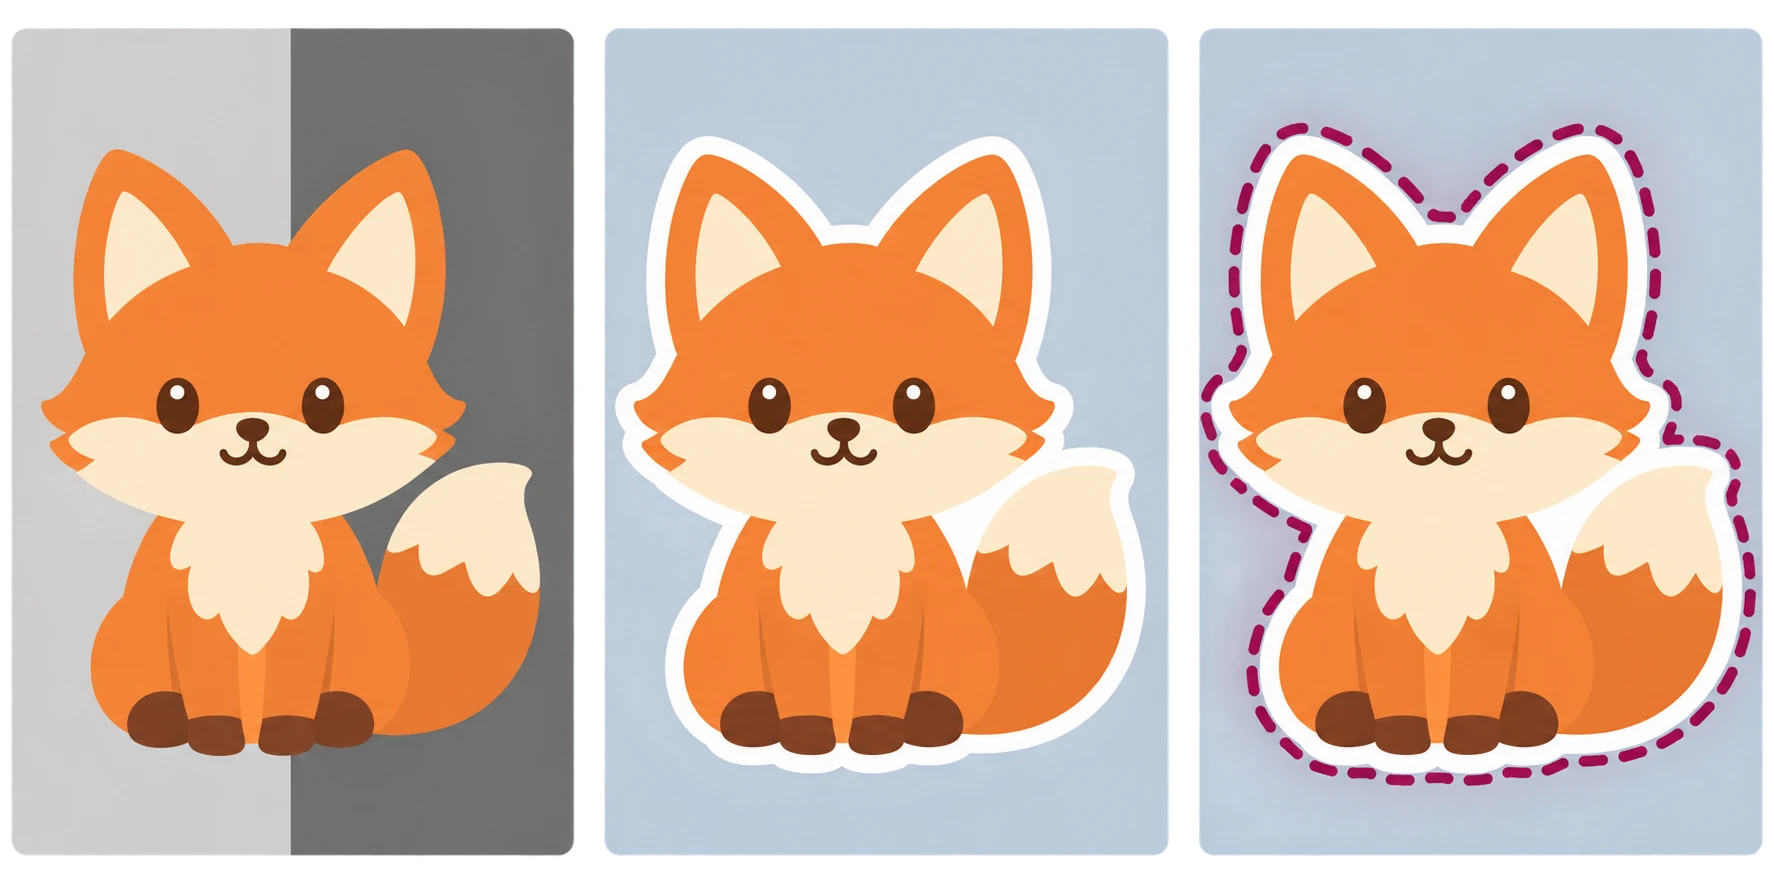
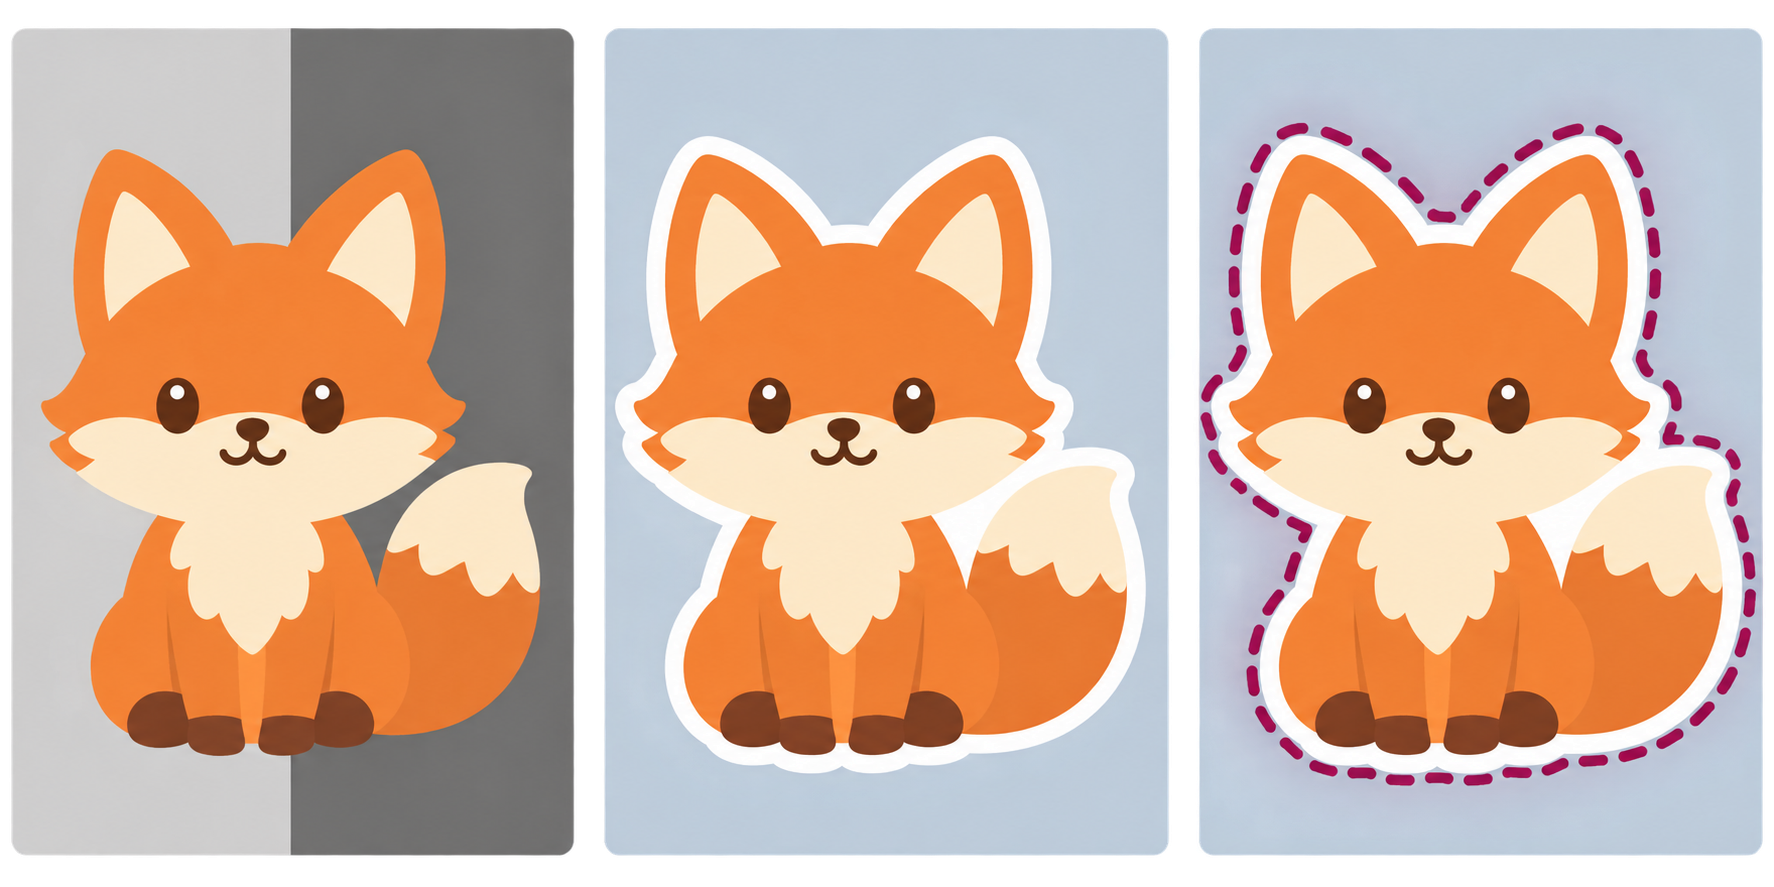
A cartoon portrait is not necessarily a usable sticker. In a chat, the expression can disappear at a small size. On a printed sticker, leftover background pixels can become an unwanted fringe. When using an ai sticker generator, start with what someone should recognize: the person or character, the emotion, and the intended use.
Artificial Studio’s face-to-sticker page describes a photo-upload workflow and transparent PNG downloads for its own product. That makes it relevant to this task, but its descriptions do not establish InkRoom’s capabilities or prove that a downloaded file meets a particular messaging platform’s or printer’s requirements.
Make the expression work at sticker size
Choose one main emotion before settling on a style: delight, confusion, or exasperation, for example. Start with an image where the eyes, eyebrows, mouth, and face outline are visible. A hand, fringe, or accessory covering the expression may remain a problem after stylization.
Use only photos and character artwork you have permission to use. For another person’s likeness, confirm the relevant permission before making or sharing stickers. An upload button does not grant those rights.
Compare the candidate with the original at roughly the size it will appear in a chat. You are not checking whether every hair matches. Check whether the person is recognizable, whether a smile has turned into a smirk, and whether distinctive glasses or a hairstyle have changed. If the emotion depends on a tiny line at the mouth, try simplifying nearby details so the eyes, eyebrows, and mouth do more of the work.
With an existing photo, edit the subject before the background
Rather than requesting a new style, new expression, lettering, and decorations all at once, try separating the changes:
1. Preserve identifying features while choosing one style and expression.
2. Simplify clothing textures, stray details, and objects unrelated to the expression.
3. Handle the background and edges, then check the small preview again.
This is a suggested editing prompt, not a tested recipe or a guarantee:
> Turn this authorized portrait into a simple cartoon sticker candidate. Preserve the glasses, hairstyle, and original smile. Emphasize the eyebrows, eyes, and mouth, and simplify clothing textures. Keep one subject with space around it. Add no text or scene. Aim for a transparent background; if transparency is unavailable, handle it separately afterward.
If you have a source image, you can start at InkRoom’s image editing entry and first check whether the current interface offers the source-image and background operations you need. This is a task entry point, not a promise of one-click stickers, automatic cutouts, or transparent PNG export. Availability, settings, and fees depend on the interface and account configuration. If a necessary operation is unavailable, use an editor that supports it rather than treating a regular background image as a finished sticker.
Without a photo, design an original character first
Here the task is character creation, not a simulated photo-upload workflow. Describe the character’s shape, main colors, expression, and framing, leaving room for later cropping. For example:
> An original round-faced fox with orange fur and a cream muzzle, happily waving. Simple flat colors, a clear silhouette, one centered character with space around it. No lettering and no scene.
At InkRoom’s image generation entry, you can enter a prompt and select from configured models. Available models, settings, and fees depend on the current interface and account. Choose a character candidate first, then check transparency and edges separately. Generating an image does not by itself produce a finished sticker file.
Transparency, a white outline, and a cut line do different jobs
Transparency concerns the background outside the subject. A white outline is visible artwork. A cut line tells a printer where to cut. None is a substitute for the others.
Try placing the exported candidate over both a light and a dark background. A light preview can hide pale fringes that become visible on a dark background; dark residue is easier to spot on a light one. A checkerboard painted into the image is not transparency. Confirm the transparent areas in an editor that supports them.
A white outline should wrap coherently around the subject, not automatically fill every opening in glasses or between an arm and the body. Inspect fine hair, detached ornaments, and sharp corners separately. They can disappear in a small chat preview or complicate a physical cut. Whether to merge or simplify them depends on the final size and printer’s capabilities; there is no universal outline width here.
Prepare messaging and print files separately
The character design can be shared, but an unchecked export should not be treated as ready for both uses.
| Use | What to inspect first | What to confirm before export |
|---|---|---|
| Messaging stickers | Expression, silhouette, spacing, and background at a small display size | The platform’s current format, pixel dimensions, file-size limits, and upload method |
| Physical stickers | Fine lines, visible outline, and cutting relationships at the finished size | The printer’s format, resolution, color settings, bleed, safe area, and cut-line delivery requirements |
For messaging, inspect the sticker against its intended background at approximately its display size, not only zoomed in. Export to the platform’s current requirements and try uploading it. “PNG” alone is not a promise of direct compatibility everywhere.
For print, get the printer’s specifications before deciding export dimensions. If the required resolution is expressed in ppi, use pixels = finished inches × ppi. As a hypothetical example, a 2-inch-wide sticker at a requested 300 ppi needs 600 pixels across. This is arithmetic, not a universal print specification, and enlarging a low-resolution image does not restore missing detail.
No specific platform or printer is supplied for this guide, so a universal pixel size, fixed outline width, or production-ready specification would be misleading. Keep the design candidate separate from the delivery file: use the first to choose the character and expression, and export the second only after confirming the destination’s format, background, and edge requirements.
Related articles and cases
- AI Map Generator: From Worldbuilding Notes to a Usable Fantasy Map Draft
A fantasy map needs more than convincing mountains and rivers. Use a fictional river-crossing scenario to turn worldbuilding notes into visual constraints, then check names, routes, distances, and what players should see.
- AI Diagram Generator: From Source Notes to Verifiable Structure
Turn source material into nodes, relationships, and traceable references before generating a diagram. A clearly fictional example shows how to preserve unknowns, review branches, and choose an editable handoff or an API workflow.
- AI Tattoo Design Generator: Turn an Idea Into an Artist Brief
Use AI to make your tattoo idea easier to discuss, not to declare it ready to tattoo. A hypothetical brief shows how to describe placement, size, and line preferences, then review the concept with a professional tattoo artist.
- AI Pixel Art Generator: From Style References to a Consistent Grid
A retro-looking image is not automatically a usable sprite. Define the intended use, logical grid, and limited palette, then explore silhouettes and check scaling, transparency, and frame consistency before delivery.