AI Pixel Art Generator: From Style References to a Consistent Grid
A retro-looking image is not automatically a usable sprite. Define the intended use, logical grid, and limited palette, then explore silhouettes and check scaling, transparency, and frame consistency before delivery.
·
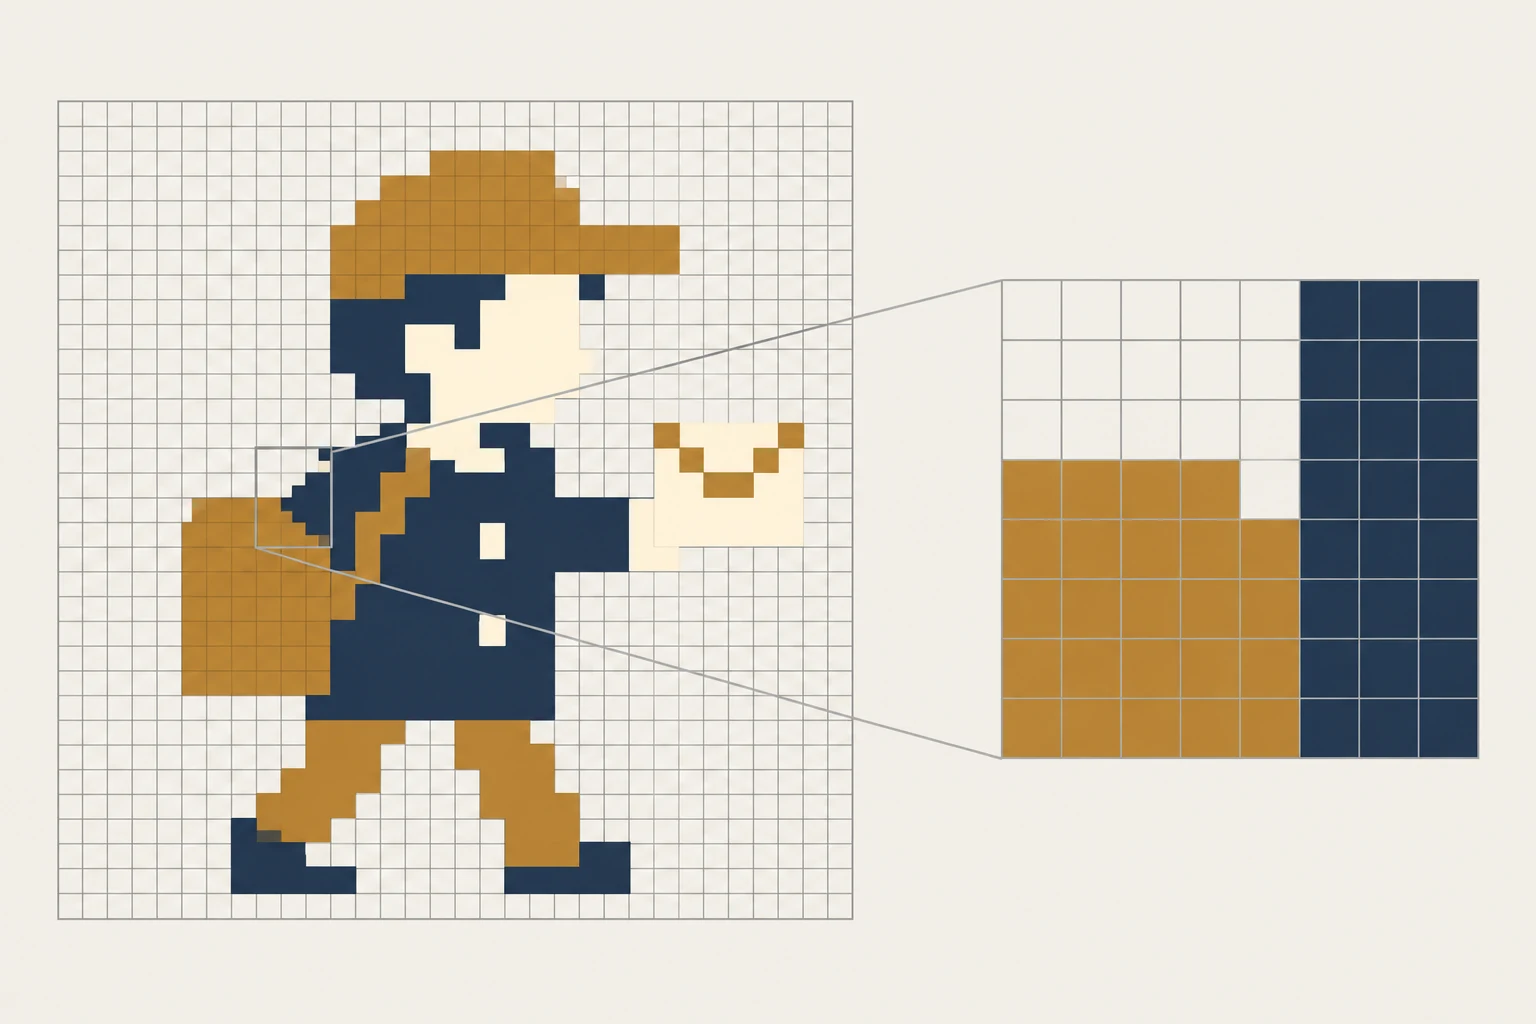
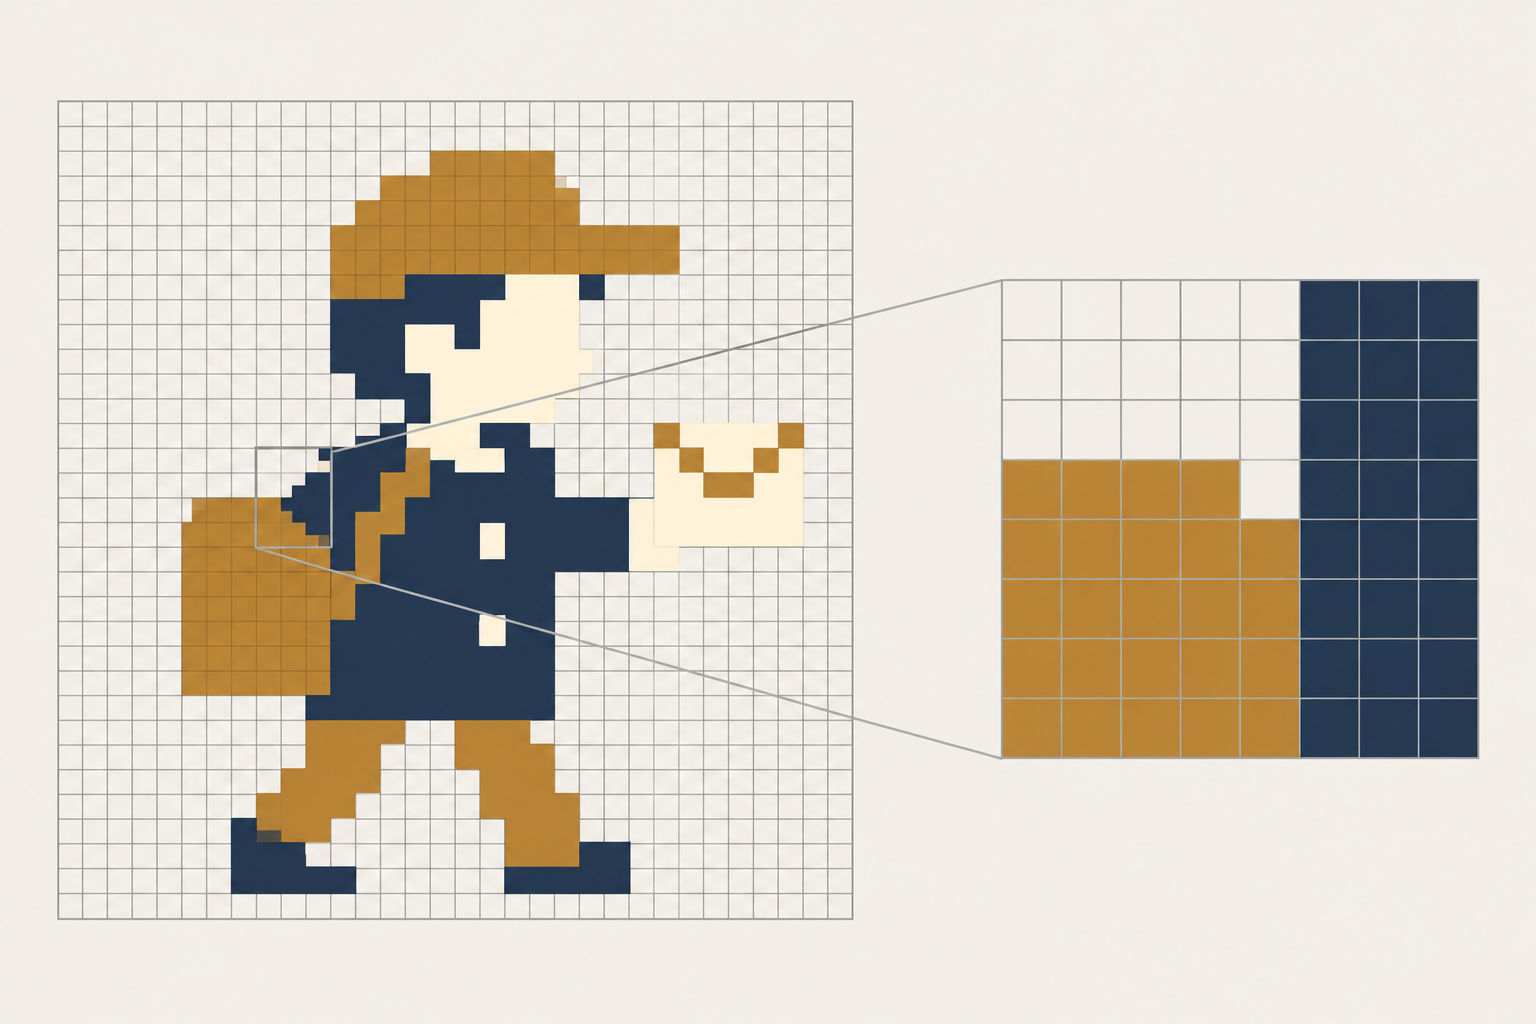
A character can look convincing at full size and lose its eyes, hands, or backpack when reduced to its intended display size. When using an AI pixel art generator, “Does it look retro?” is only part of the question. “Can I still read it where it will actually appear?” matters just as much.
Pixel-style concept art, artwork on a consistent pixel grid, and animation-ready game sprites are different deliverables. The workflow below is a suggested production method, not a report of tested generation results.
Decide how much room the subject has
An avatar needs to remain recognizable when small. A scene needs consistent object scale. A game character may also need room for movement and a stable point of contact with the ground.
Write down the target canvas, subject occupancy, and limited palette before generating. Here, a logical grid means the pixel dimensions you intend to use when constructing the finished asset—not dimensions a prompt can guarantee. “8-bit” can communicate a retro direction, but it does not replace explicit size and color requirements.
| Intended use | Agree on first | Prioritize when choosing drafts |
|---|---|---|
| Profile image | Display size, crop, background contrast | Recognizable face and defining accessories |
| Individual game character | Canvas dimensions, character bounds, foot baseline | Readable silhouette and separated limbs |
| Scene or map assets | Tile size, perspective, shared palette | Consistent scale across doors, characters, and props |
For a practice brief, you might specify a 32 × 32 logical canvas, a right-facing pose, no cropping, and a small chosen palette. These are example constraints, not universal specifications. Enlarging that canvas four times produces a 128 × 128 display image; it does not add character detail.
Ask the first drafts to solve the silhouette
Rather than requesting elaborate armor, rich textures, and several actions at once, explore a few distinct silhouettes. Keep viewpoint, framing, and background requirements similar while changing one defining feature, such as the hat or backpack. This makes the comparison about the design, rather than the amount of decoration.
A starting prompt could be:
> One courier character, full body, standing in right-facing profile, distinctive square backpack, clear silhouette, flat color clusters, mainly navy, ochre, and cream, no gradients, plain background, pixel-style character concept; intended for later reconstruction on a 32 × 32 logical canvas.
The size and colors express intent; they do not guarantee exact grid alignment or a fixed color count. To create a new draft, open InkRoom image generation, enter a prompt, and select a currently configured model. Availability, parameters, and fees depend on the current interface and account configuration. This is a draft-generation entry point, not a claim of dedicated pixel-editing functionality.
Compare candidates at the expected display size before zooming in. If a character only makes sense when enlarged, simplify its design before adding more texture.
For photo references, preserve identity rather than every detail
Turning a photo into pixel-style art is an exercise in selection. A hair silhouette, glasses, or a hat may carry more identity than small folds in clothing. The reference article on photo-to-pixel-art characters discusses this use case and advises checking usage policies. Its descriptions of its own platform’s features, speed, or results do not establish equivalent capabilities elsewhere.
Choose a photo with a clearly visible subject and name two or three features that should survive simplification. If you already have a photo or draft to change, the InkRoom editing entry is the relevant place to check available operations. Do not assume it includes a dedicated pixelation filter, nearest-neighbor resizing, or sprite export.
Return to the target size after editing. If an identifying detail survives only as scattered specks, consider representing it with a larger color cluster instead of reproducing the photograph literally.
Build the grid; do not infer it from a zoomed preview
A high-resolution image can contain unevenly sized blocks and translucent pixels along their edges. Looking pixelated does not establish a consistent logical grid.
A practical approach is to use the chosen draft as a reference in a tool that supports pixel-level editing and selectable resampling, then reconstruct the important shapes on the target canvas. Direct downscaling can be an experiment, but its output is not automatically finished: eyes, fingers, and narrow gaps may need deliberate repositioning.
Nearest-neighbor resizing takes the color of a neighboring sample rather than blending surrounding colors as bilinear interpolation does. With integer enlargement, each source pixel becomes an equally sized block. At 4×, one source pixel occupies 4 × 4 display pixels. Non-integer scaling can produce uneven displayed block widths.
Switch between intended display size and an integer-enlarged view. Use the former to assess readability and the latter to find stray colors, broken lines, and unwanted soft edges. Nearest-neighbor scaling does not repair blur already present in the source or automatically align separate assets to a shared grid.
A game sprite needs more than an exported image
A static concept can establish the design. Animation requires the frames to work together. Place frames on matching canvases and align them using a consistent anchor or foot baseline. Flip between them to inspect unintended changes in the head, torso, accessories, and palette. A moving leg may be intentional; a backpack changing shape without reason is a separate issue.
At export, inspect actual pixel dimensions and file format. If the project needs transparency, verify that the file contains real alpha transparency rather than a painted checkerboard. Preview it against both light and dark backgrounds, then inspect it in the destination software for softening caused by texture filtering or display scaling. Saving as PNG alone does not guarantee transparency or crisp edges.
Finally, check the generation service’s current terms, permissions for reference photos and other materials, and the project’s delivery requirements. Until those checks are complete, describe the result as a pixel-style draft rather than a game-ready sprite.
Related articles and cases
- AI Logo Generator: From Brand Brief to a Usable Mark
Turn a brand brief into comparable logo concepts, then review actual-size legibility, monochrome use, backgrounds, spelling, rights, and delivery files before adopting a design.
- AI Wedding Invitation Generator: Layout, Names, Dates, and Print Delivery
Turn a wedding brief into an invitation visual without treating the generated image as a finished invitation. Plan text hierarchy, verify event details, and prepare digital and print versions separately.
- How to Choose an AI Image Editing API: Inputs, Masks, Async Results and Cost
Evaluate an image editing API against delivery requirements, not just sample images. A developer-focused method for checking input contracts, recovering uncertain requests, testing preservation and reconciling actual costs.
- AI Floor Plan Generator: From Layout Ideas to Measurement Review
Turn room requirements into a conceptual layout without mistaking an attractive image for a measured plan. Learn what to describe, how to compare arrangements, and what to check against original measurements.