AI Product Mockup Generator: Where Concept Visuals Stop
Explore presentation ideas with product photos and brand references without treating a concept mockup as a product photograph or print proof. Choose the right deliverable and check proportions, text, logos, materials, and lighting.
·
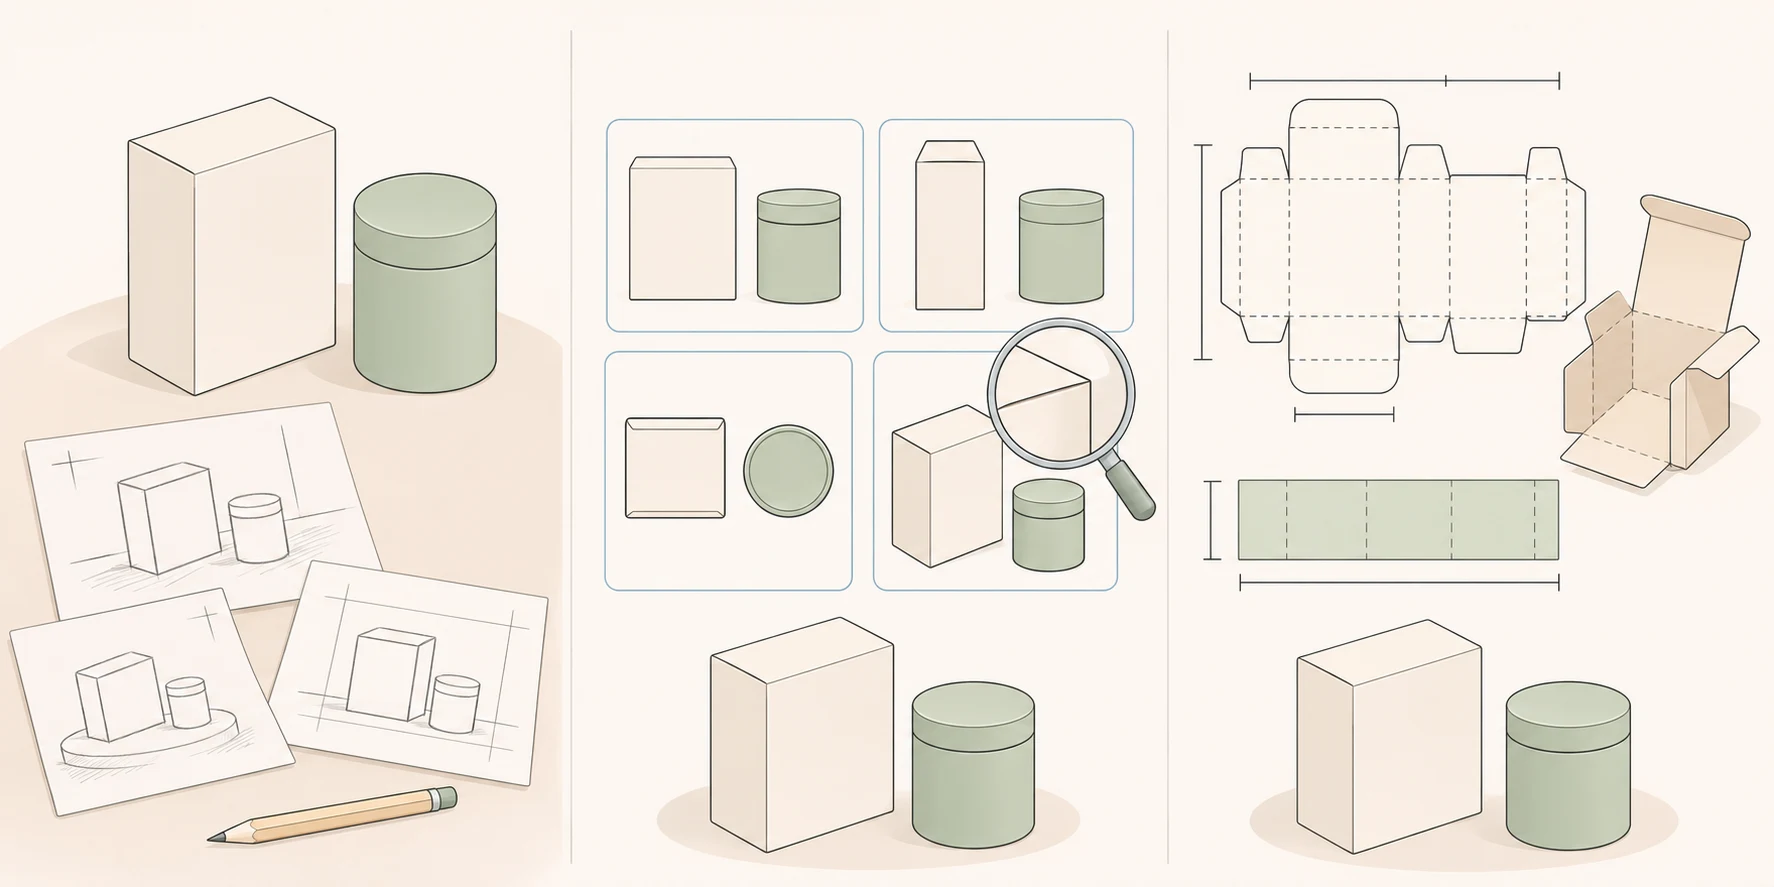
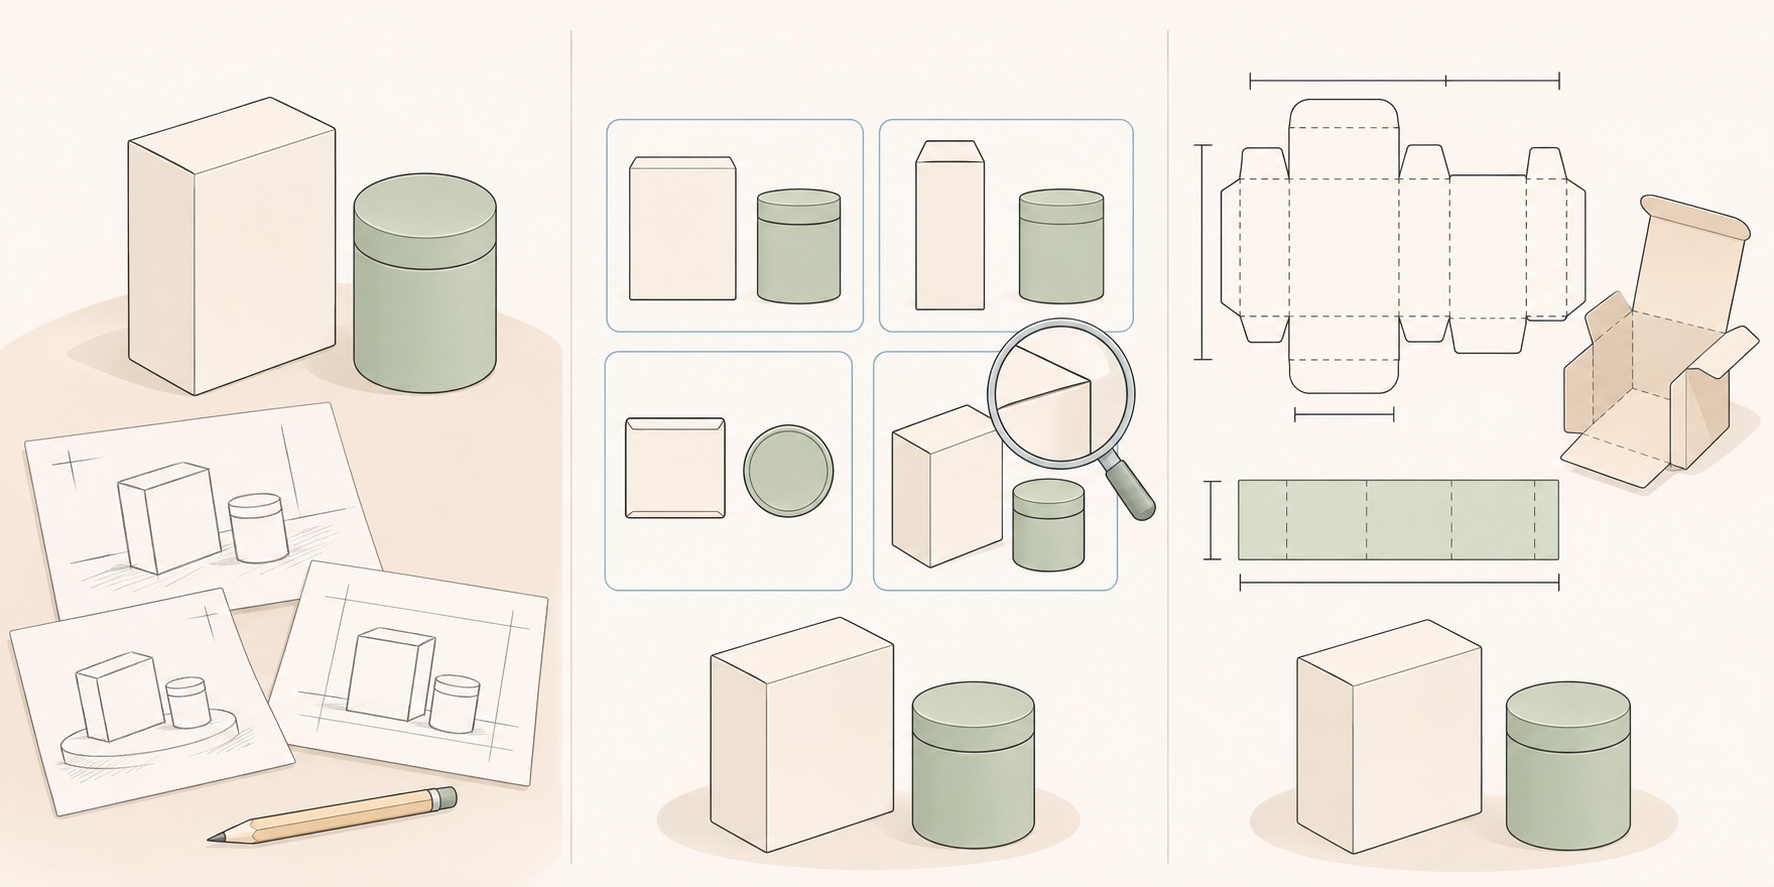
A packaging image can look finished without showing what a customer will actually receive. Before using an ai product mockup generator, decide what the image needs to help someone do: discuss a visual direction, understand a real product, or approve production details. Those tasks need different standards.
A concept mockup can support a discussion about setting, composition, and mood. A listing image needs to represent the item being sold. Production approval needs dimensions, artwork, and process-specific information. A convincing picture does not replace that evidence.
The same word can describe different deliverables
MyDesigns’ mockup guide describes mapping a design file onto a pre-built product template. That is a different task from asking a generative tool to create a new scene using text or references. A template still needs to match the actual product; a generated scene should not be assumed to preserve product details merely because a reference photo was supplied.
Use the intended destination to set the boundary:
| Intended use | What needs to be communicated or checked | Suitable deliverable and boundary |
|---|---|---|
| Brand proposal or internal concept review | Setting, composition, palette, material direction | A labeled concept visual, not evidence of a physical result |
| Product listing | Actual variant, color, construction, and packaging information | Verifiable photography or a product-matched template; a concept image should not serve as proof of product facts |
| Print or manufacturing approval | Dimensions, dielines, artwork placement, process requirements | Appropriate design files, supplier confirmation, and physical proofs where needed—not a generated image alone |
Separate product facts from scene choices
Start with photos that explain the front, side, and important structural details. Add brand colors, official logo artwork, and packaging copy. Give each reference a purpose: photos establish what to check, brand references guide the presentation, and official artwork supports accurate layout later. Providing those references does not guarantee that a generator will reproduce them precisely.
For the brief, separate details that must not change from choices open to exploration. The first group might include the cap construction, package opening, label area, and product proportions. The second might include the background, surface, camera angle, negative space, and lighting. This distinction helps you tell a weak scene choice from a changed product.
Here is an illustrative brief, not a tested recipe or an accuracy guarantee:
> Explore a skincare packaging concept for an internal brand proposal. Use the product photos as structural references and preserve the relationship between the bottle and cap proportions. Try a pale stone surface, soft side lighting, and space for copy on the right. Check packaging text and the logo against official artwork; do not use the generated image to confirm spelling or logo geometry. This round is for composition and material direction, not photography or print approval.
To explore a new image, open InkRoom’s image generation entry, describe the intended use, setting, materials, and lighting, and choose a model configured in the current interface. Reference options, availability, parameters, and fees depend on the interface and account configuration. The entry provides a place to start creating; it is not a promise of exact artwork mapping, dimensional fidelity, or print-ready files.
Decide what to regenerate—and what to move elsewhere
Review candidates beside the original references rather than choosing only the most polished-looking image.
Start with proportions and construction. Has the bottle become wider? Does the box opening make sense? Are important components still present? A changed structure prevents the image from serving as an accurate depiction of that product. For concept work, you can keep exploring references and composition. For exact correspondence, move to a matching template, design software, or photography workflow.
Check text and logos separately. Compare product names, specifications, logo outlines, spacing, and placement with the official files. If the setting works but small text does not, repeatedly regenerating the entire image may be the wrong task. Retain the composition direction and place official artwork in design software. Curved surfaces, perspective, occlusion, and print position still need to be checked in an appropriate template; a flat overlay is not the end of the job.
Then inspect materials and lighting. Has transparent packaging become opaque? Does a matte surface look like glossy plastic? Do reflections hide important information? Compare against product photos rather than inferring the real material from the generated result. Contact shadows and reflections should also make sense within the scene. They affect visual plausibility, not proof of a material or printing outcome.
Count review and rework, not just generated images
To evaluate a workflow, use the same brief and record the input version, selected model, number of generations, generation charges, review time, correction time, and number of usable deliverables. Leave unknown costs blank rather than treating them as zero. Without an actual test, do not report speed or savings percentages.
Record why images were rejected. Reworking an unsuitable background is different from correcting a wrong logo, distorted proportions, or an invented package structure. The first may call for another scene exploration; the second may call for a different production method.
When handing over a candidate, attach its intended use and unresolved issues—for example, “Internal concept review; composition under consideration; label text unverified.” That preserves its value as a discussion image without letting an unverified concept become an approved product claim.
Related articles and cases
- Consistent Character AI Generator: Build a Character Sheet That Helps You Review
Separate character identity from scene changes. Use a clear reference, a compact character sheet, and targeted comparisons to review the same character across poses, angles, and lighting.
- AI Comic Storyboard Generator: Make Each Panel Follow the Story
Use an invented short scene to turn a script into panel descriptions, establish character and setting references, and review generated roughs for continuity before lettering and layout.
- AI Background Remover for Product Photos: White, Transparent, and Clean Edges
A white background is not the same as a transparent file. Learn how to check exported product photos, inspect handle openings, glass, fine fibers, and shadows, and flag areas that need manual editing.
- AI image to image generator: change one thing, then check what stayed
Use an existing product or character image with a clear change request and explicit preservation requirements. Learn how to write a focused prompt, review the result, and track cost by usable output rather than candidate count.