AI Background Remover for Product Photos: White, Transparent, and Clean Edges
A white background is not the same as a transparent file. Learn how to check exported product photos, inspect handle openings, glass, fine fibers, and shadows, and flag areas that need manual editing.
·
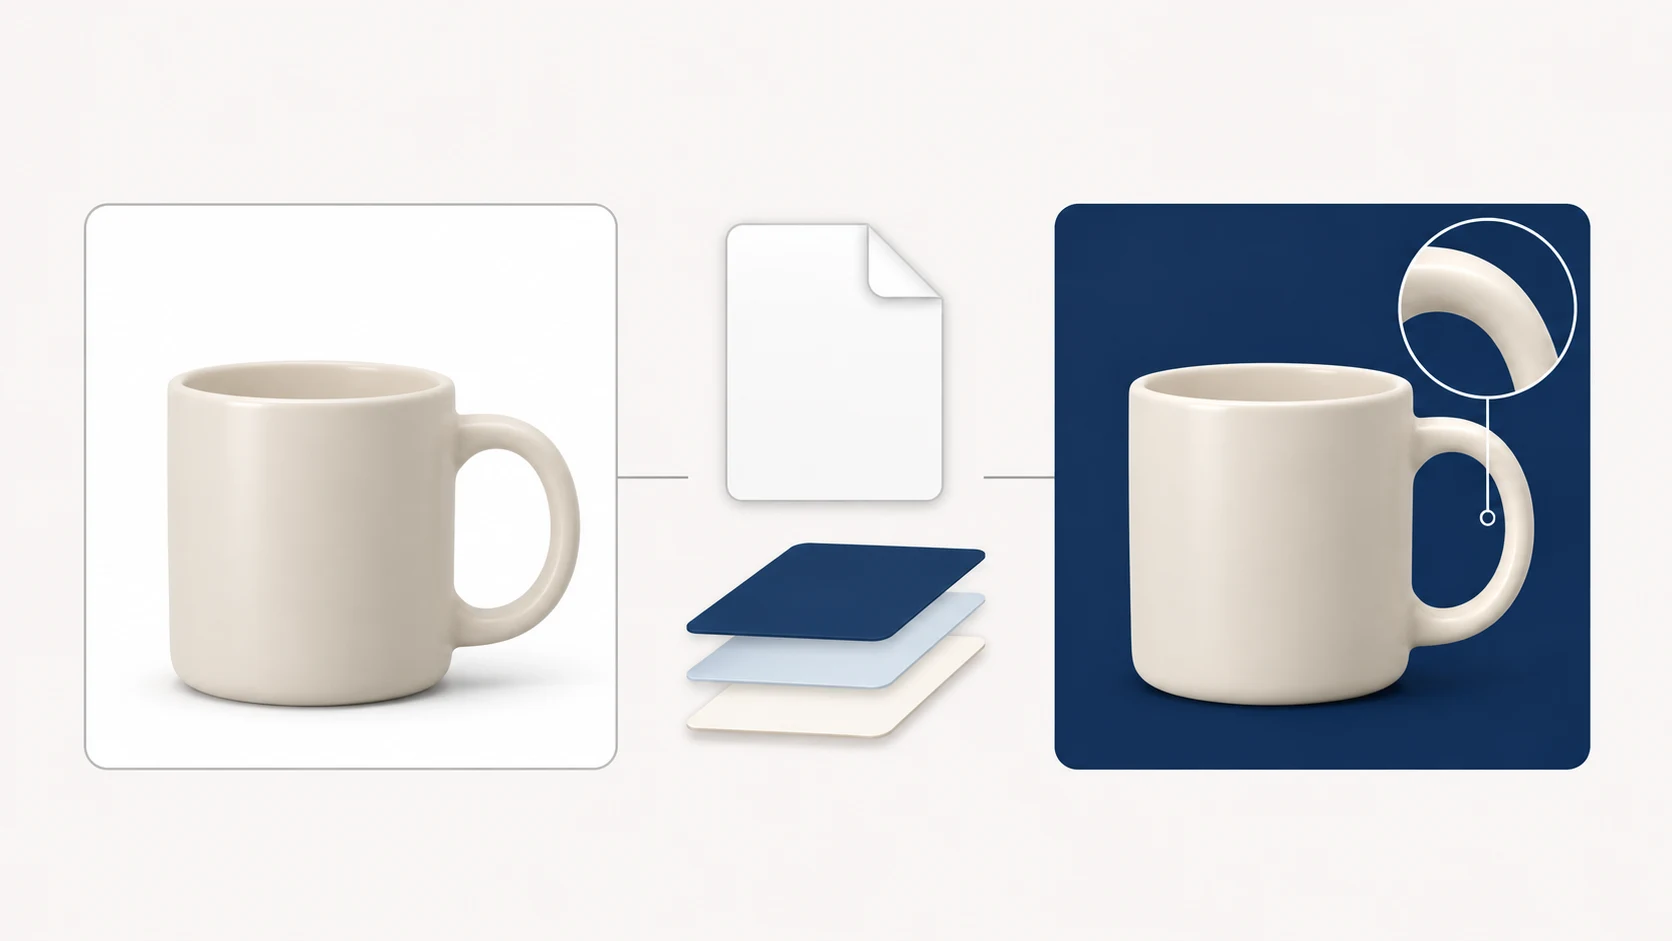
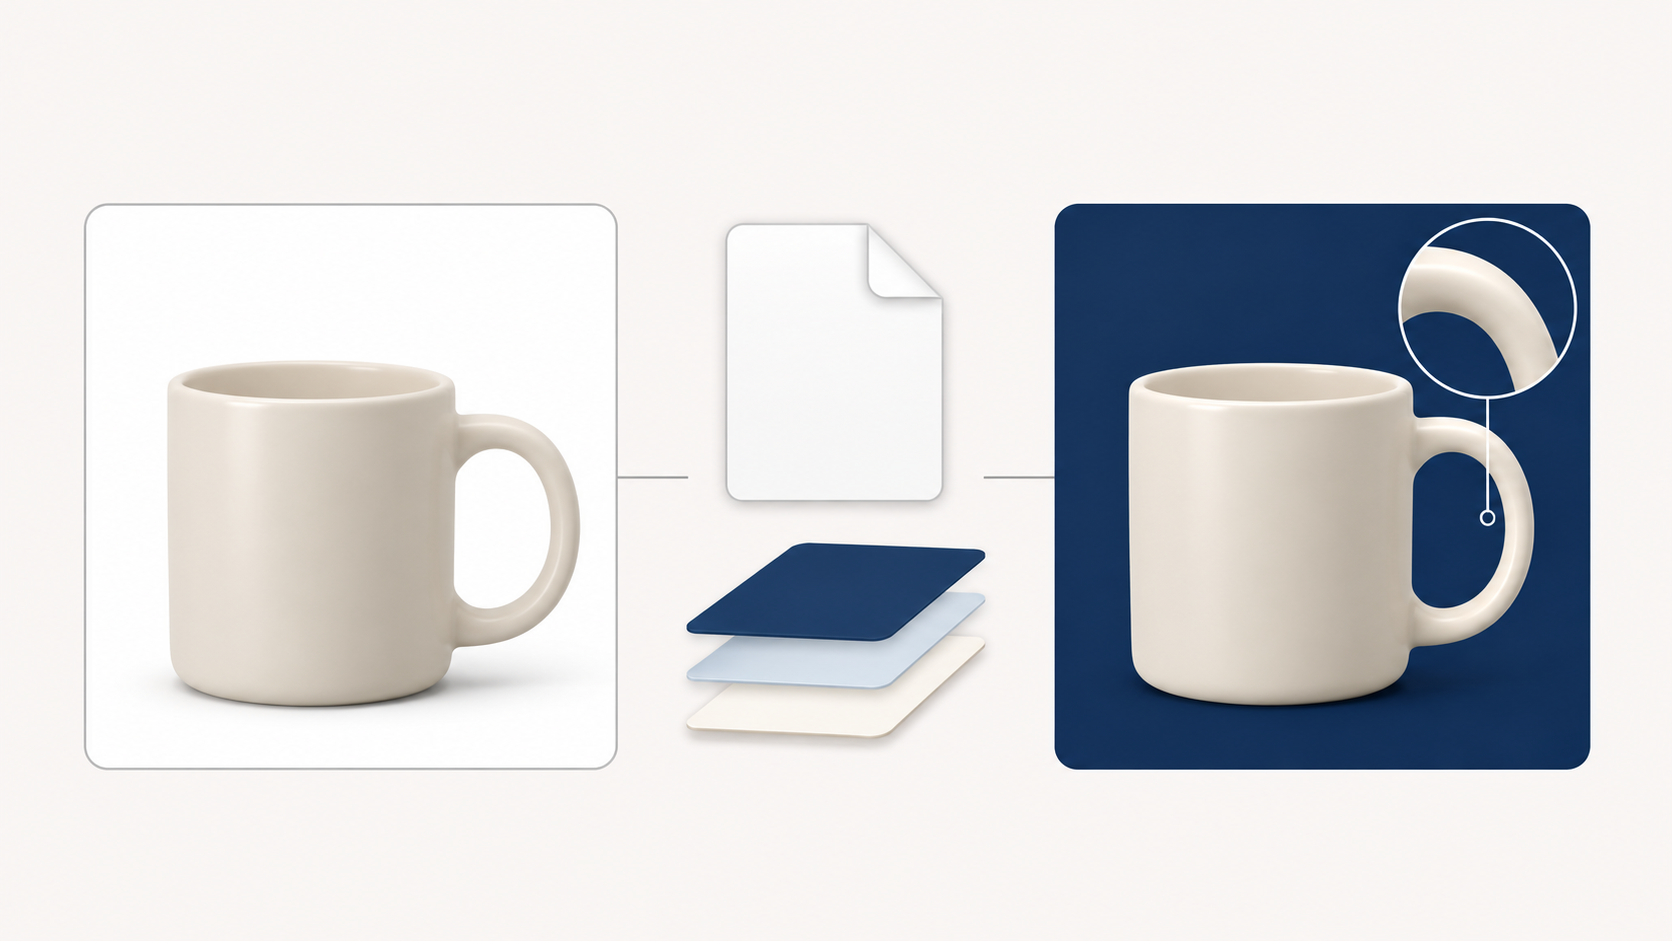
An AI background remover for product photos should help you prepare an existing photograph for its next use. But a white background, an isolated subject, and a genuinely transparent file are different deliverables. A clean preview alone does not tell you which one you have.
The Magic Studio background-remover page lists white, black, and colored backgrounds as options. That provides context for the task—not evidence that a particular tool will preserve every edge or export the file you need. This guide focuses on checking the result rather than comparing tool performance.
Choose the deliverable, not just the background color
| Intended use | What the file needs | How to check it |
|---|---|---|
| A product image on a fixed white background | The required white background, with the product and any permitted shadow intact | Inspect at the final display size, then examine edges; check destination-specific requirements separately |
| A product cutout for placement on other backgrounds | Actual transparency outside the subject, not white pixels or a baked-in checkerboard | Open the exported file in a transparency-aware editor and place it over both dark and light backgrounds |
| A file for later edge adjustments | The original and an editable file; a mask too, if supported | Reopen the file and confirm that the subject boundary remains editable |
An alpha channel stores pixel opacity. For transparent delivery, check both that transparency is supported and that the pixels outside the subject are actually transparent. An alpha channel can exist while every pixel remains fully opaque.
PNG can store transparency, but a PNG can also be entirely opaque. JPEG does not store alpha transparency. A checkerboard is not proof by itself either: it may be part of the image. Inspect the exported file, not only the editor preview.
Keep the original before editing the background
Work on a copy. Before making changes, note features that must survive: openings inside handles, glass rims, fine fibers, label lettering, and the shadow where the product meets a surface.
To continue working on an existing image, you can open the InkRoom image editor and use the features available in the current interface. This is an editing entry point, not a verified promise of automatic background removal, transparent export, or alpha inspection. If the interface does not support your required deliverable, finish it in an editor that does.
Keep the task limited to separating the photographed product from its background, rather than generating a new scene. Compare against the original: filled-in openings, changed packaging text, or a reshaped outline are product changes, even when the new background looks tidy.
Inspect the product’s structure, not only its outline
The following is a suggested inspection method, not a report of tool testing. Start with openings inside the subject, then inspect material edges, and decide separately what to do with the shadow.
Handles and cutouts. Background can remain inside a mug handle or a perforated product even when the outer edge looks clean. Use a temporary background that contrasts with the original background. Compare with the source photo so you do not accidentally remove the product’s inner surfaces.
Glass. Transparent glass can carry both transmitted background color and reflections of the original environment. Removing the exterior background does not automatically remove those colors from the glass. Erasing its interior completely can also remove thickness cues, rims, and highlights. A substantially different destination background may require separate retouching or a new photograph. A transparent file does not make glass look natural on every background.
Fur and fine fibers. Switch between light and dark temporary backgrounds. A pale fringe can disappear on white, while dark residue can hide against black. Inspect near native-pixel size, then return to the intended display size. Do not trim away real fibers simply to make the outline look sharper.
Shadows. Decide whether the destination needs one. A contact shadow may help ground a product, but a shadow from the original photograph can contain background color. A fixed-white version and a reusable transparent cutout may need different shadow treatments. Neither keeping every shadow nor deleting every shadow is a universal rule.
Reopen the export before handing it over
Inspect the exported file over light and dark temporary backgrounds, paying attention to openings, fringes, and partially transparent areas. Keep those test backgrounds out of the final transparent export. Then view the image in its intended layout and at its intended size.
For unfinished areas, record the location, problem, and desired correction. For example: “Inside the mug handle—original beige background remains—remove it while preserving the inner glazed surface.” That is more actionable than “clean up the edges.”
If glass still carries an obvious old background, or fine fibers have been cut away, mark the file as needing revision. A white-looking image is not sufficient evidence of a finished cutout. Keep the original, editable working file, and final export separately so later changes remain traceable.
Related articles and cases
- AI Product Mockup Generator: Where Concept Visuals Stop
Explore presentation ideas with product photos and brand references without treating a concept mockup as a product photograph or print proof. Choose the right deliverable and check proportions, text, logos, materials, and lighting.
- Consistent Character AI Generator: Build a Character Sheet That Helps You Review
Separate character identity from scene changes. Use a clear reference, a compact character sheet, and targeted comparisons to review the same character across poses, angles, and lighting.
- AI Comic Storyboard Generator: Make Each Panel Follow the Story
Use an invented short scene to turn a script into panel descriptions, establish character and setting references, and review generated roughs for continuity before lettering and layout.
- AI image to image generator: change one thing, then check what stayed
Use an existing product or character image with a clear change request and explicit preservation requirements. Learn how to write a focused prompt, review the result, and track cost by usable output rather than candidate count.