AI image to image generator: change one thing, then check what stayed
Use an existing product or character image with a clear change request and explicit preservation requirements. Learn how to write a focused prompt, review the result, and track cost by usable output rather than candidate count.
·
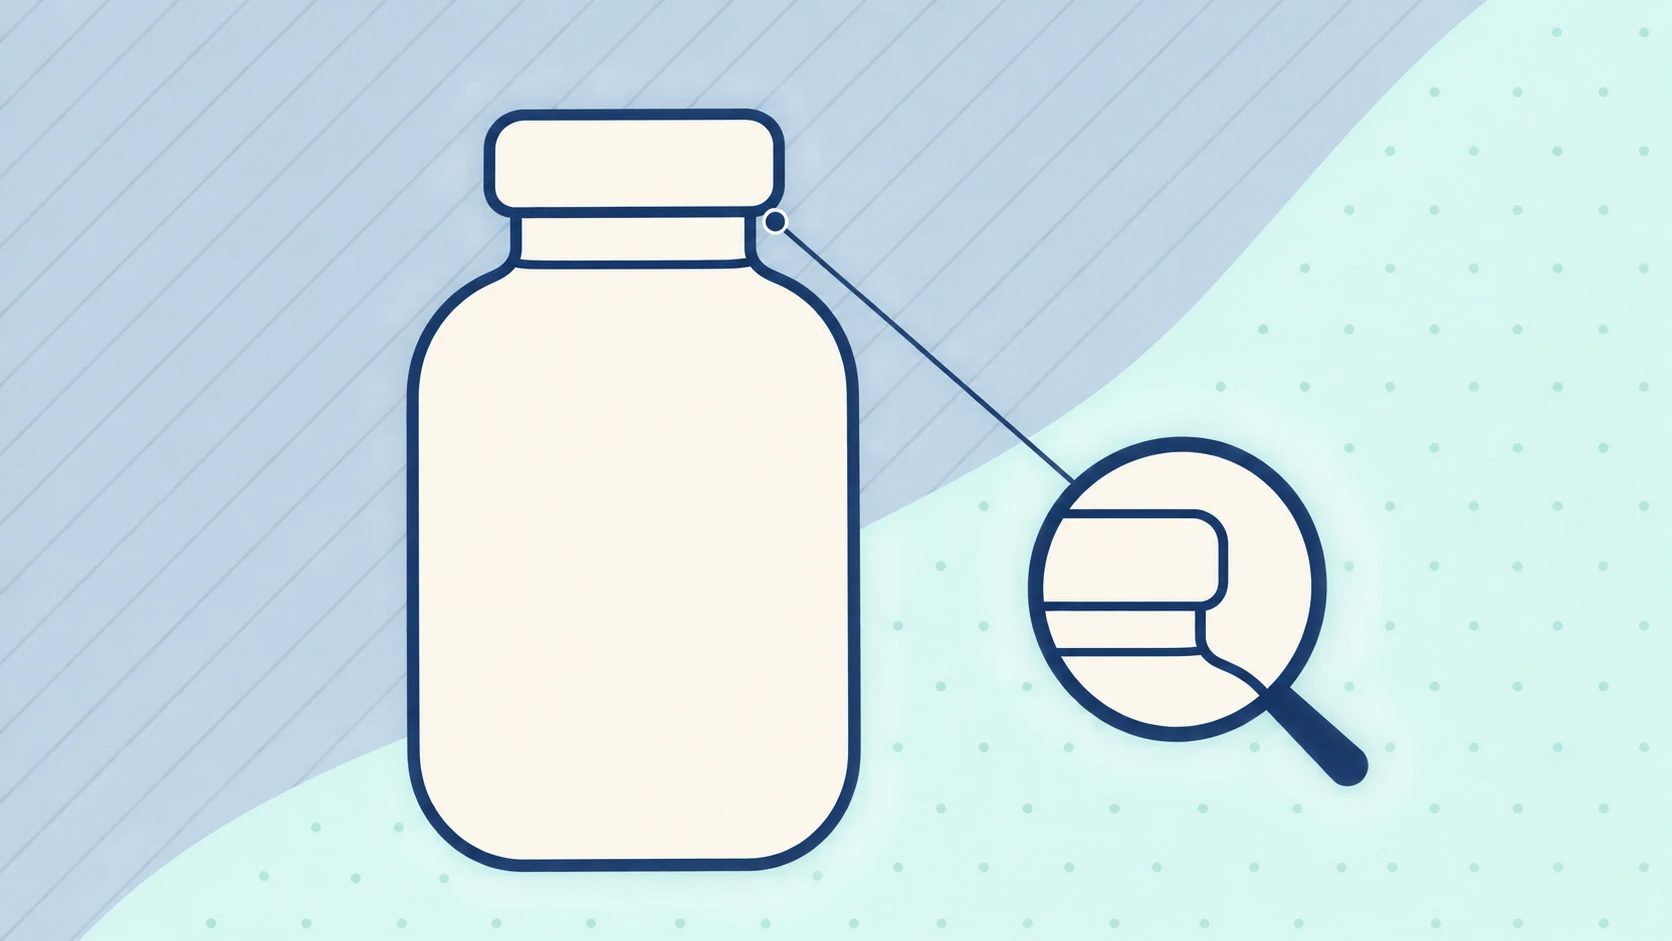
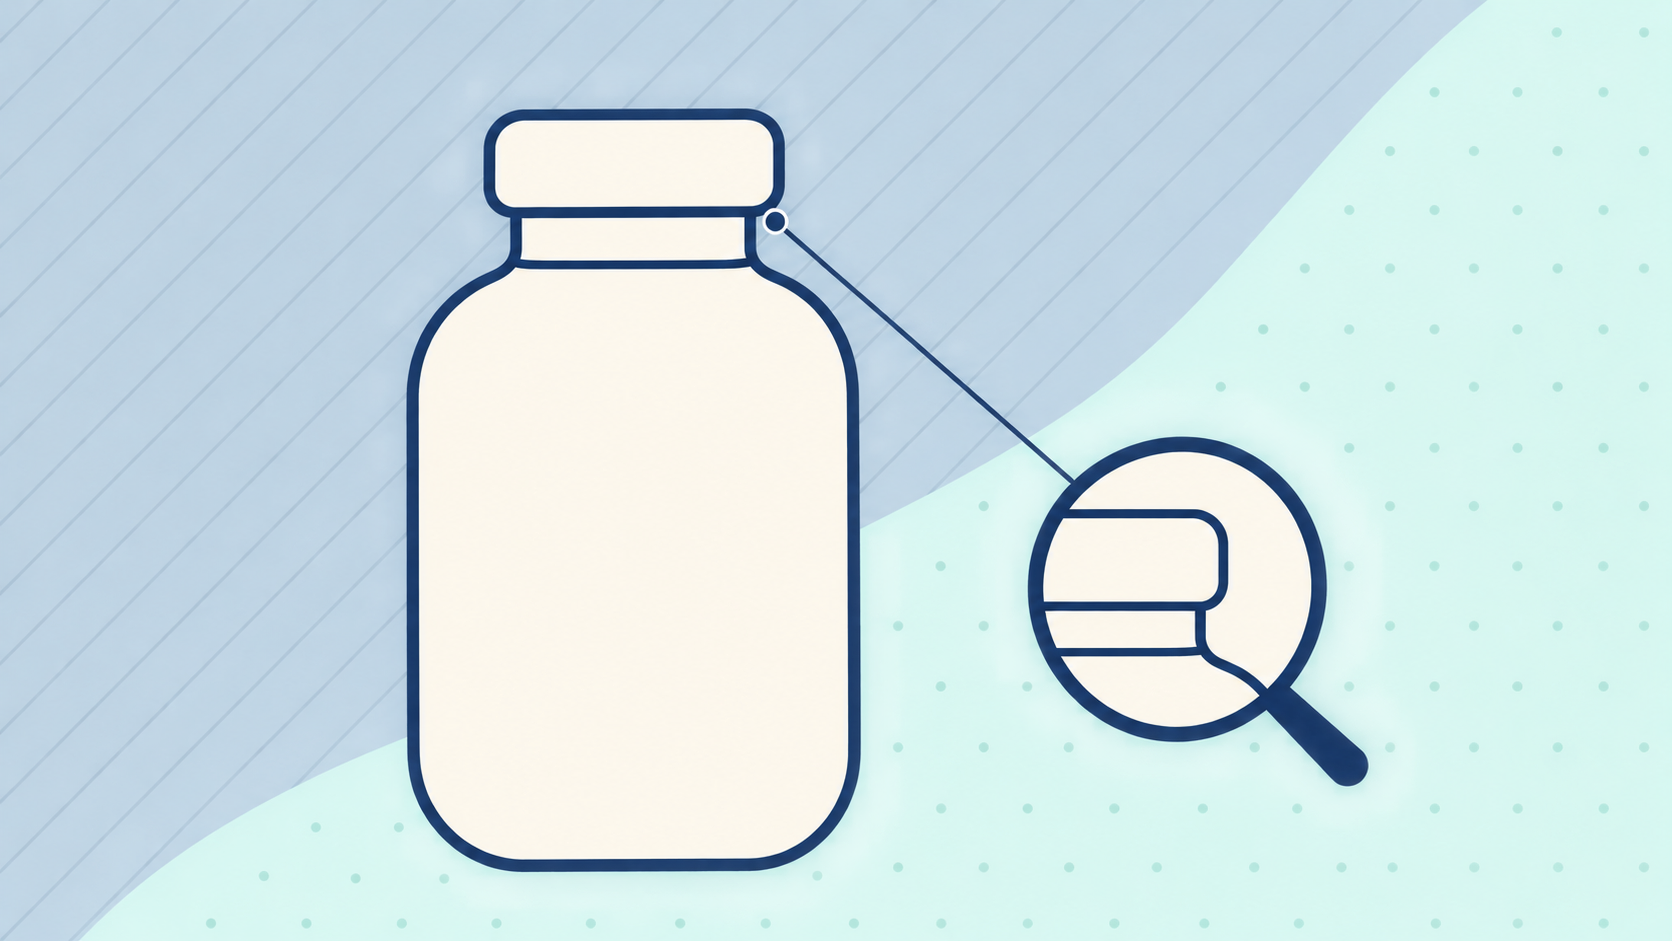
A product image with a new atmospheric background might work for a creative pitch. For a product listing, though, an attractive result does not excuse an altered bottle shape, label, or color. The same distinction applies to characters: a fresh visual interpretation is not automatically a faithful continuation of the same character.
Before using an AI image to image generator, decide whether you want a creative variation or a limited edit that must follow the original. The inputs may look similar; the acceptance criteria should not.
Let the source guide appearance and the prompt define the change
Kling’s image-to-image explanation describes the basic division of roles: a source image can guide the subject, composition, colors, or style, while the prompt describes what to preserve, change, or add. That is a useful starting point—not evidence that every tool will preserve those elements without error.
For a focused edit, separate your input into three parts:
- Source image: the visible appearance to follow. Labels, facial features, and accessories you need to verify should be legible in the source.
- Change request: the one thing you want to alter this time, such as the background, rather than the background, viewpoint, and lighting together.
- Preservation requirements: details that must not change as a side effect, such as subject position, scale, cap shape, or hairstyle.
This is a suggested way to organize the task, not a fidelity guarantee. If a required detail is unreadable in the original, obtain clearer material instead of asking the model to guess it.
With your source and requirements ready, you can open the InkRoom image editor and work with the functions and configured models available in the current interface. Availability, settings, and fees depend on the interface and account configuration. The prompts below express editing requirements; they do not establish that this entry offers a particular selection tool or guarantees unchanged pixels elsewhere.
Make “change only one thing” specific
“Keep it consistent” leaves too much unspecified. Name the editable area and the visible features that should remain. These are proposed prompts, not tested outputs.
Product: replace only the background
> Replace only the background with a light gray studio backdrop. Preserve the bottle’s outline, cap shape, label text, colors, orientation, position, and size within the frame. Add no props and do not redesign the packaging.
A new packaging pattern may be welcome in a concept exploration. For an existing product listing, an altered label or package structure should fail the check. When exact lettering is required, retain the original label asset and consider conventional compositing or manual retouching for the final image.
Character: replace the background without redesigning the person
> Replace only the background with a simple interior wall. Preserve the character’s facial features, hairstyle, clothing, accessories, pose, framing, and position. Do not change the expression or add another person.
The aim is to limit simultaneous changes so deviations are easier to identify—not to guarantee identity. Matching hair color alone is insufficient: compare eye shape, facial outline, garment structure, and distinctive accessories too.
If you need more ways to express the request, browse InkRoom’s prompt references. Examples can help with wording; they do not prove that a phrase will preserve every detail.
Review for the intended use, not the thumbnail
Compare each candidate beside the source, then inspect relevant details at a larger view. Apply the same criteria to every candidate rather than relaxing them for the most appealing image.
| Check | What to inspect | How to handle a discrepancy |
|---|---|---|
| Dimensions and framing | Actual pixel dimensions, aspect ratio, crop boundaries, subject position and scale | Check file properties against the intended placement; record size problems separately |
| Product details | Label text character by character, cap and package outlines, color, accessory count | Compare with the source and product records; unapproved changes are not directly usable |
| Character details | Facial features, hairstyle, clothes, accessories, pose | Compare against the source; distinguish permitted variation from identity drift |
| Edit boundary | Missing edges, remnants, duplicated or added objects | Inspect locally and record the specific area needing correction |
A sharp-looking preview does not establish the required pixel dimensions. A similar style does not establish subject fidelity. Mark details without reliable reference material as unconfirmed, not correct by default.
Track cost against usable output
Generated candidates are not the same as delivered images. For each round, record the source version, prompt, actual model and settings, candidate count, directly usable count, images needing correction, rejection reasons, actual charges, and labor time.
A useful calculation is actual generation charges for the round ÷ final usable images from that round. If you include manual retouching, state the costing basis. If no image is usable, record that outcome and the charges incurred; do not call it zero cost.
Keep “usable immediately” separate from “usable after repair,” including repair time. That record helps you decide whether to revise the request, supply a clearer source, or move to manual editing. No generation test was run for this article, so it reports no success rate, fixed generation time, or per-image price.
Related articles and cases
- AI Product Mockup Generator: Where Concept Visuals Stop
Explore presentation ideas with product photos and brand references without treating a concept mockup as a product photograph or print proof. Choose the right deliverable and check proportions, text, logos, materials, and lighting.
- Consistent Character AI Generator: Build a Character Sheet That Helps You Review
Separate character identity from scene changes. Use a clear reference, a compact character sheet, and targeted comparisons to review the same character across poses, angles, and lighting.
- AI Comic Storyboard Generator: Make Each Panel Follow the Story
Use an invented short scene to turn a script into panel descriptions, establish character and setting references, and review generated roughs for continuity before lettering and layout.
- AI Background Remover for Product Photos: White, Transparent, and Clean Edges
A white background is not the same as a transparent file. Learn how to check exported product photos, inspect handle openings, glass, fine fibers, and shadows, and flag areas that need manual editing.