AI Pose Changer: Check Identity and Clothing After a Pose Edit
A convincing new pose is only part of the job. Describe the movement precisely, distinguish clothing details from changing folds, and compare hands, joints, and newly exposed areas with the original.
·
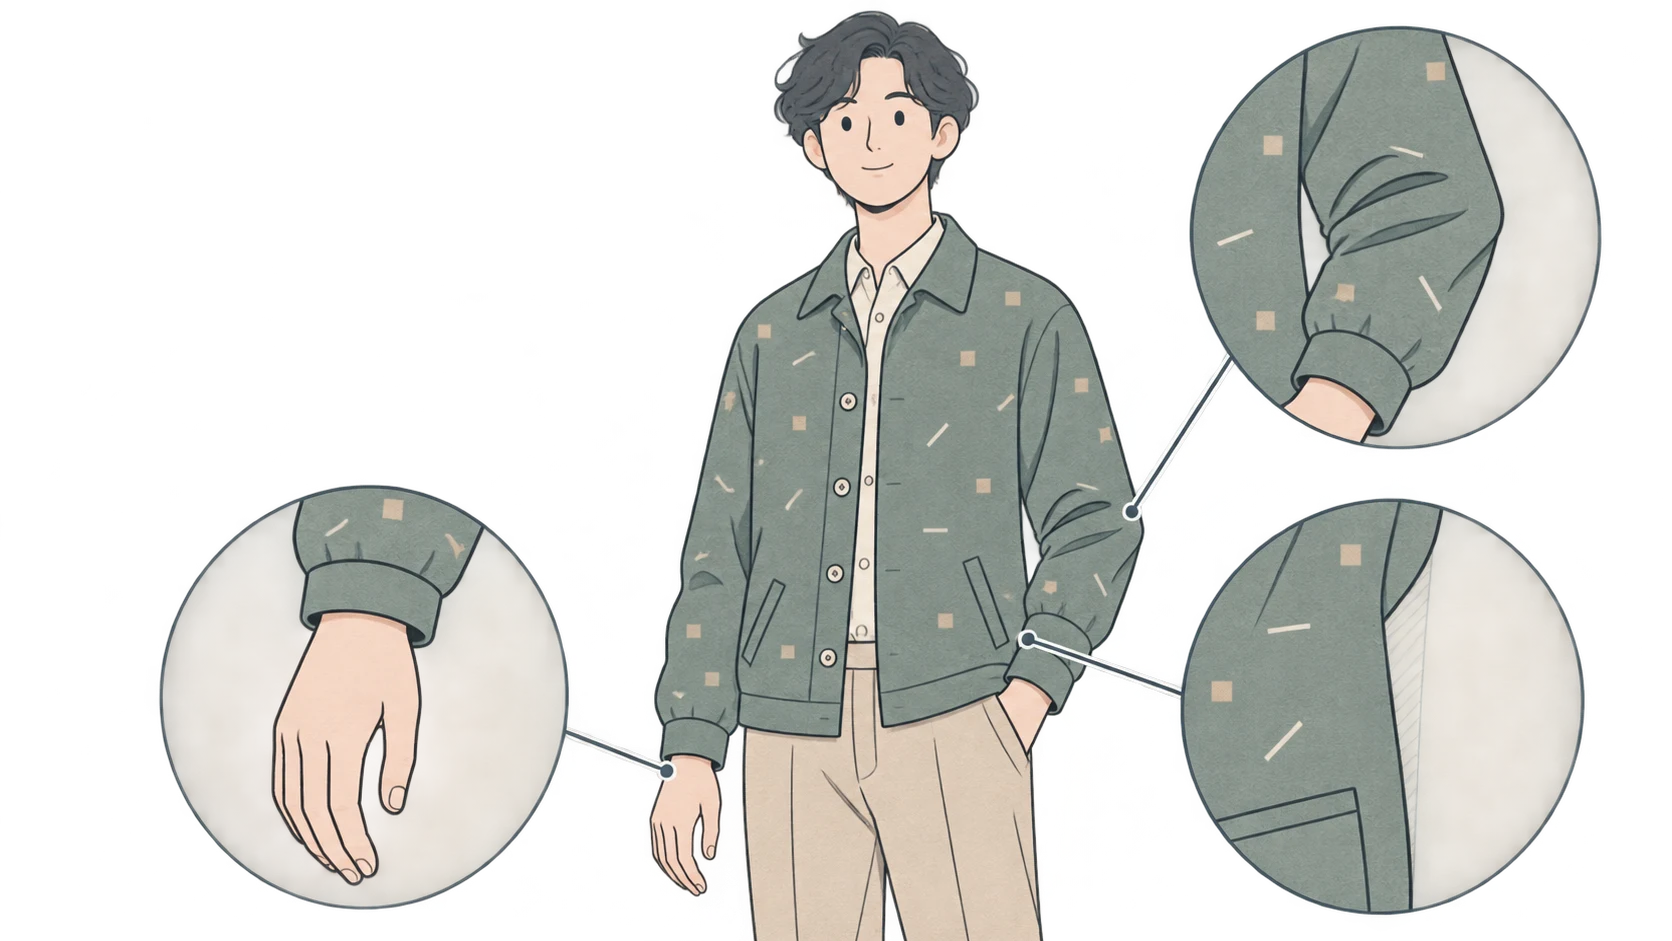
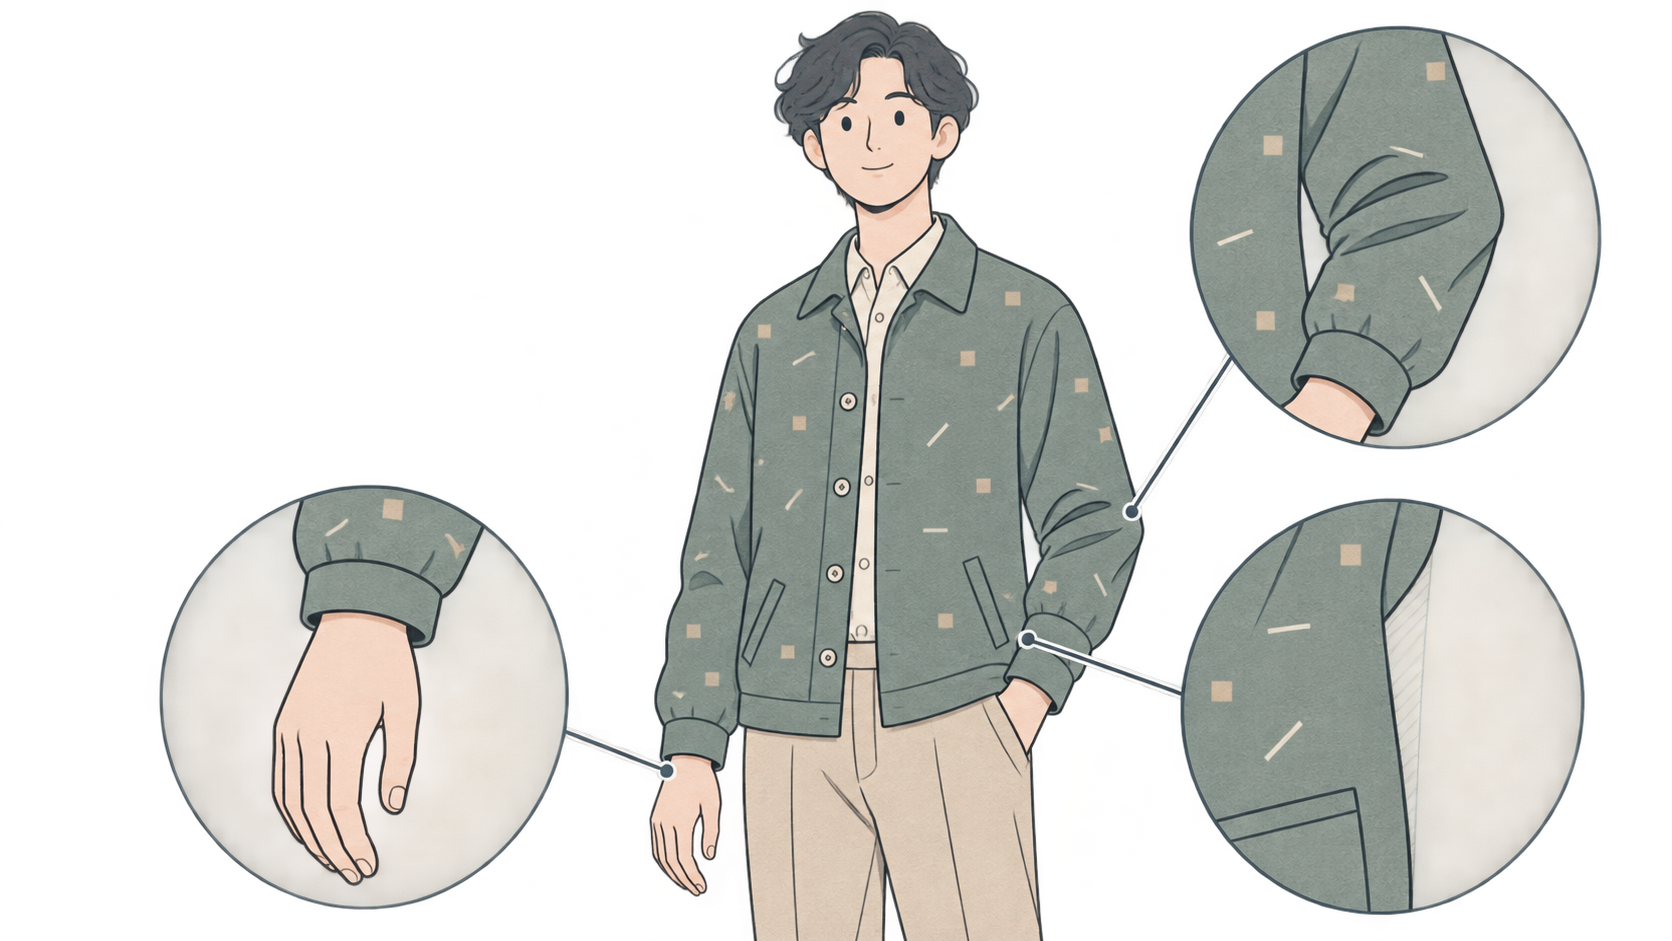
You like the face, outfit, and setting in a photo. Only the arms look awkward. With an ai pose changer, the useful question is not just whether the pose changed. It is whether the edit still depicts the same person wearing the same clothes.
Aragon’s Pose Editor page describes changing how someone stands or sits while claiming to keep their face, outfit, and background consistent. It also notes that extensive cropping or hidden body parts may limit the result. These are that vendor’s statements, not findings from our testing or evidence of another editor’s capabilities.
Keep the garment, not every fold
Uncrossing an arm changes the sleeve position, elbow folds, and which parts of the torso are visible. “Keep the outfit” is therefore better expressed as preserving the garment’s design, color, pattern, neckline, and identifiable details—not freezing every crease.
The same distinction applies to the background. You can compare an already visible wall or furniture edge with the original. A patch revealed when an arm moves has no complete counterpart in that photo. A plausible reconstruction does not establish what was actually behind the arm. For product images, verify newly visible garment details against other original material before treating them as product facts.
Replace “more natural” with a specific movement
Choose an original that clearly shows the relevant joints and clothing edges. If the task concerns the upper body, avoid simultaneously asking the editor to invent legs outside the crop. If your chosen tool supports a pose-reference image, use one with a similar viewpoint, crop, and visible body area. Otherwise, describe the movement in words; reference upload is not a universal feature.
Here is an example editing request, not a demonstrated result or a promise of support:
> Change only the person’s right arm. Lower it from its bent position across the chest so the right hand rests beside the body, with a slight bend at the elbow. Keep the head direction, expression, left arm, and torso orientation unchanged. Preserve the person’s facial features and hairstyle, plus the jacket’s color, neckline, buttons, and pattern. Let sleeve folds change with the movement. Do not add jewelry or replace the background.
If direction could be ambiguous, add “the person’s right hand is on the left side of the image.” Requesting one main movement at a time makes it easier to distinguish a misunderstood instruction from a reconstruction problem.
For an existing-image editing starting point, see the InkRoom image editor and check which editing methods the current interface supports. This is an editing entry point, not a promise of dedicated pose control, pose-reference uploads, or identity and clothing preservation.
Check the movement, then inspect what moved
Compare the original and result side by side. First assess the intended pose, overall proportions, and balance. Then enlarge the affected areas rather than checking only the face.
| Area | What to inspect | Important distinction |
|---|---|---|
| Hands and fingers | Fused or repeated visible fingers; wrist-to-forearm connection | Hidden fingers need not all be visible; counting alone is insufficient |
| Shoulder, elbow, wrist | Continuous connections and abrupt changes in limb width or length | Perspective changes apparent length, so pixel equality is not the goal |
| Face and hairline | Unrequested changes to feature shapes or hair silhouette | An arm-only request should not silently become an expression edit |
| Clothing and accessories | Matching neckline, buttons, pattern, and sleeve opening | Moving folds are different from broken patterns or added buttons |
| Newly exposed areas | Continuity of garment panels, background lines, and object edges | Visual plausibility does not verify previously hidden content |
This is a suggested manual review method, not a tool-performance scorecard. To check the background, inspect nearby table edges, wall seams, and chair backs; similar overall colors are not enough.
Narrow the problem before adding instructions
If the wrong arm moved, clarify the person’s side versus the image side. If the target pose is unclear, use a clearer, closer-viewpoint reference—but only where the tool supports that input. If newly exposed clothing or background repeatedly breaks, reduce the movement so less unknown content must be reconstructed.
When the pose is right but a hand or sleeve is wrong, avoid stacking another pose request on top. Keep the original and narrow the correction to the problem area. If local editing is unavailable, restart from the original with a smaller movement. When accurate documentation of an action, garment construction, or real scene matters, reshooting is more appropriate than treating invented detail as evidence. Describe published work as AI-edited where the use context calls for it, not as an unaltered record of a real action.
Related articles and cases
- AI Professional Headshot Generator: Keep the Portrait Recognizably You
Learn how to prepare selfie references, describe a professional setting, and compare generated headshots without overlooking identity changes. Includes guidance on glasses, skin texture, cropping, and identity-document restrictions.
- AI clothes changer: check the person and the garment separately
A convincing outfit edit can still misrepresent the garment. Use a person photo and garment reference to review two outfits, record specific differences, and separate visual concepts from evidence of real fit.
- AI Flat Lay Generator: Create Apparel Layouts You Can Check
Turn clothing references into a brief for an overhead flat lay without treating invented details as product facts. Learn what to specify, what to compare, and when a real product photograph is still necessary.
- AI Image Upscaler: How to Tell Whether Enlarged Details Are Usable
A 2x or 4x enlargement adds pixels, not proof of accurate detail. Start with the required dimensions, then check text, logos, faces, and product textures against what you can actually verify.