AI Image Generator for Social Media: From Visual Brief to Format Review
Separate the image you want to generate from the information that must stay exact. Build a base image, add approved copy, and review each placement as its own design.
·
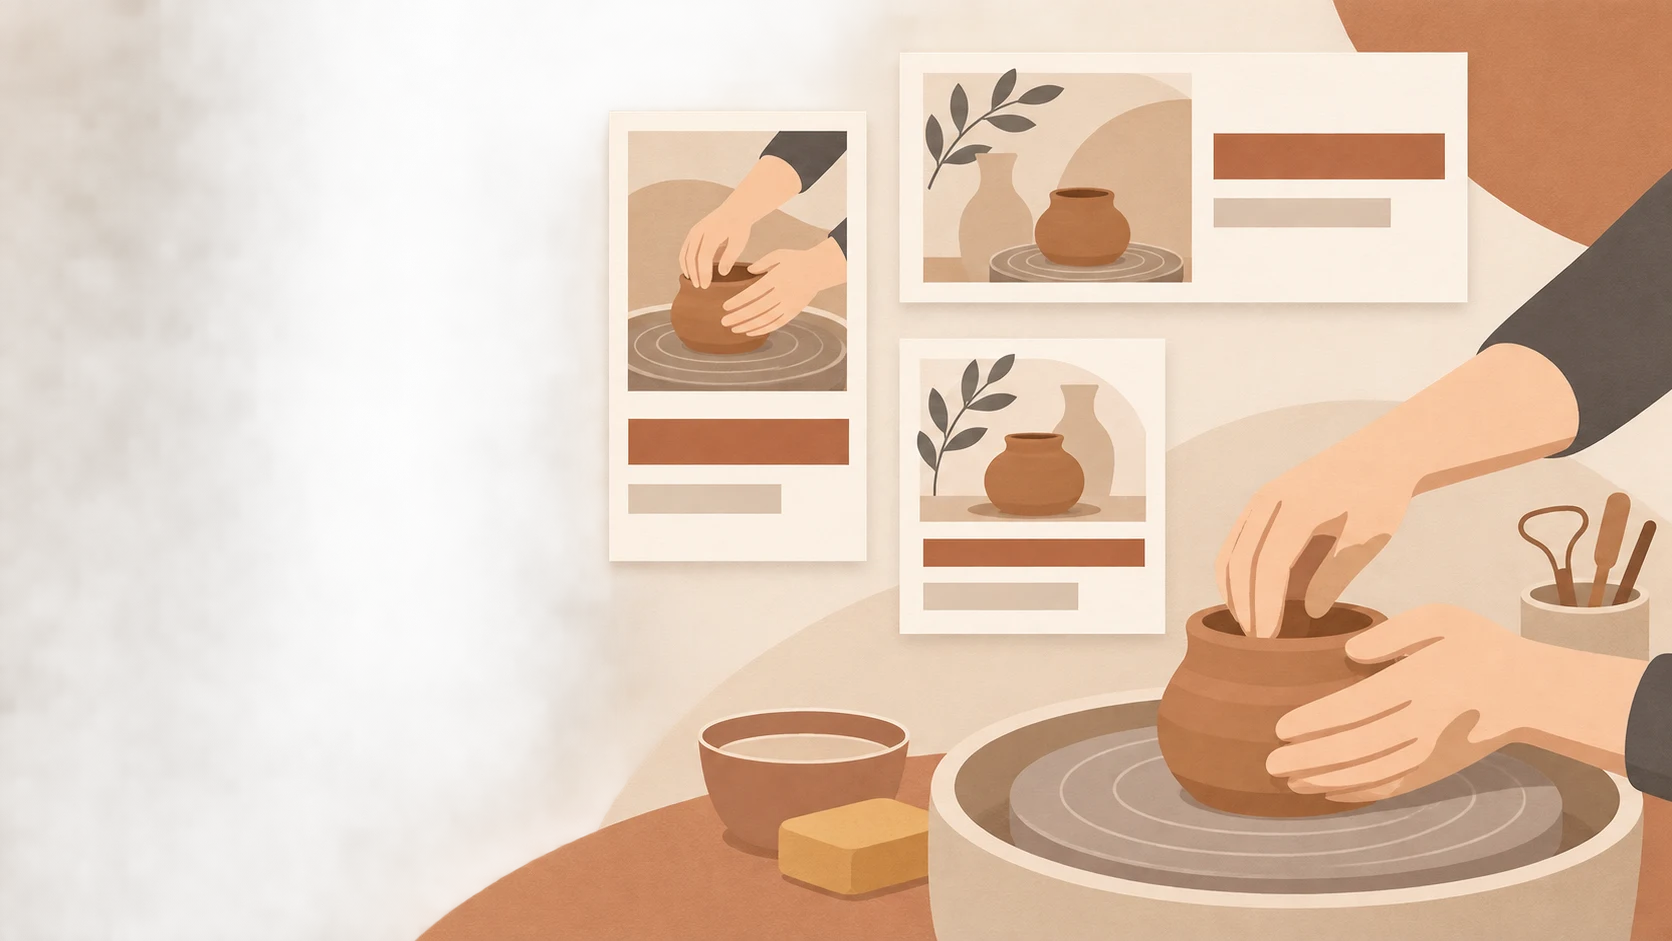
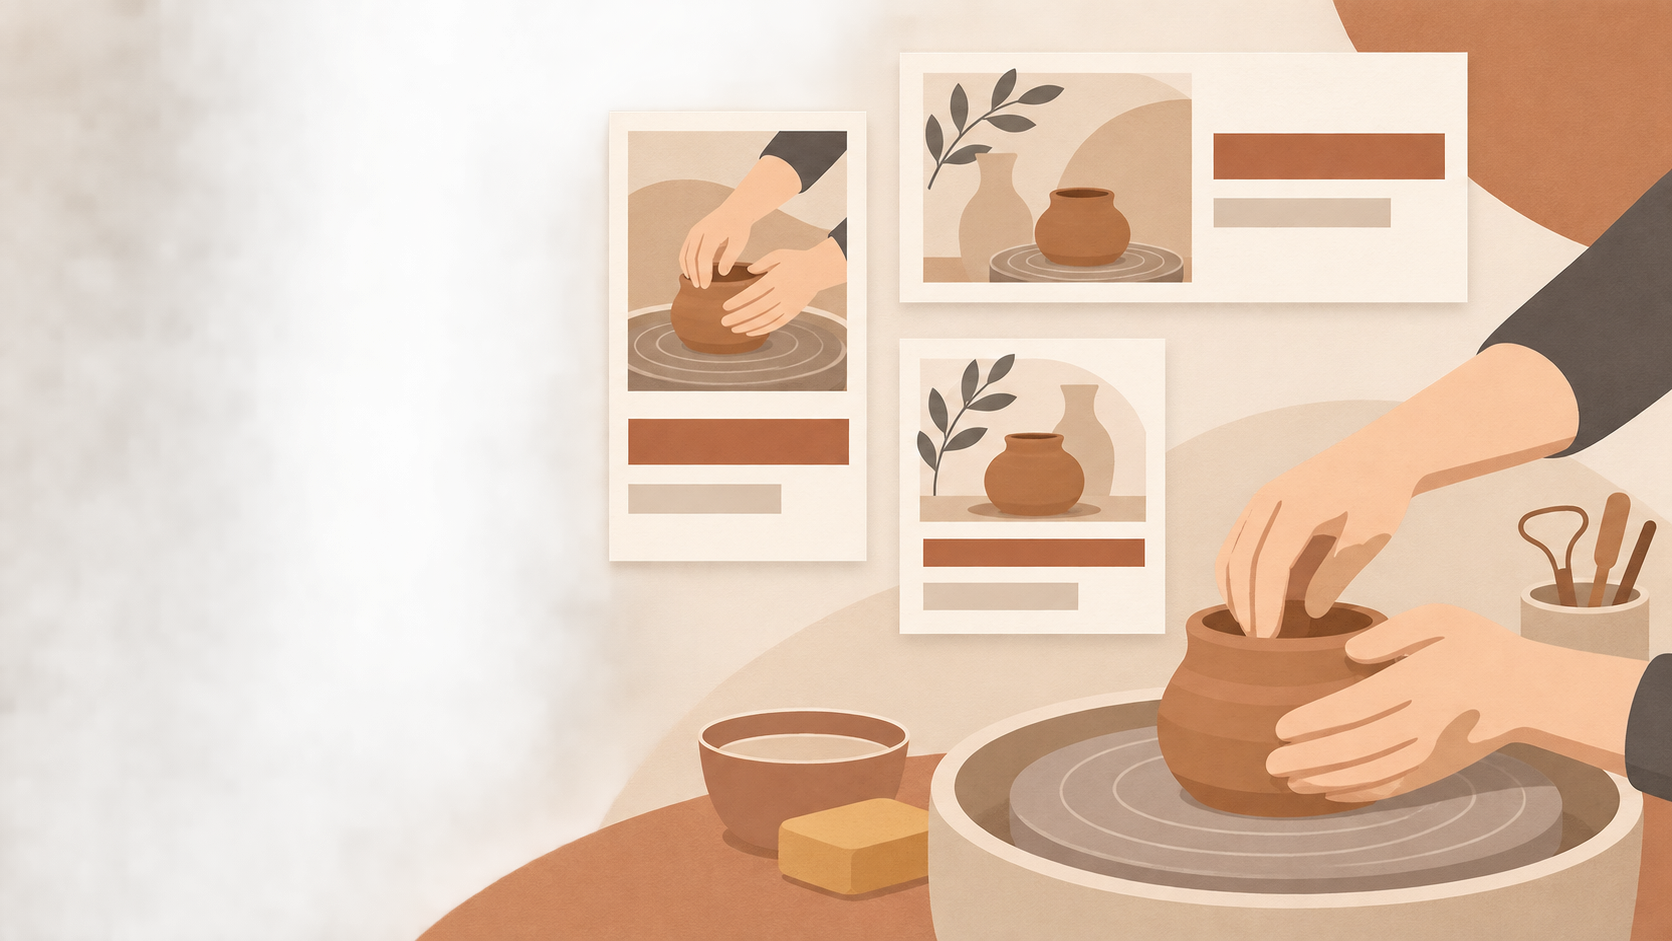
A good-looking base image is not yet a finished social post. Where will the headline sit? Will the product survive the crop? Does the portrait version still communicate the same message?
If you are looking for an ai image generator for social media, give it a defined job: explore the visual. Keep accurate copy, final layout, and placement review under human control. This guide is for individual creators and small content teams making images, not choosing an automated publishing system.
Apaya’s product page describes an integrated workflow for images, copy, and publishing. That is its own product positioning, not evidence that every image generator includes those functions. The method below does not depend on scheduling or publishing features.
Decide what can change—and what cannot
“Make an on-brand event graphic” leaves too much unresolved. It does not specify what the image should show or what a reviewer must protect.
Start with one publishing objective. Here is a fictional production brief, not a customer example or a generated result:
> Goal: introduce a pottery workshop to nearby residents. Subject: hands shaping clay on a wheel, with wet clay and tools clearly visible. Mood: warm and quiet, using cream and terracotta tones. Composition: place the subject on the right and leave a calm area on the left for a headline added later. Outputs: separate square and portrait layouts. Do not generate text, logos, dates, or prices.
Keep the event name, date, location, and booking details in a separate, approved copy document. Add the official logo from an existing asset. Brand elements can mean colors and atmosphere for generation, or exact assets for layout; those are different instructions.
For a real product post, add product appearance to the protected information. A prompt is not proof that packaging, labels, or construction have been reproduced accurately. Use authorized assets where accuracy matters and compare the image against the original reference.
Generate the base, then typeset the message
Turn the subject, setting, composition, empty space, and exclusions into an image prompt. Leave the headline and event details out of the generated base.
To create a new image, open InkRoom’s image generation page, enter a prompt, and select a currently configured model. Availability, parameters, and fees depend on the current interface and account configuration.
When choosing a base, test the real headline in its intended position. Does it cover the hands? Is the supposedly empty area full of distracting detail? Will the text need a separate backing panel? Asking for space in a prompt does not establish that the resulting layout works.
Add the approved copy and official brand assets afterward. Do not remove an essential event condition to accommodate the background, or shrink important information until it becomes decoration.
A new aspect ratio needs a new layout decision
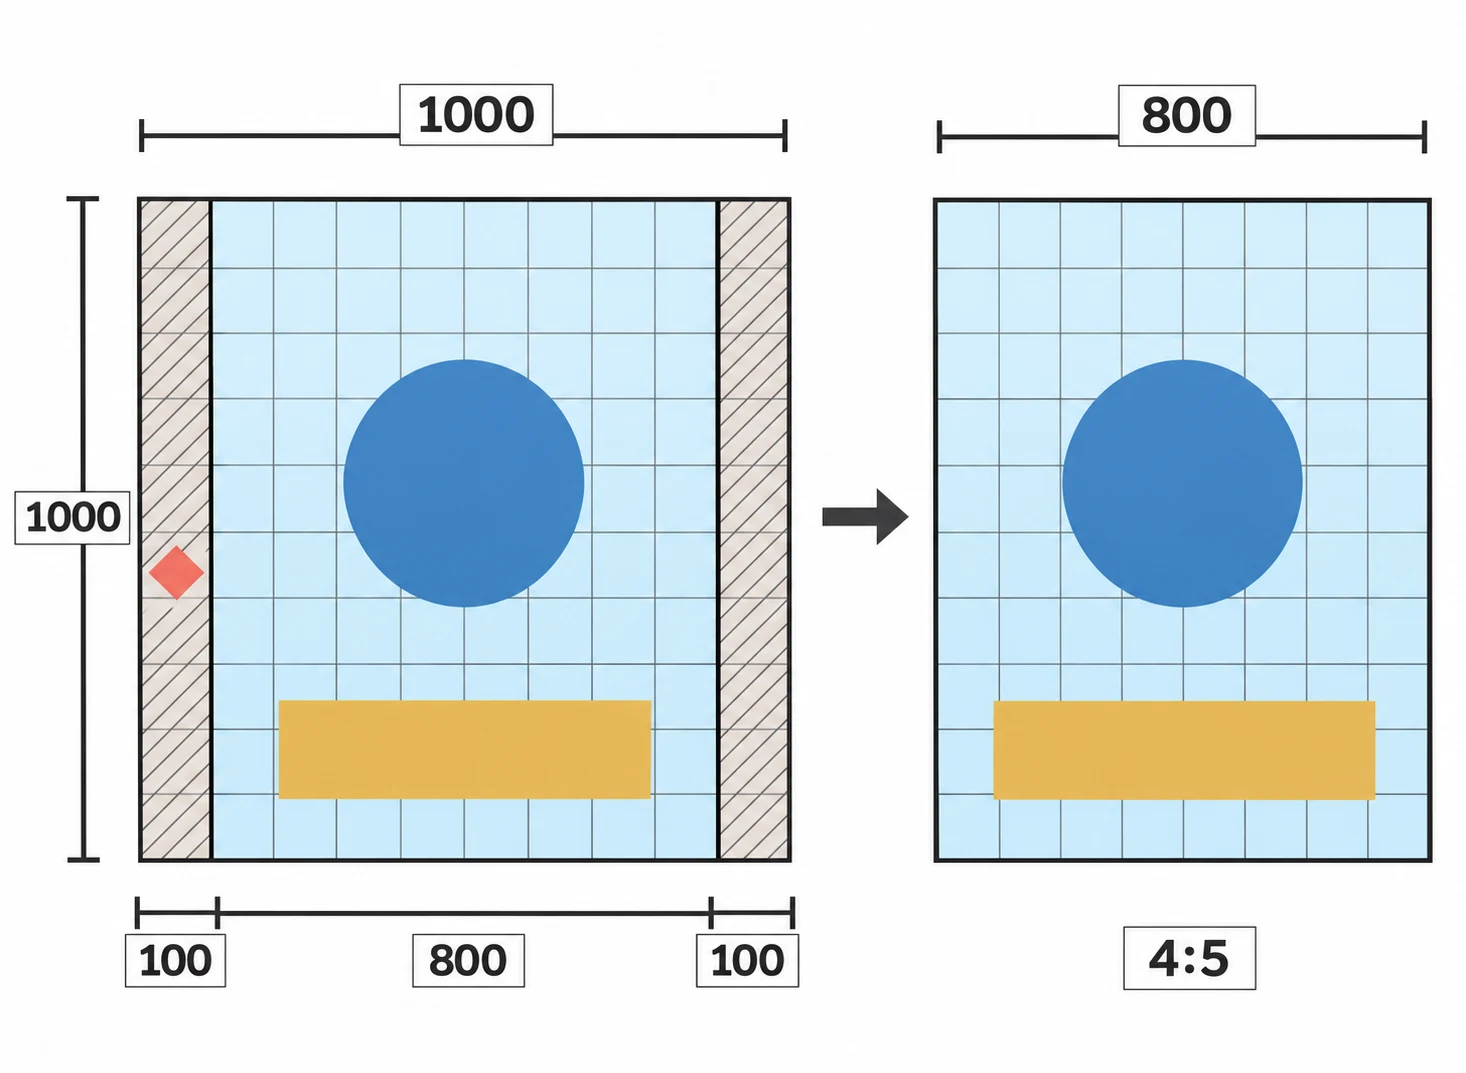
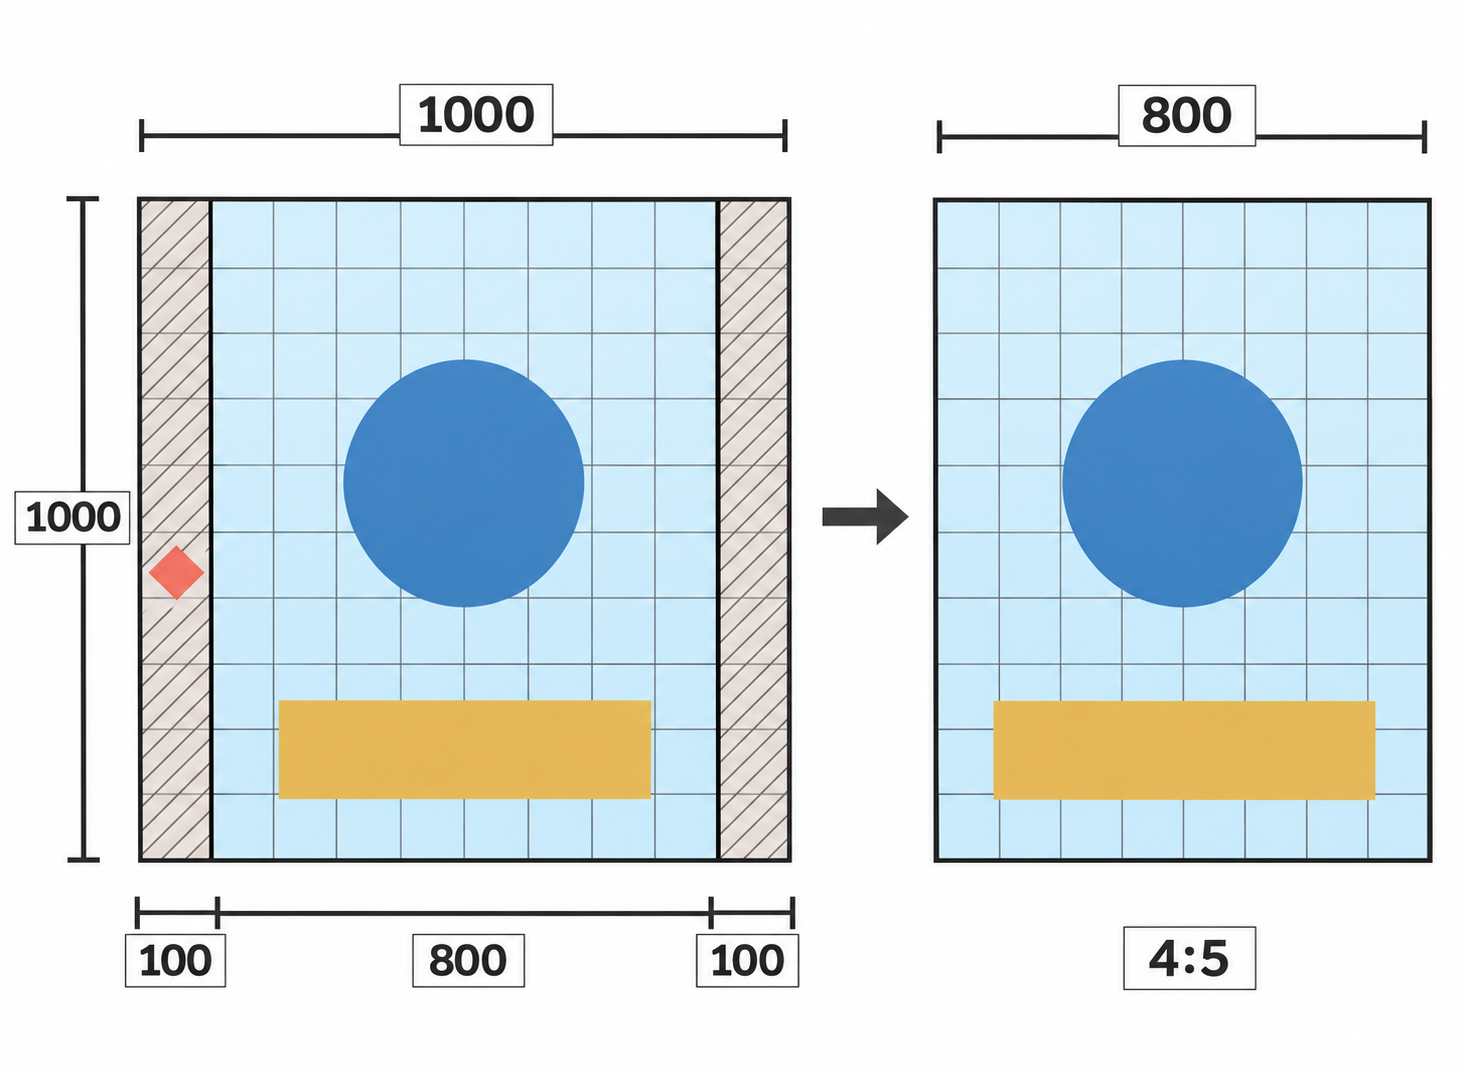
Resizing and cropping are different operations. As a simple geometry example, center-cropping a 1000 × 1000 square to 4:5 while keeping its height produces an 800 × 1000 image. It removes 100 pixels from each side. An edge-aligned logo or subject may disappear with them. These are illustrative dimensions, not platform specifications or a recommendation to center-crop.
Use the following ratios to discuss composition, then verify actual dimensions and interface overlays for the intended placement.
| Example format | Relationship to inspect | Suggested response |
|---|---|---|
| 1:1 square | Competition between subject and headline | Reserve a distinct text area rather than shrinking all the copy |
| 4:5 portrait | Loss of actions or product details at the sides | Reposition the subject and headline, or build another composition |
| 16:9 landscape | Loss of heads, hands, or props at the top and bottom | Choose a landscape-friendly image instead of forcing the portrait layout |
If an existing base needs changes, open the image editing page to check the options currently available. Do not assume automatic adaptation to every placement. If the composition cannot preserve both the subject and room for copy, redesign it rather than repeatedly forcing a crop.
There is no universal safe-area margin supplied by this guide. Buttons, account information, and preview crops can occupy part of the displayed image. Inspect important content in the intended placement’s preview. Keep essential information in the post text as well, not only inside the graphic.
Approve files, not the idea of a campaign
View each layout near its expected reading size. Read the headline, time, and location again. Check whether the subject remains intact, the logo is undistorted, and the colors follow the approved brand reference.
A simple naming convention can connect the base to its layouts: pottery-base-v02 and pottery-4x5-layout-v03, for example. Record the placement, copy revision, reviewer, and unresolved issues. This is a suggested manual record, not a claim about built-in version management.
Write “portrait: move headline below overlay” rather than “image failed.” A square approval does not approve the landscape version. Hand over individually reviewed files, not a base image with an instruction to make the other sizes later.
Related articles and cases
- ai image eraser: What to Check After the Object Is Gone
Removing a distraction is only part of the edit. Define what must stay unchanged, then compare the repair with the original for repeated textures, misplaced shadows, merged edges, and altered text.
- AI Image Prompt Generator: Turn a Vague Idea into a Testable Brief
Define the image’s job and essential details before adding style keywords. Use a reusable brief, compare short and structured prompt examples, and revise one variable at a time without mistaking a clearer prompt for proven image quality.
- AI Product in Hand Generator: Keep the Grip and Packaging Consistent
Create a handheld scene from product references without confusing a plausible image with verified product evidence. Learn what to specify and how to review fingers, contact shadows, scale, occlusion, and packaging text.
- AI Product Recoloring: Separate Color Previews from Listing Approval
Build color concepts from an original product photo, define what may change, and verify each result against the real SKU before naming, approving, or publishing a variant.