AI Ghost Mannequin Generator: Keep the Garment, Change the Presentation
Use garment reference photos to define what an AI edit should preserve, identify hidden areas that need evidence, and separate a visual concept from an accurate product image.
·
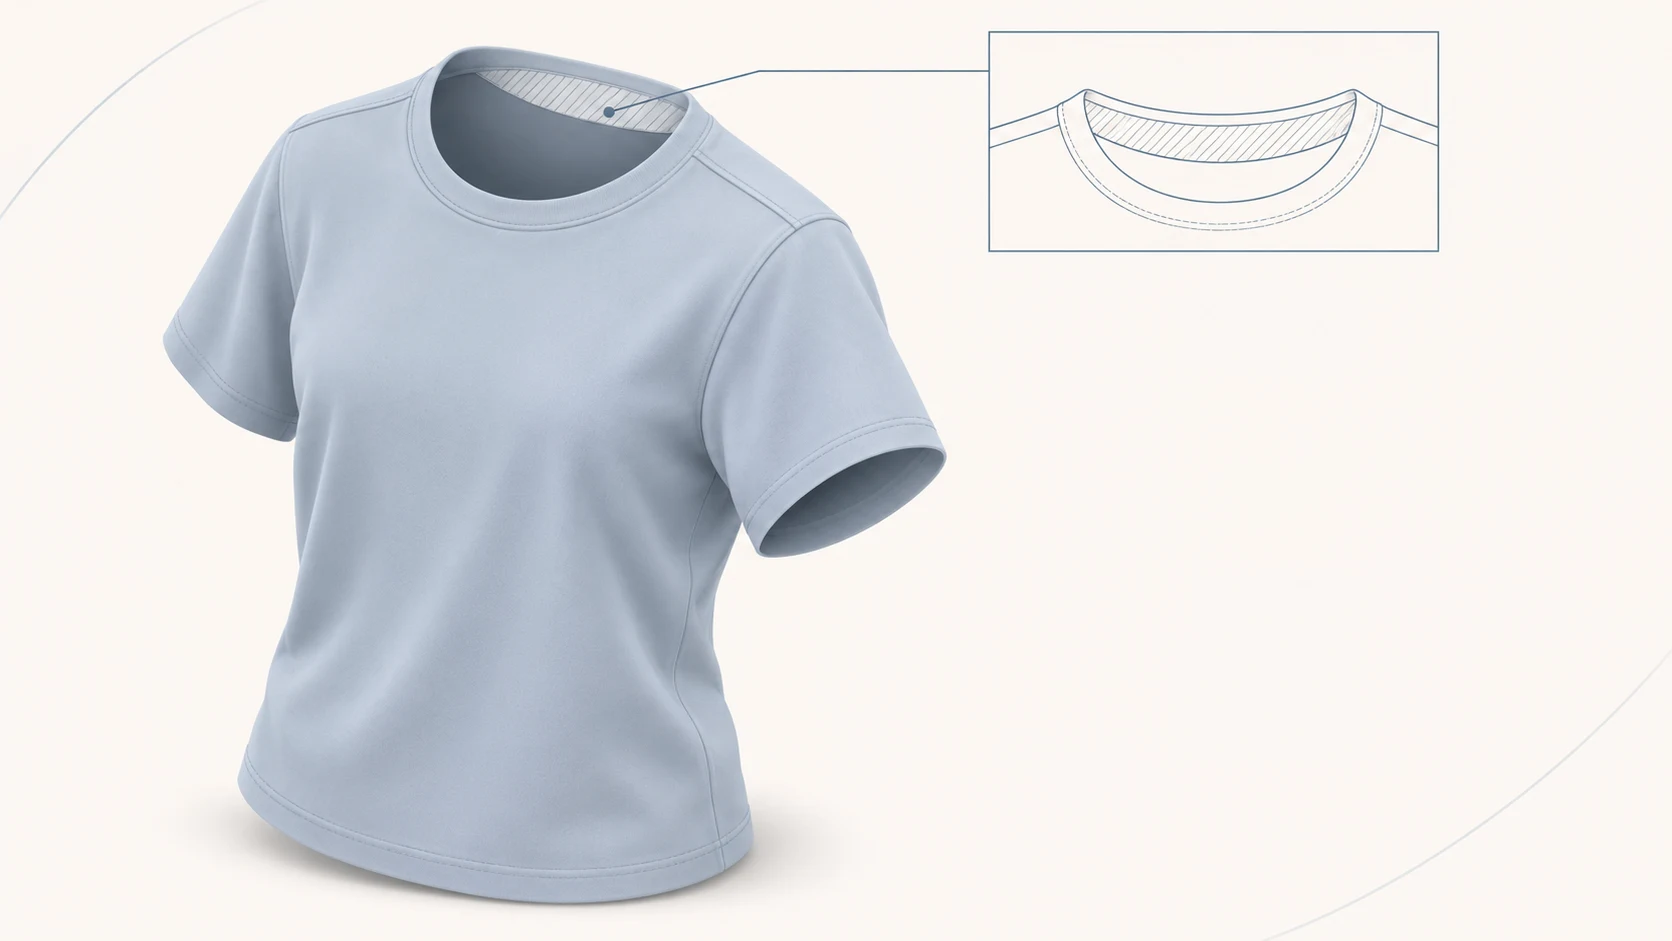
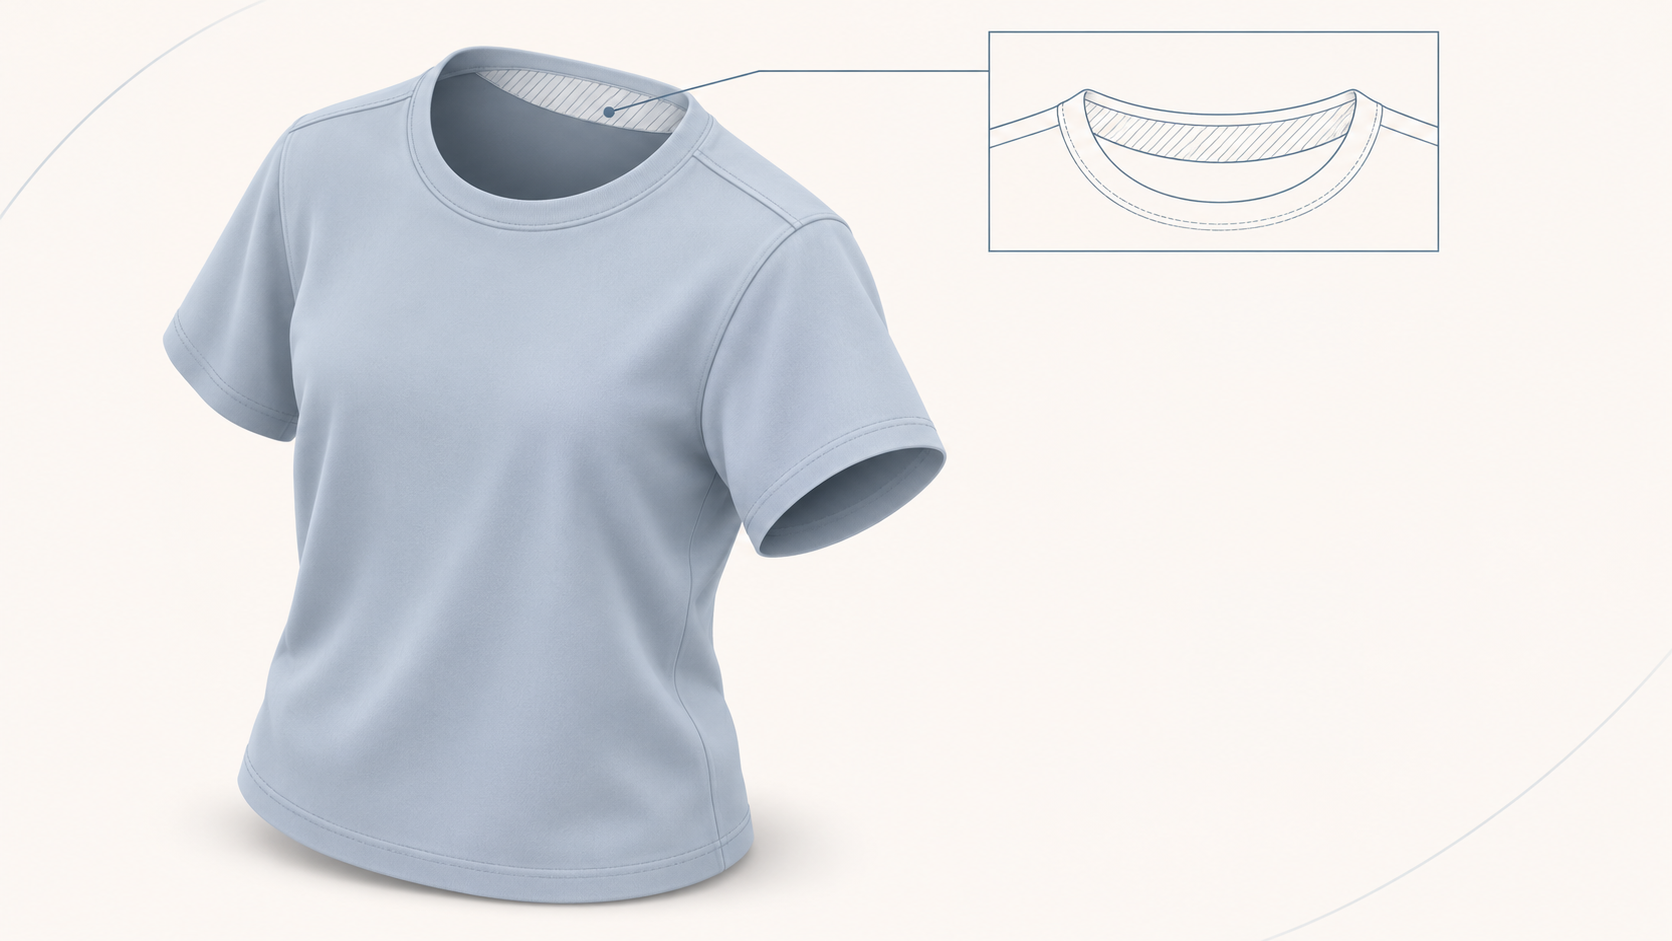
A shirt can look filled out without showing the mannequin inside it. That is the appeal of a ghost mannequin image. When choosing an ai ghost mannequin generator, though, the important question is not simply whether the support disappears. It is whether the result still represents the garment you actually sell.
The neckline makes the distinction clear. Removing a mannequin may expose an inner back-neck area that was never visible in the source photo. A convincing completion is not evidence that the lining, seam or label exists on the product.
What a reference photo can—and cannot—establish
Revid’s ghost mannequin template page describes uploading an actual garment through its “First Frame” feature to help the AI understand cut and color. That is a description of its own tool, not evidence of InkRoom functionality or an independent test of detail preservation.
For an existing product, divide the editing brief into visible details to preserve and hidden details that need supporting images. A broad request for a professional product photo does not make that distinction.
| Information in the source | Suggested treatment | What still needs checking |
|---|---|---|
| Outline, garment length and cuff positions | Preserve them rather than requesting a slimmer or longer shape | Whether the edit changes the apparent cut |
| Prints, visible seams and label text | Treat them as existing details, not design opportunities | Characters, counts, placement and seam continuity |
| Visible texture and folds | Use the original as the reference rather than asking only for a smoother finish | Whether the material has been flattened or visually replaced |
| Inner neckline or lining hidden by the mannequin | Supply a matching photograph; otherwise treat completion as conceptual | Generated detail is not evidence of construction |
A single front view also cannot establish physical measurements or how the garment fits a person. A three-dimensional presentation should not replace sizing information or relevant fit photography.
Add the missing view before adding more adjectives
Start with a photograph that shows the complete outline and readable neckline and cuff boundaries. If the mannequin blocks the inner back neck, photograph that area separately. This provides a firmer basis than asking for a “realistic inner collar.” Use the same item, or a verified matching style and color, so that another version’s lining or label does not enter the image.
If you already have a source image, you can check the InkRoom editing entry for the editing options, parameters and fees currently available to your account. The entry is not proof of a dedicated ghost mannequin feature or a guarantee that garment details will remain unchanged.
Adapt the following brief to the actual photos. It is a suggested instruction, not a tested preset:
> Use the supplied garment photo as the reference. Attempt to remove the visible mannequin and create a hollow garment presentation. Preserve the original outline, length, cuffs, neckline shape, print placement, visible seams and fabric texture. Do not reshape the garment or improve product details. Use the matching supplementary photo for the inner back neck where available. Treat unsupported hidden areas as conceptual completion; do not add readable brand labels or unverified construction details. Handle the background separately from the garment structure.
If the selected tool cannot constrain an area or use supplementary references, do not assume the wording provides those capabilities. Reduce the scope of the edit or use photography and retouching methods that retain the required evidence.
Inspect the connections around the hollow areas
Compare the source and result side by side at a similar scale. Check shoulder width, garment length and cuff position before zooming into the neckline, underarms and hem. Judge structure before polish.
At the neck, inspect both the outer opening and the newly visible interior. Has the opening narrowed? Does the inner material match the supporting photograph? At the cuffs, look for continuous seams and consistent openings. For prints, compare boundaries, repeat counts and alignment across seams—not just the central motif.
New label text, altered characters or a relocated label should send you back to the product photos. Legible text is not necessarily correct text. Likewise, removing every fold or asymmetry may make the presentation neater while changing what a shopper understands about the garment.
Use a different acceptance standard for concepts and listings
For a layout discussion or visual-direction preview, an unverified interior can remain a concept, provided the image is identified as an AI concept where it is used. It should not be presented as a photograph of a verified sample.
For an actual product listing, claims conveyed through cut, lining, labels and construction need support from the item and corresponding photographs. If the inner neckline remains uncertain, take another photo or choose a different view rather than allowing generated detail to stand in for evidence. A clean white background alone also does not establish compliance with a marketplace’s current image rules; check the destination platform before publishing.
Related articles and cases
- AI Virtual Ring Try On: References, Proportion, and Better Corrections
Prepare hand and ring references, compare styles without confusing visual scale with ring size, and identify problems in settings, perspective, contact, and shadows.
- AI Image Relighting: Check Skin Tones, Materials, and Color Shifts
Better-looking light is not always more faithful light. Learn how to compare a relit image with its original, assess skin and material changes, and decide when to roll back.
- AI Image Extender: Add Room Without Stretching the Subject
Adapt an existing photo for a banner, portrait layout or product card by planning where new space belongs. Use worked canvas dimensions and practical edge checks without treating generated scenery as recovered fact.
- ai image eraser: What to Check After the Object Is Gone
Removing a distraction is only part of the edit. Define what must stay unchanged, then compare the repair with the original for repeated textures, misplaced shadows, merged edges, and altered text.