AI Coloring Page Generator: From Line-Art Prompts to Print Checks
Turn a theme, age range, subject count, and whitespace needs into a useful line-art prompt. Then inspect the outlines, small spaces, and page margins before testing a printed sheet.
·
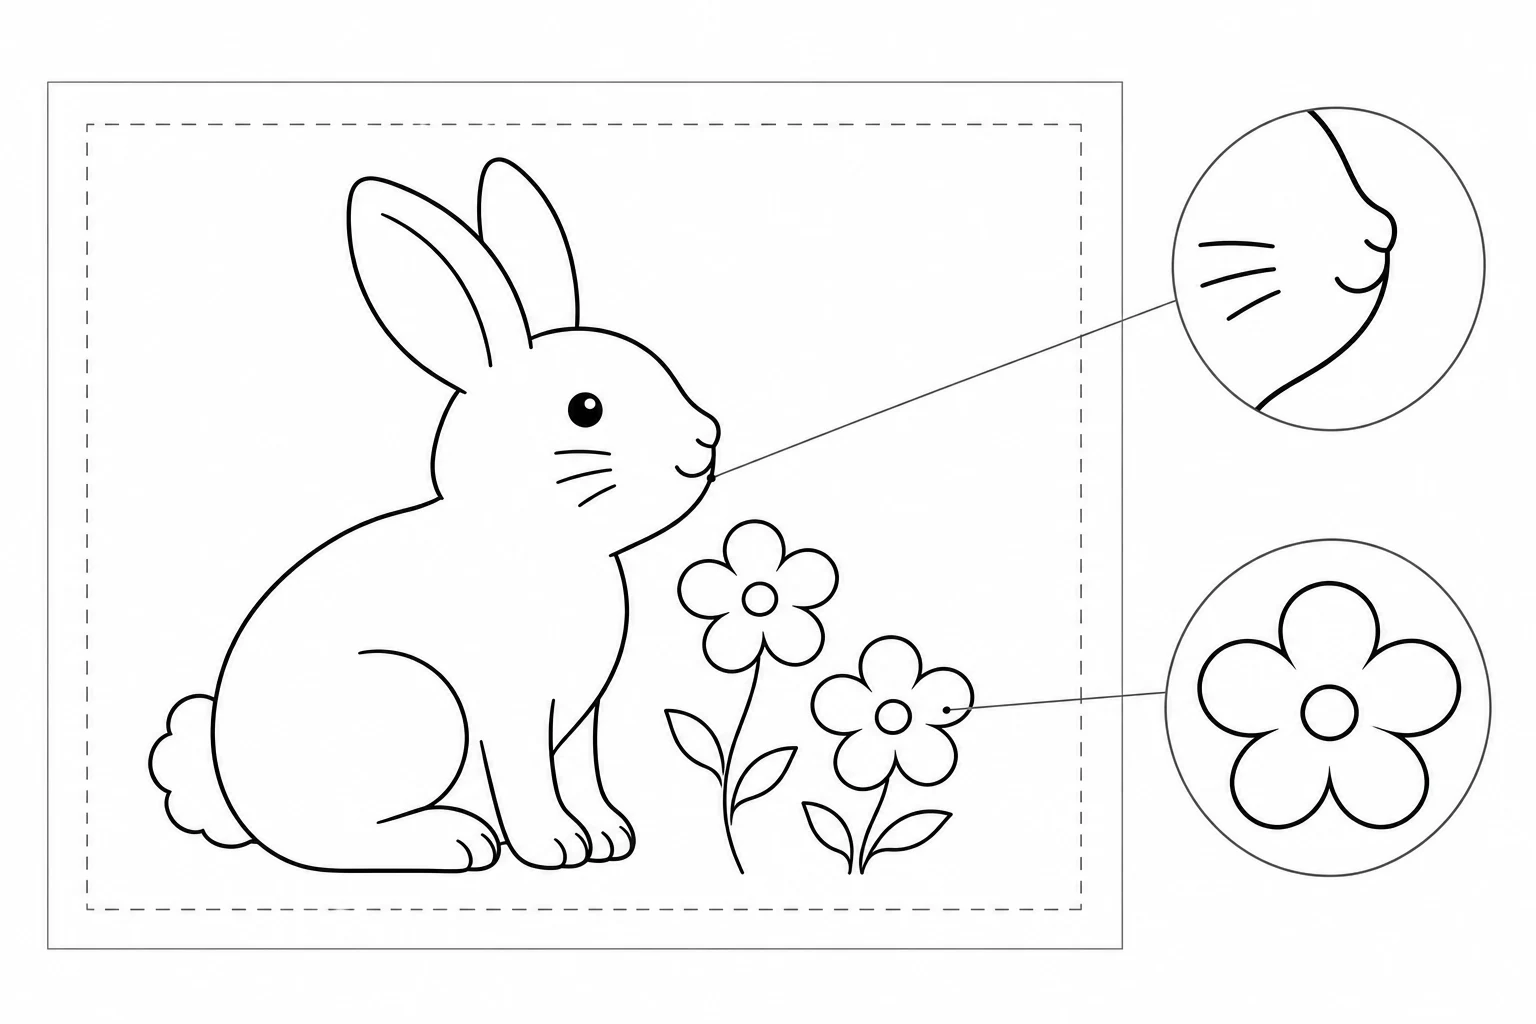
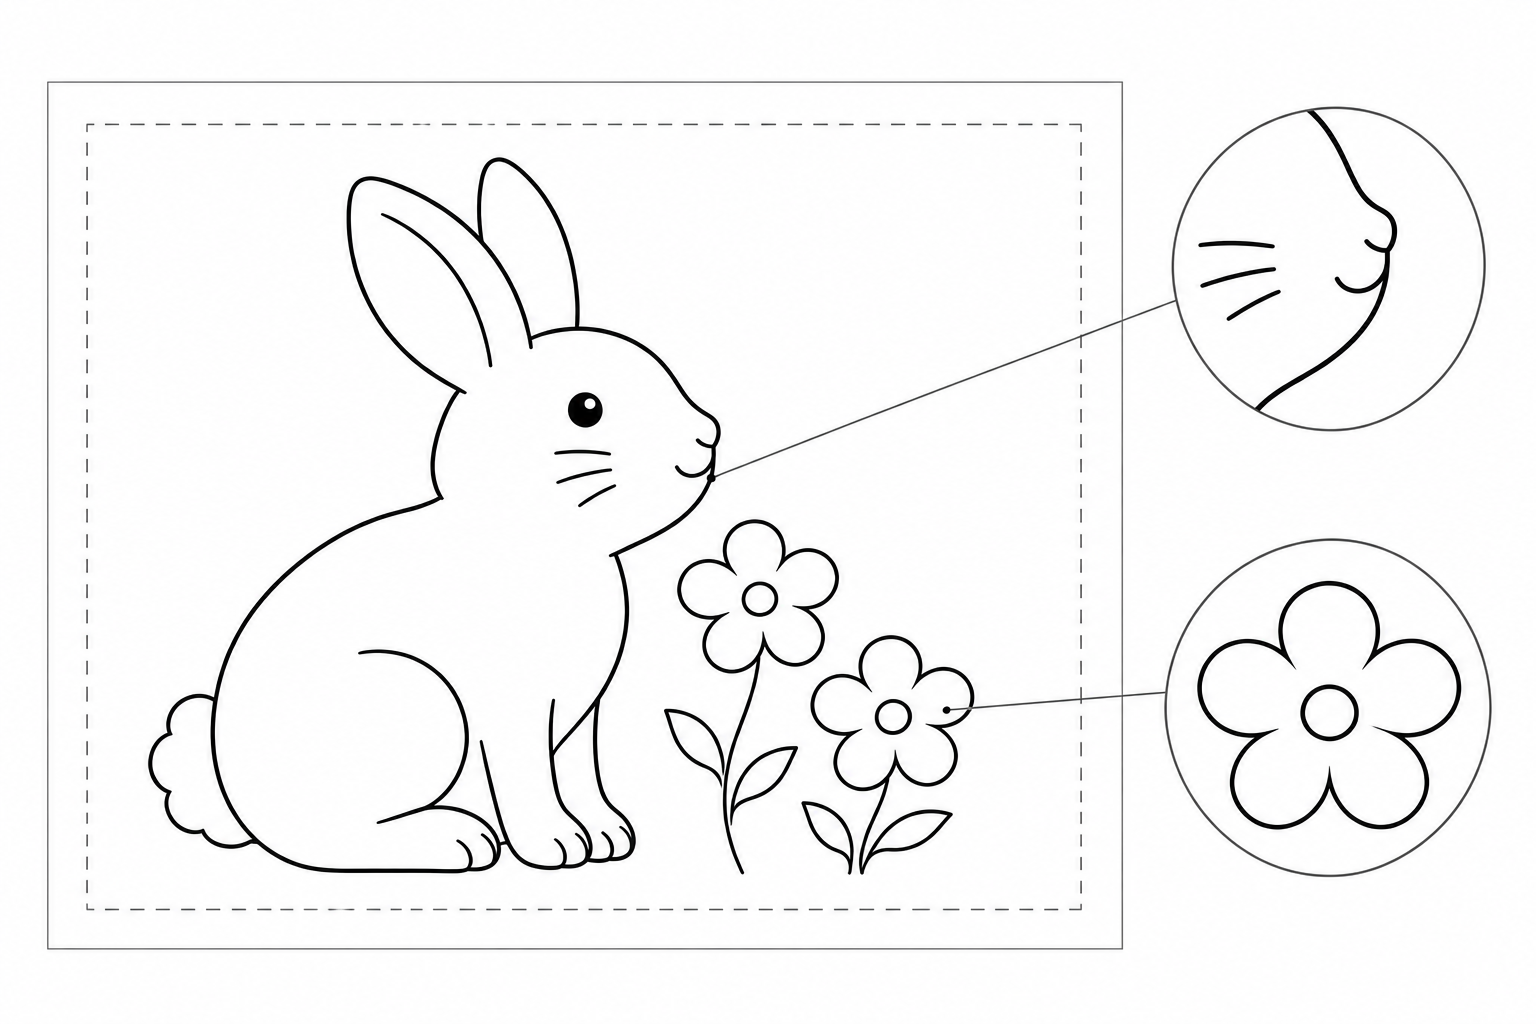
A good-looking black-and-white illustration is not necessarily a usable coloring page. Shading can occupy spaces meant for coloring. Fur texture can break a shape into tiny slivers. A composition that looks balanced on screen may lose an ear or a petal when printed. With an AI coloring page generator, the goal is a page someone can color—not simply an image without color.
Colorify AI’s reference page describes text-based coloring-page generation as producing black-and-white line art from prompts. That establishes the intended task, not the print readiness of an individual output. The approach below is a set of design and inspection suggestions, not a product test.
Translate the age range into drawing choices
Decide who will use the page, what they will color with, and how much detail they want. An age range provides context, but “for children” leaves too much unspecified. People of the same age can have different preferences and levels of control.
For broad crayons, start with one main subject, large spaces, and few interior lines. For someone who enjoys detail and uses fine colored pencils, add patterns while keeping distinct, recognizable areas. These are starting points, not fixed developmental standards.
Specify the subject count, too. “Animals in a garden” leaves room for many additions; “one rabbit and two flowers, no other animals” gives you something concrete to inspect. Separate whitespace around the subject from the blank margins needed around the printed page.
Make the prompt an inspection target
This is an illustrative prompt, not one verified through generation:
> Printable black-and-white coloring-page line art. One rabbit in a garden with exactly two flowers, no other animals. Intended for ages 5–7, designed around coloring with broad crayons. Portrait composition, entire rabbit visible and centered, generous white background and blank space along all four edges. Clear outlines with relatively consistent line weight. Use complete boundaries around large areas intended for coloring. Minimal fur texture and small decorations. No gray shading, gradients, large solid-black fills, or text.
These are requests, not guarantees. First check for extra subjects, missing body parts, and unwanted shading. There is little value in refining linework in a composition you cannot use.
At InkRoom’s image-generation entry, you can enter a prompt and select a configured model to create candidates. Availability, parameters, and fees depend on the current interface and account configuration. Enter the theme, age range, subject count, and whitespace requirements; do not assume the tool will validate coloring-page quality for you.
When comparing candidates, try changing one requested variable at a time—for example, reduce background detail while retaining the subject count. This makes your preferences easier to evaluate, although the model may change other parts of the image as well.
Not every line needs to close
Areas intended for filling need understandable boundaries. Whiskers, smiles, and clothing creases can remain open strokes; forcing them into closed shapes can introduce needless little compartments. An accidental gap in the rabbit’s outer contour, or an ambiguous boundary between overlapping petals, deserves more attention.
| Inspect | Look for | Suggested response |
|---|---|---|
| Coloring boundaries | Complete main shapes and readable overlaps | Simplify overlaps, repair gaps, or regenerate |
| Linework | Faint outlines, merged lines, uneven readability | Reduce texture and recheck at print size |
| Small spaces | Narrow slivers between fur or decorative marks | Remove decorations or reduce interior lines |
| Margins | Ears, feet, or petals too close to the edge | Reduce the image’s footprint or revise the composition |
If an existing candidate needs composition or background changes, consult the existing-image editing entry and confirm whether the current interface offers the operation you need. The entry is not a promise of automatic contour closure, thin-line repair, or prepress validation. Inspect the result again after any changes.
Let a printed sheet settle the question
Choose the paper and intended print size before planning image dimensions. As a planning example, a self-selected target of 300 pixels per inch gives 2550 × 3300 pixels for an 8.5 × 11-inch US Letter page. A4, converted from 210 × 297 mm, is approximately 2480 × 3508 pixels at the same target. These are calculations— inches multiplied by pixels per inch—not universal minimums or claims about a tool’s supported output sizes. Changing a file’s DPI metadata alone does not add pixels.
In print preview, check orientation, scaling, and cropping on every edge. Printers have different non-printable margins, so there is no single safe margin measurement for every setup. Print one sheet and try the actual crayons or pencils: are pale lines visible, do dark lines merge, can the small spaces be filled, and is the whole subject present? If you use “fit to page,” the coloring spaces shrink too; judge them again at that size.
The deliverable is a coloring sheet, not a storybook cover. A cover may need title placement and strong display impact. A coloring sheet needs room for the person using it. Resist adding shadows and decorative backgrounds merely to make the thumbnail more striking.
Related articles and cases
- AI Map Generator: From Worldbuilding Notes to a Usable Fantasy Map Draft
A fantasy map needs more than convincing mountains and rivers. Use a fictional river-crossing scenario to turn worldbuilding notes into visual constraints, then check names, routes, distances, and what players should see.
- AI Diagram Generator: From Source Notes to Verifiable Structure
Turn source material into nodes, relationships, and traceable references before generating a diagram. A clearly fictional example shows how to preserve unknowns, review branches, and choose an editable handoff or an API workflow.
- AI Tattoo Design Generator: Turn an Idea Into an Artist Brief
Use AI to make your tattoo idea easier to discuss, not to declare it ready to tattoo. A hypothetical brief shows how to describe placement, size, and line preferences, then review the concept with a professional tattoo artist.
- AI Pixel Art Generator: From Style References to a Consistent Grid
A retro-looking image is not automatically a usable sprite. Define the intended use, logical grid, and limited palette, then explore silhouettes and check scaling, transparency, and frame consistency before delivery.