AI Textile Pattern Generator: From Repeat Design to Print Sampling
Turn a textile-pattern concept into a reviewable repeat: define physical scale, spot seam and rhythm problems, calculate image resolution, and identify what still needs a fabric sample.
·
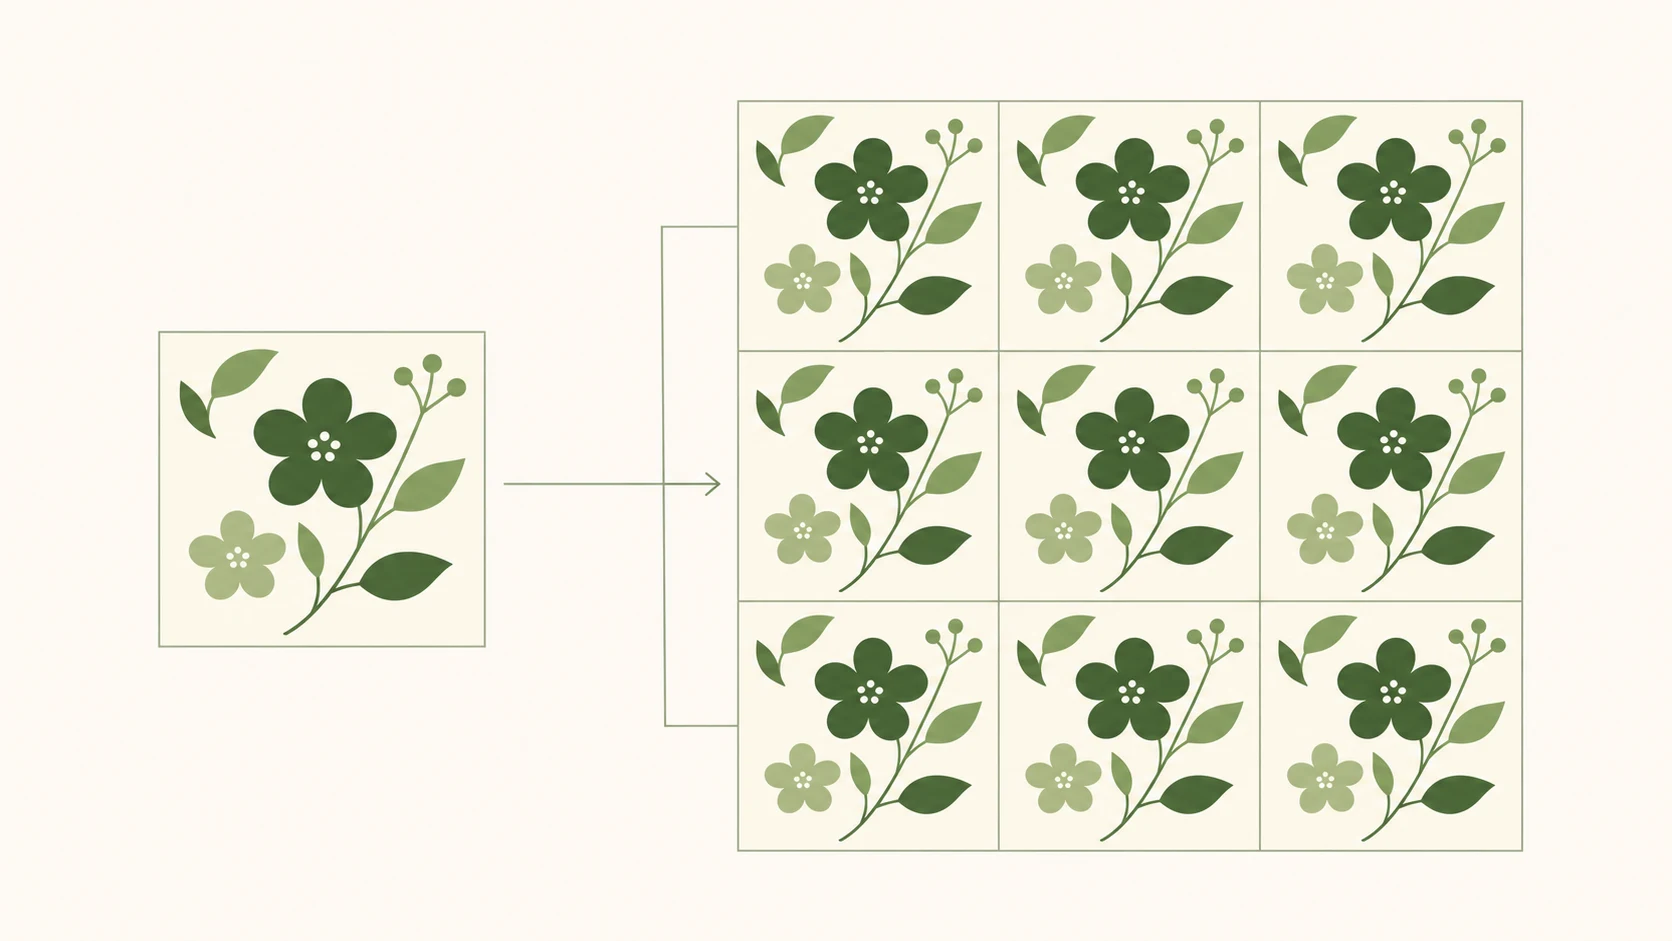
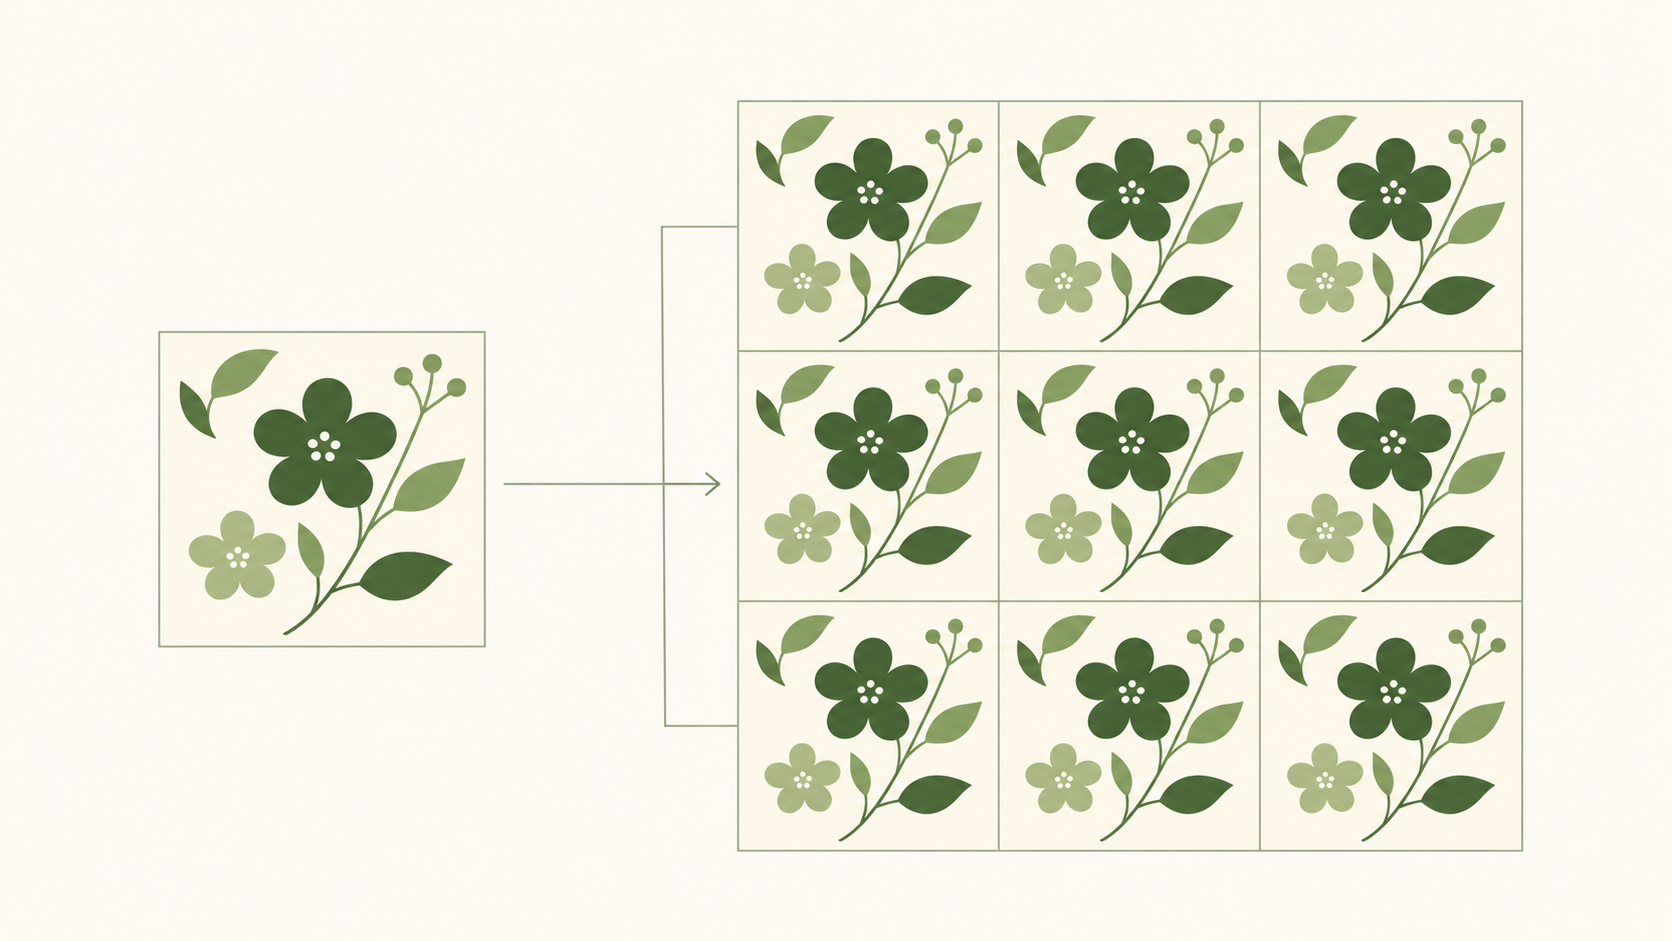
A botanical design can look convincing as a single image and develop dark stripes when repeated across fabric. Fine leaf veins can look crisp in a small preview and become soft at the intended print size. When choosing an AI textile pattern generator, the useful question is not just what it can draw, but what must happen before that image can move toward printing.
A concept image, a working repeat tile, and a file confirmed through fabric sampling are different deliverables. The hypothetical tote-bag print brief below illustrates those differences. Its dimensions and colors are example conditions, not a customer case, test result, or universal printer specification.
Give the pattern a physical scale
Suppose the brief calls for a botanical print with a 20 × 20 cm repeat tile, initially arranged as a straight repeat. The color direction is an off-white ground with two greens. That is a three-color design intention—not proof of three-color separation. A generated raster image may still contain gradients, antialiasing, and many additional pixel colors.
Tile dimensions are also different from image aspect ratio. The same square image could represent a 10 cm or 40 cm repeat, making its leaves very different sizes on a bag. Sketch the bag panel and the approximate size of a main leaf before deciding how many motif groups should fit in the tile.
Decide what happens at the boundaries:
- If motifs stay inside the tile, check that the empty margins do not form a grid when repeated.
- If stems cross an edge, their opposite-edge connections need matching positions, directions, widths, and colors. A square crop does not establish those connections.
- If the design later changes to a half-drop or another offset repeat, rebuild the preview for that arrangement. Passing a straight-repeat check does not validate another repeat system.
These decisions define how to inspect the result. They are not properties a prompt can guarantee.
Generate a concept, not an implied production file
Use the first generation to compare motif shape, density, and color direction. A starting description might request a flat botanical print for a tote bag, an off-white ground with light and dark green leaves, clear contours, balanced spacing, and no lettering, fabric folds, or product mockup. Record the intended 20 cm square straight repeat in the brief, but establish and verify its physical scale later in design software.
For a new concept image, InkRoom’s image-generation entry lets you enter a prompt and choose a configured model. Availability, settings, and fees depend on the current interface and account configuration. Use it here for concept generation—not as a promise of automatic seamless tiling, exact color control, color separation, or production-ready output.
Keep the original image and save a separate inspection version. A draped-fabric mockup is not an adequate repeat check: folds and presentation scale can hide problems.
Inspect both the join and the visual rhythm
The reference guide recommends testing repeat quality to avoid visible seams. That is useful advice, but an invisible boundary line is only part of the assessment. As a practical inspection method, duplicate the same tile into at least a 3 × 3 straight-repeat preview in software that supports precise positioning. Do not resize, rotate, or individually retouch the copies.
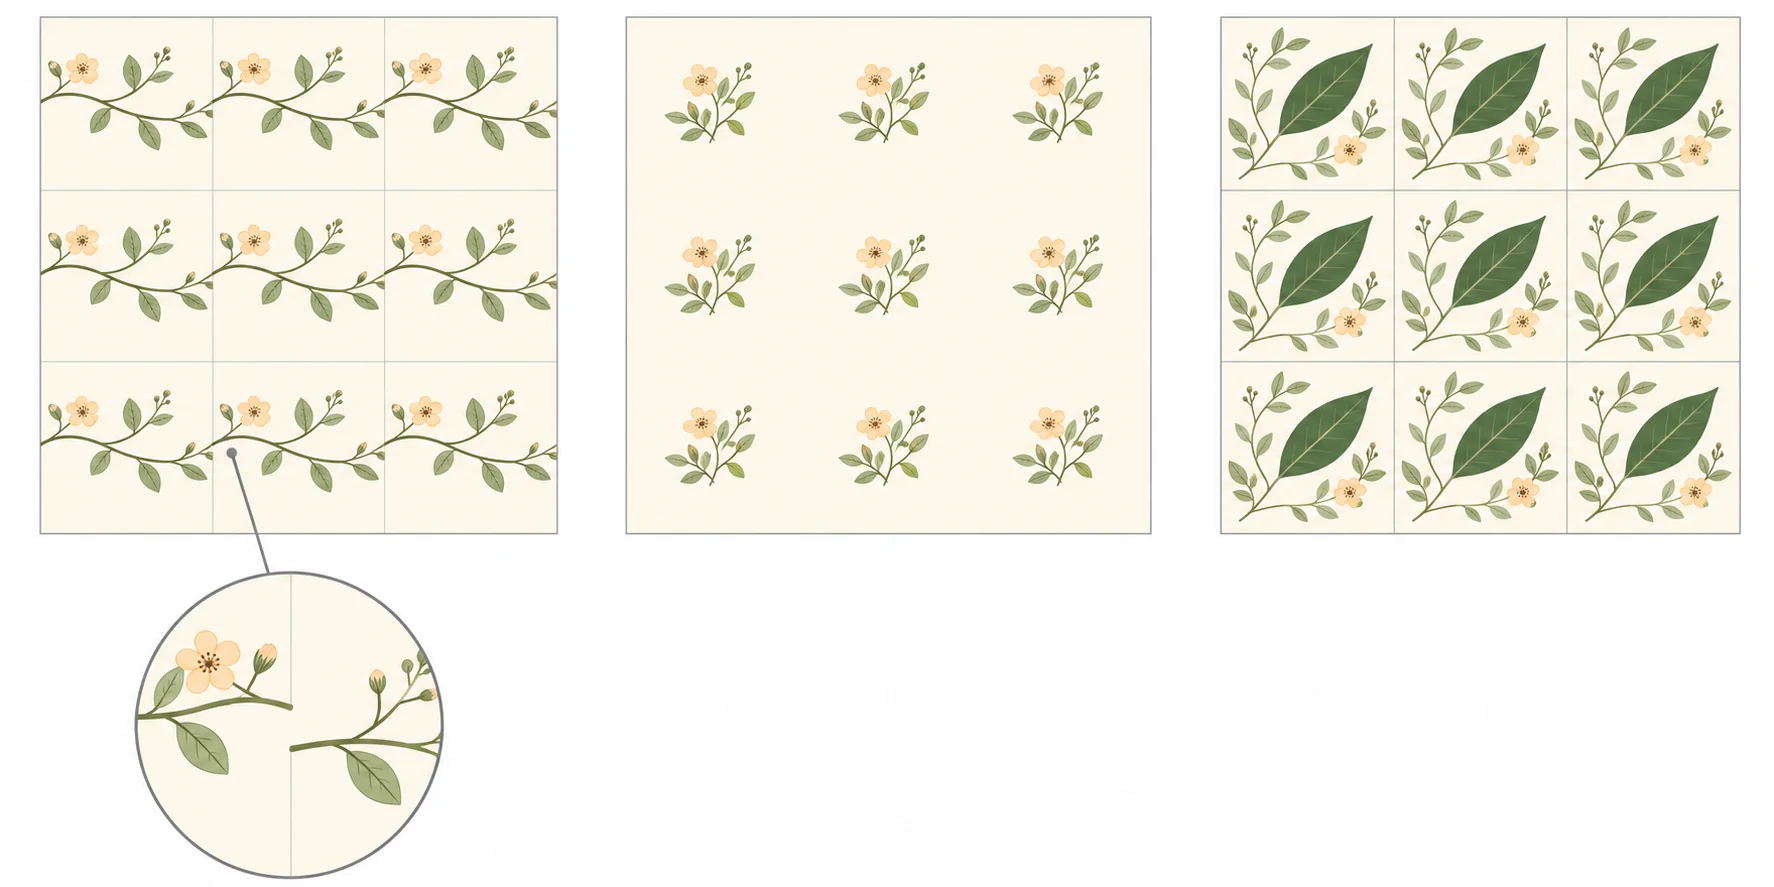
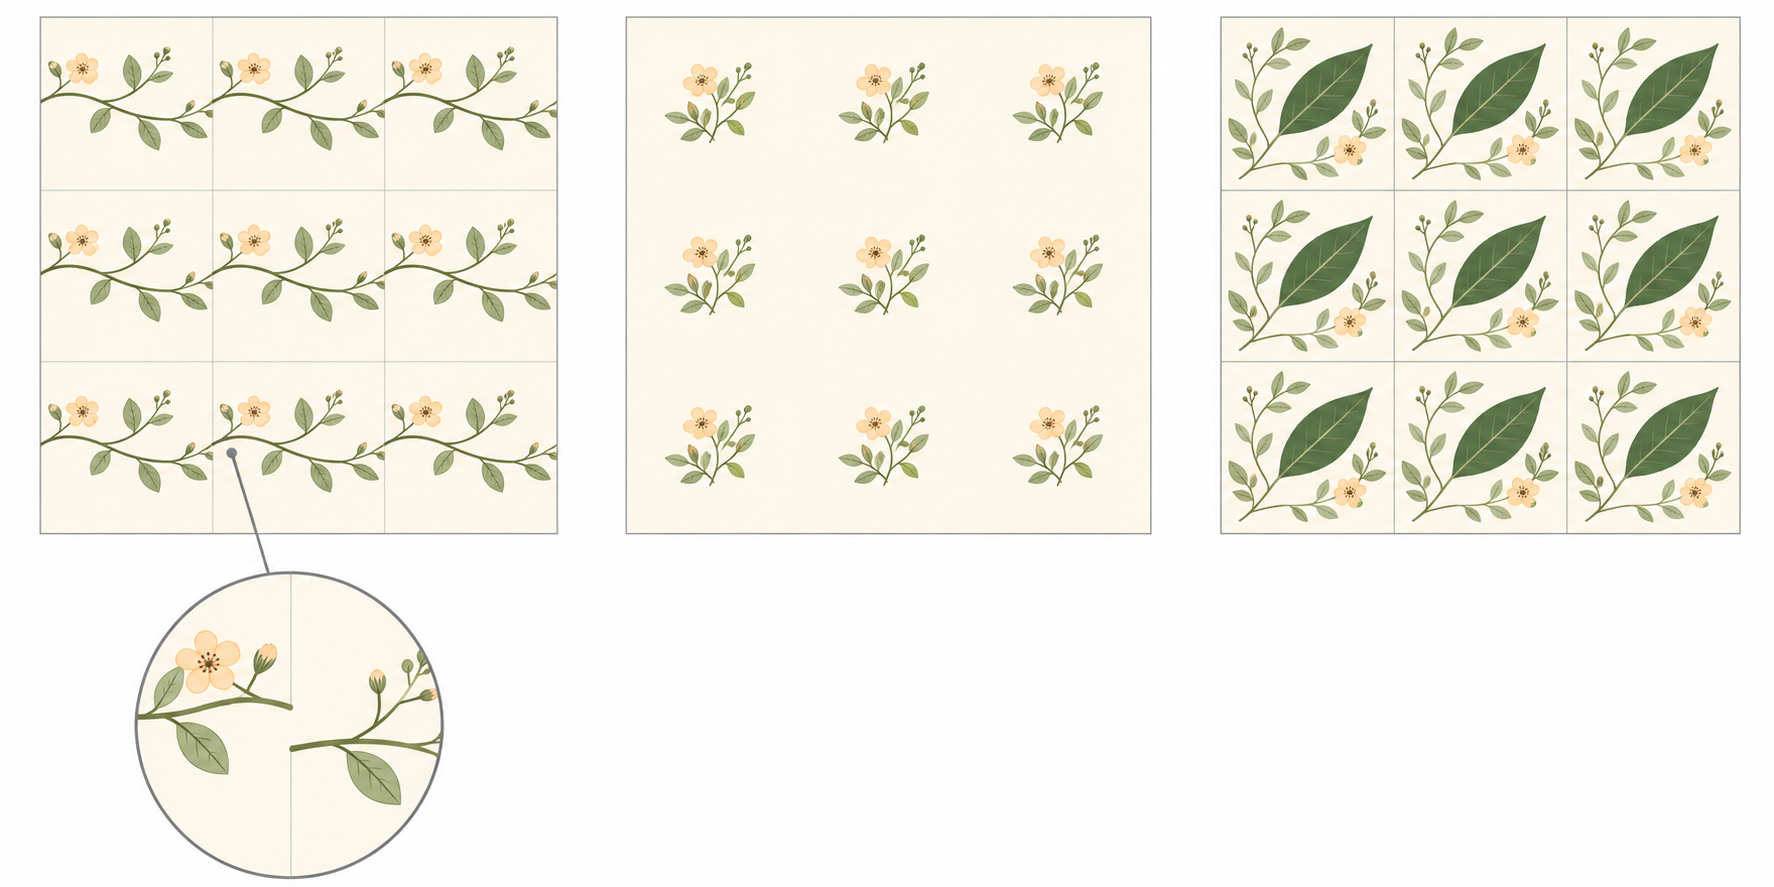
Inspect joins close up, then zoom out to assess the overall rhythm. These are hypothetical failure examples, not observed generation results:
| What appears in the preview | What to inspect first | Why it matters |
|---|---|---|
| A stem narrows or stops at a join | Opposite-edge position, stroke width, and direction | Similar colors cannot conceal a broken shape |
| Pale tile edges create a grid | Edge spacing, background tone, and motif density | Continuous pixels can still produce a visible repeat boundary |
| A dark leaf forms recurring diagonal lines | Placement and spacing of high-contrast motifs | A natural-looking tile can reveal a mechanical rhythm in repetition |
For this straight-repeat example, a wrapped horizontal and vertical offset of half a tile can bring the original boundaries into the center for closer inspection. Offset repeats require their own placement rules.
Make corrections in the master tile, then rebuild the preview. Patching only the large preview can leave the delivered tile inconsistent with the approved image.
Calculate resolution at the intended print size
“High resolution” is not a physical-size specification. For raster artwork:
Required pixels = print length in centimeters ÷ 2.54 × target PPI.
As an arithmetic example only, a 20 cm tile prepared at 300 PPI needs approximately 2,362 pixels per side. A 1,024-pixel image printed across 20 cm provides about 130 PPI. Neither number alone proves suitability: the printer’s requirements, fabric, process, and design detail still matter. Image PPI is not the same measurement as printer-device DPI.
Inspect the thinnest lines and smallest gaps at the planned physical scale as well. Changing a PPI metadata value adds no detail. Upscaling does not establish that newly created veins or edges are structurally correct or printable. Ask the production partner to confirm file format, physical dimensions, resolution, and whether editable layers or separated artwork are required.
Confirm the palette on the intended fabric
An off-white ground and two greens on a monitor establish a direction, not a fabric color approval. If the process requires a limited palette or spot colors, prepare and specify them according to the production partner’s requirements. The words “three colors” in a prompt do not complete that work. Color mode and profile should also follow the production workflow rather than a blanket conversion rule.
Request a sample using the intended fabric and print process. Record the artwork version, repeat dimensions, and color version. Examine the ground color, separation between the greens, survival of fine lines, and motif density at product scale. If washing or stretching matters to the use case, agree on relevant tests with the production partner; a screen preview cannot replace them.
Once a concept is selected, the next useful handoff is a traceable master tile, its matching repeat preview, physical dimensions, and a record of what still needs sample approval. That keeps creative approval separate from production confirmation.
Related articles and cases
- AI Image Quality Assessment: Combining Automated Screening with Human Approval
Separate file validation, no-reference IQA, and business approval. Use automatic checks to catch clear failures and prioritize review, then verify text, product details, brand compliance, and factual claims against approved material.
- AI Photo Colorization: Separate Supported Colors from Model Guesses
A convincing colorized photo is not proof of its original colors. Preserve the scan, document color clues, and review visual quality separately from historical evidence.
- AI Embroidery Design Generator: From Concept Art to a Digitizing Brief
Create embroidery concept art around the finished size, fabric and essential identifying details. Review lines, lettering, colors and rights before professional digitizing and a test sew-out.
- AI Website Hero Image Generator: From Brand Brief to Responsive Crops
Turn a brand brief into a useful hero image, then check what survives on desktop and mobile. Includes a prompt example, a reproducible crop calculation, and practical checks for readability, loading, and truthful product representation.