AI Product Shadow Generator: From Cutout to Contact-Shadow Review
Adding a shadow should ground a product without changing it. Learn how to prepare a cutout, describe the lighting and surface, and compare the edited image with the original.
·
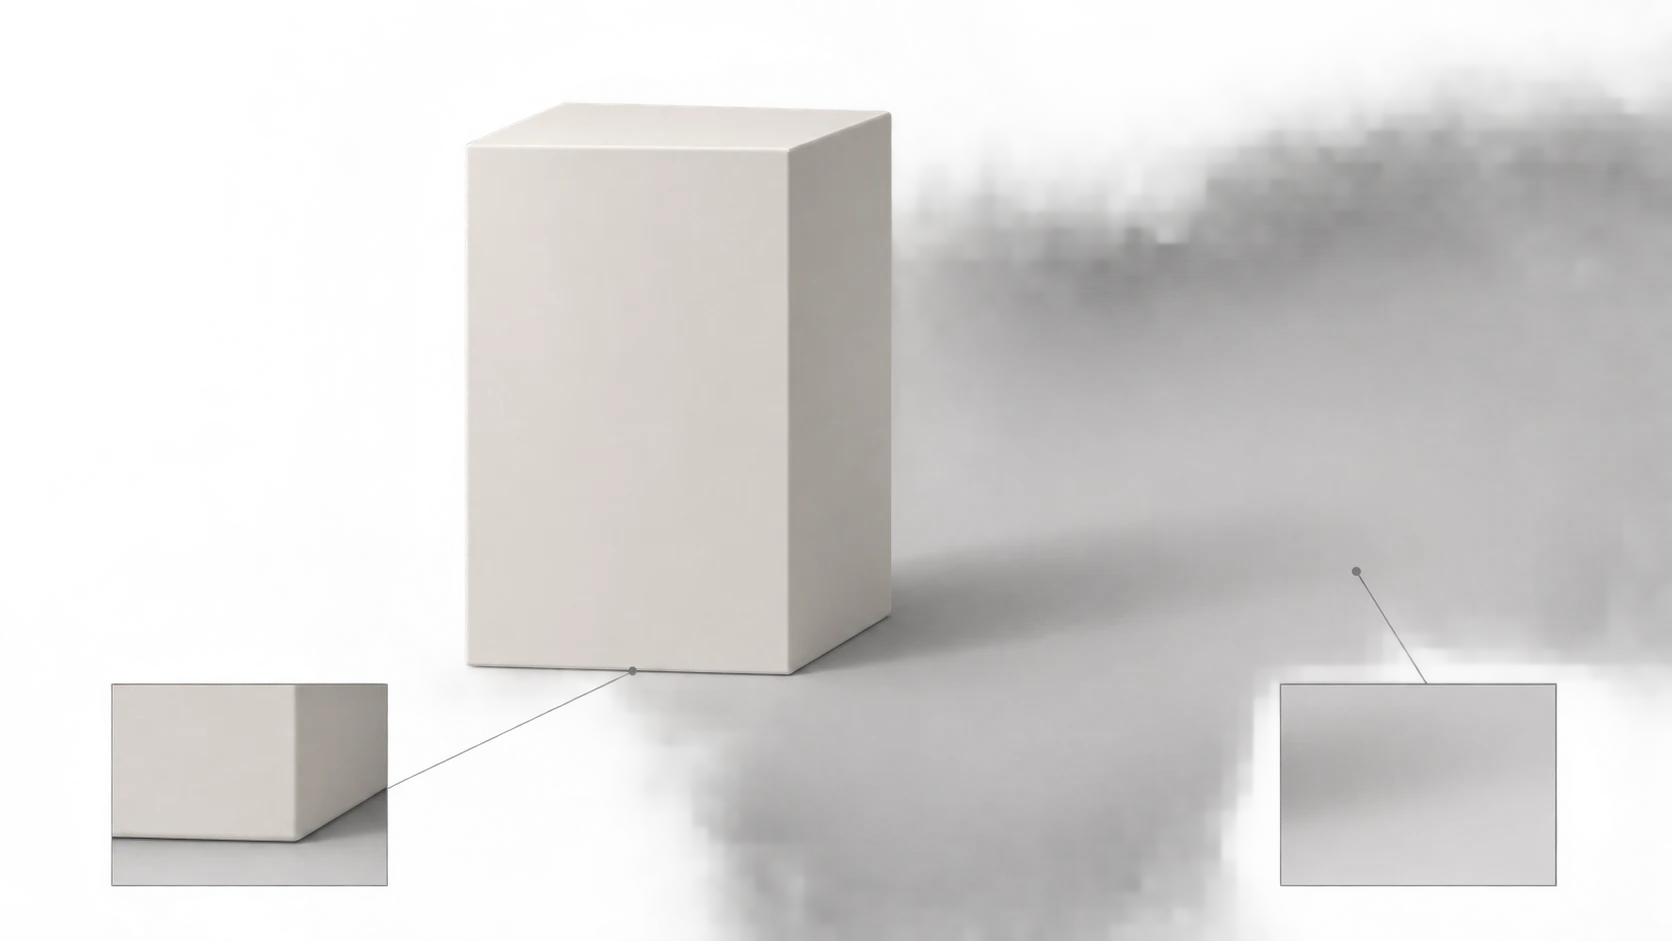
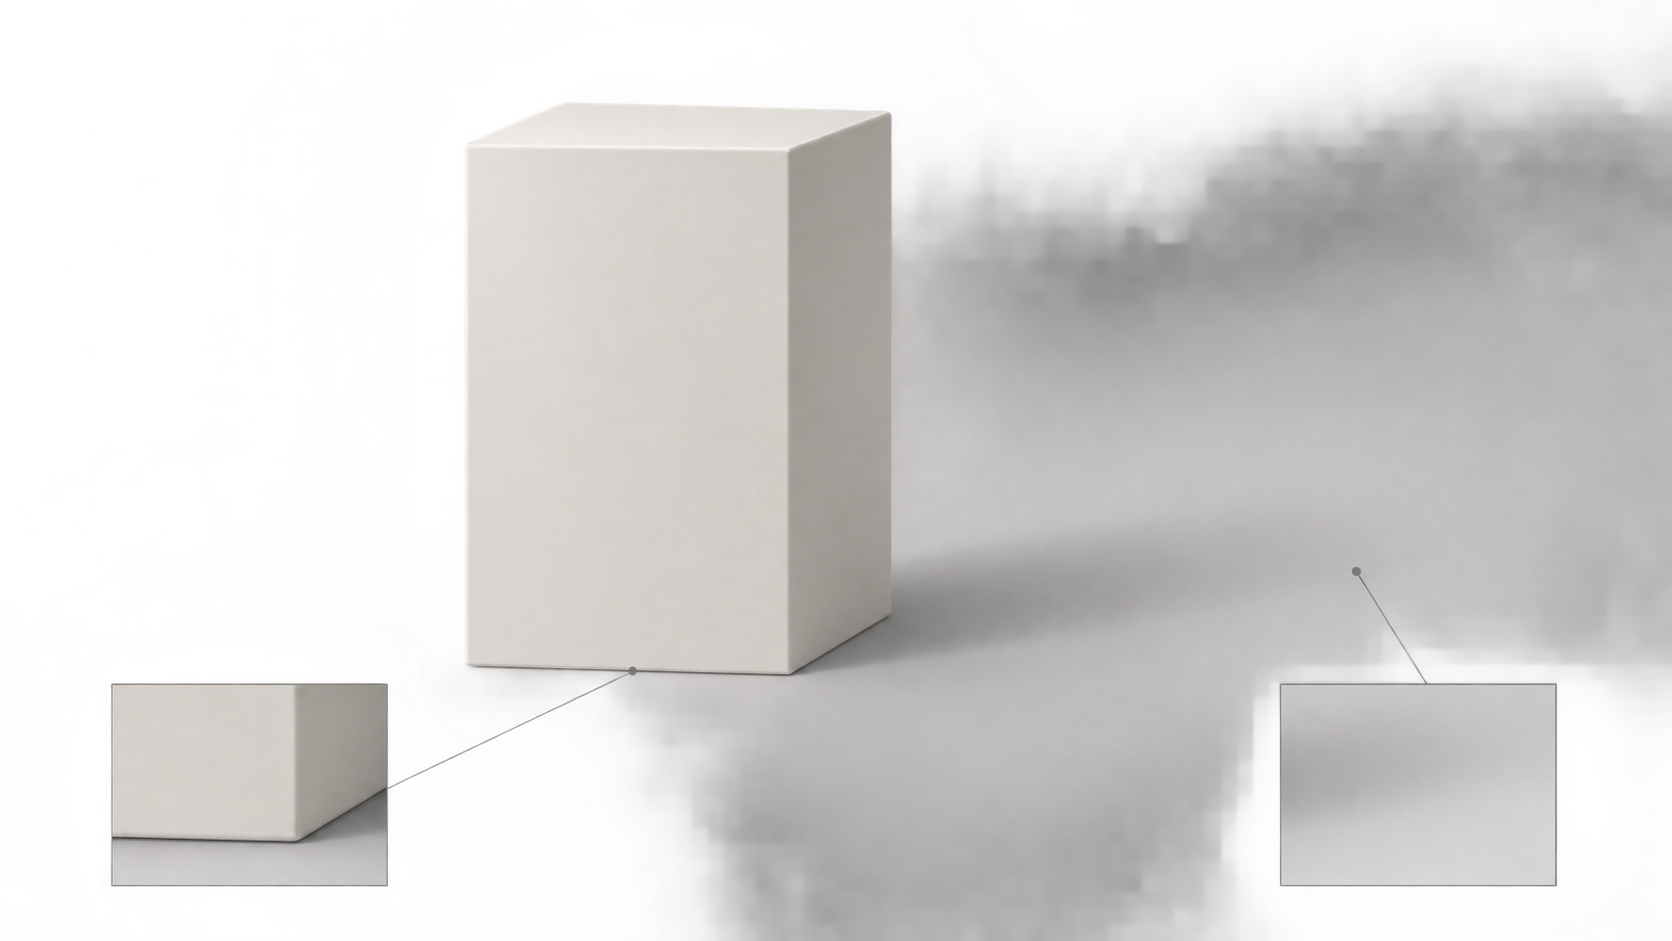
A clean product cutout can still look as though it is floating. When using an ai product shadow generator, the task is to connect the product to its supporting surface—not simply to put a gray shape underneath it.
The workflow below is an editorial recommendation, not a tool test. It is intended for editing an existing product image and does not establish that any particular tool has a dedicated shadow feature.
Give the shadow a physical role
For this review, a contact shadow means the dark area immediately beside a point where the product meets its supporting surface. A cast shadow is the shadow projected onto that surface. Assess them separately: one helps establish contact; the other helps explain the lighting.
Do not assume that every part of the product's lower outline touches the surface. A bottle base, a box, and a stand with separate feet need different contact points. A handle or raised section should not be treated as a point of support. Identify the real contact locations in the original before deciding where to darken the image.
If the original already contains a usable shadow, consider retaining or adjusting it rather than adding another. Otherwise, the edit may leave two competing shadow directions.
After the cutout, define what must stay unchanged
ChromaStudio's shadow-tool instructions recommend a high-quality image with good lighting and visible details. That is useful input guidance; the page does not provide verifiable product-fidelity tests or shadow-accuracy measurements.
Keep an untouched copy of the original. Inspect the cutout for a clipped cap, missing packaging corners, incorrectly filled openings, or a bright fringe left from the previous background. A darker shadow is not a repair for a faulty mask.
Decide whether the background represents a continuous floor or a scene with a visible wall and tabletop. The shadow needs to belong to the intended surface. With glass, transparent bottles, and reflective packaging, inspect bright edges carefully: they may be part of the material rather than background residue.
A request could read like this. It is an example description, not a promise that a tool will follow every instruction:
> Preserve the product shape, packaging text, colors, and composition. Keep the product upright on a light-gray horizontal surface. Follow the identifiable lighting direction in the original, add a subtle contact shadow at the actual support points, and add a soft cast shadow consistent with that direction. Do not add products, rewrite labels, or change the material. If product details cannot be preserved, retain the original rather than redrawing the product to create a shadow.
If the original lighting is unclear, “match the existing light” is not a complete specification. Choose a target direction and consider whether the product's own shading also needs adjustment. Changing only the cast shadow may not resolve the mismatch.
To explore editing an existing image, open the InkRoom editing entry and check the options available in the current interface. This is not a promise of a dedicated shadow button, shadow controls, or product fidelity. If the interface cannot make the required local change, generating a replacement product is not an equivalent solution.
Make the comparison answer specific questions
Keep the original and candidate at the same canvas size, scale, and alignment. Compare them side by side or toggle aligned layers. Check the product before judging the shadow: a more convincing shadow does not compensate for altered lettering or geometry.
| Compare | Look for | Suggested response to a problem |
|---|---|---|
| Product outline and packaging | Changes to the opening, corners, marks, or text | Restore the product region and retry with a narrower edit |
| Actual support points | An implausible bright gap or feet that still appear to float | Adjust the contact area before darkening the whole cast shadow |
| Cast shadow and existing shading | Conflicting light directions or a second old shadow | Choose one lighting arrangement and remove or adjust the conflict |
| Shadow boundary and background | Abrupt hardness, dirty patches, or a clipped shadow | Refine the local transition and check the canvas edges |
| Transparent and reflective edges | Glass becoming opaque or highlights being painted black | Restore material edges; use a more controlled local edit if needed |
Use a full-image view to judge grounding and a closer view to inspect edges, lettering, and contact points. Also review at the intended display size: a tiny change visible when enlarged may have little value in a product card.
Keep a useful revision trail
Save the original, the edit description, the candidate, and the review decision. Make notes actionable: “A bright gap remains under the right foot; preserve the packaging and revise only that contact area” is more useful than “make it more realistic.” Address one class of problem per round where practical.
If transparent edges repeatedly fail or the tool keeps changing the product shape, stop treating the job as a simple shadow addition. Use an editing method that gives better control over the product region, or reshoot with a suitable surface and lighting rather than accepting an image with incorrect product information.
Related articles and cases
- AI Eyeglasses Virtual Try-On: Frame Scale, Overlays, and Privacy
A virtual preview can help you compare frame styles, but it cannot establish physical fit. Learn what face positioning, overlays, and generated images mean, what to inspect, and what to check before uploading a face photo.
- AI Image Quality Assessment: Combining Automated Screening with Human Approval
Separate file validation, no-reference IQA, and business approval. Use automatic checks to catch clear failures and prioritize review, then verify text, product details, brand compliance, and factual claims against approved material.
- AI Photo Colorization: Separate Supported Colors from Model Guesses
A convincing colorized photo is not proof of its original colors. Preserve the scan, document color clues, and review visual quality separately from historical evidence.
- AI Embroidery Design Generator: From Concept Art to a Digitizing Brief
Create embroidery concept art around the finished size, fabric and essential identifying details. Review lines, lettering, colors and rights before professional digitizing and a test sew-out.