AI Menu Design Generator: Review Images, Names, and Prices Separately
A polished menu draft is not a verified menu. Use one approved dish record to review food images, names, prices, and dietary information, then check the mobile and printed versions separately.
·
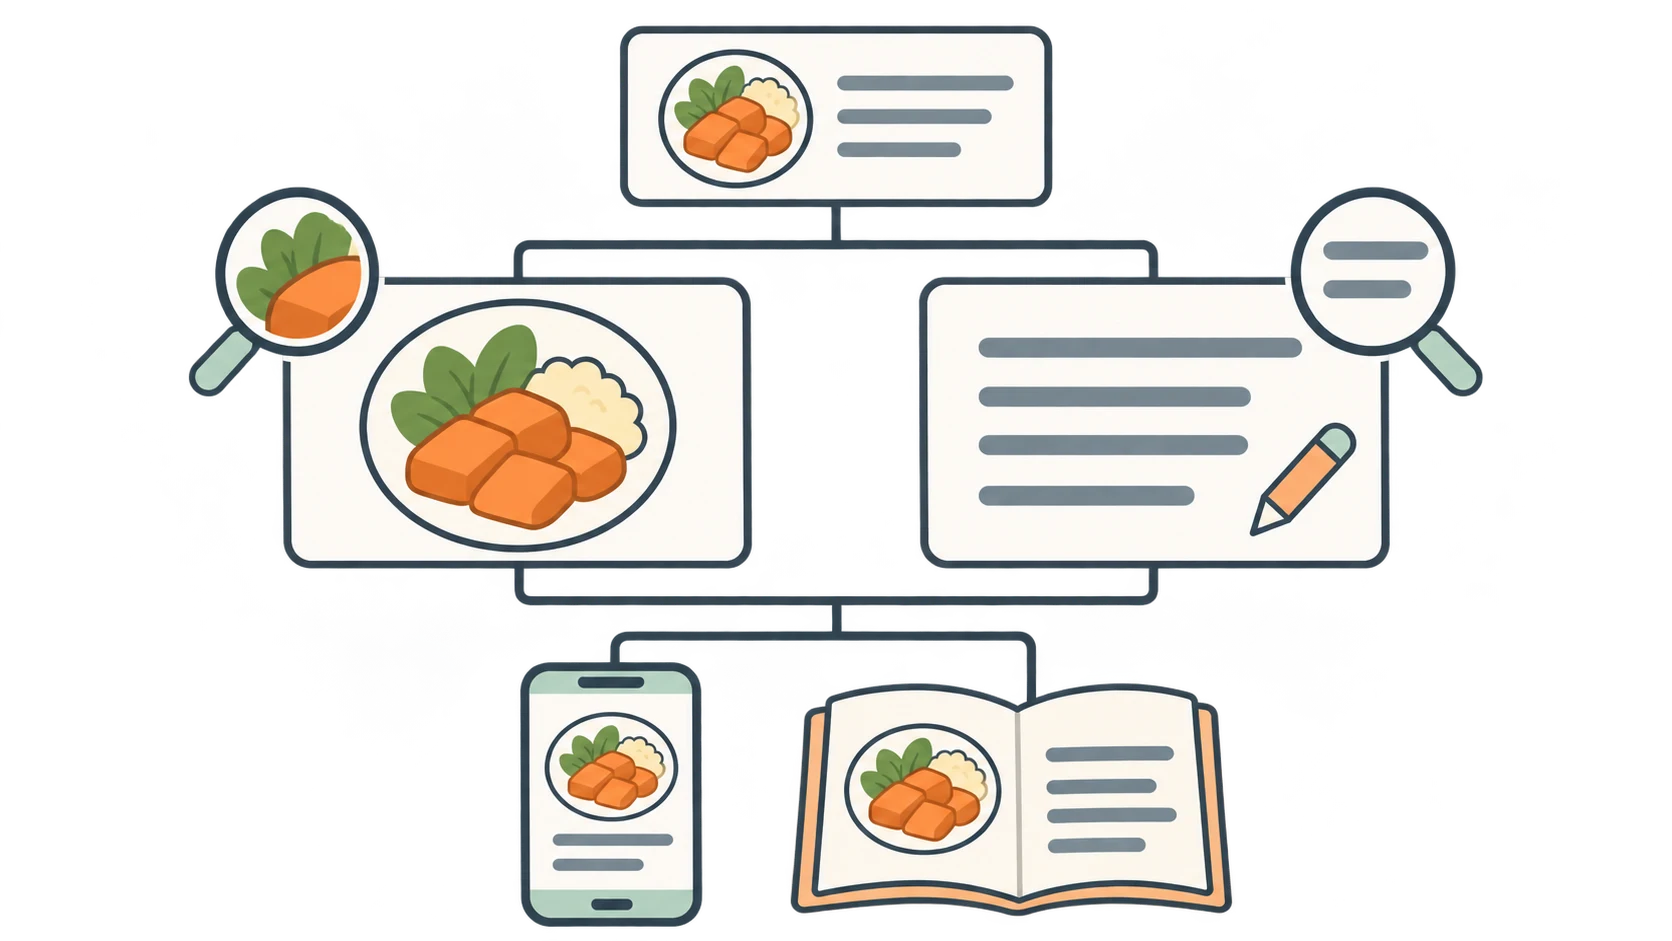
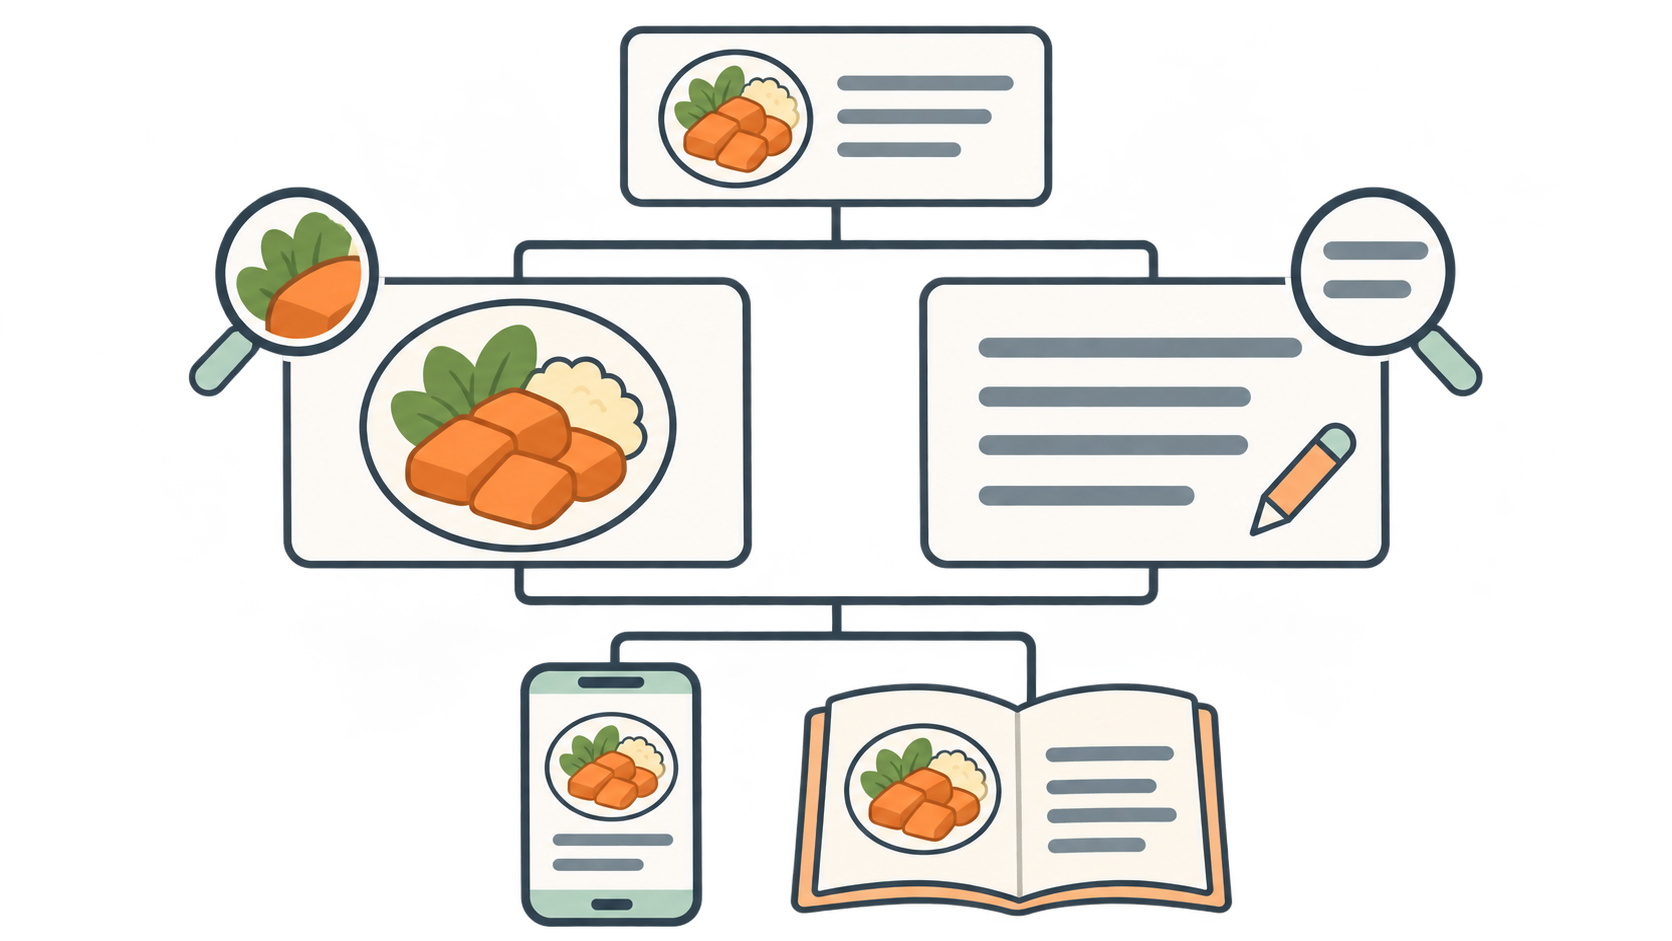
A menu can look ready while attaching a combo price to a single item or showing a side dish that customers will not receive. When using an AI menu design generator, separate two questions: Does the image match what you serve, and does the text match what you sell?
This is a proposed production and review method, not a restaurant test report. Without actual dish records, a generated image or description cannot be verified for use on a sales menu.
Give images and text the same source of truth
Venngage’s menu generator page recommends specifying dishes, sections, formatting, and dietary labels in a prompt. Those details help describe the requested menu. They do not establish that a dietary claim or dish description is true.
Before generating assets, create an internal record for each dish. It should identify the approved name, serving size, price, included components, and any unresolved information. A stable item ID helps keep the correct image attached when a name changes or a translation is added.
A spreadsheet maintained by the restaurant can be enough. The important boundary is that generated copy must not become the authority for what the kitchen serves.
| Menu element | Check against | If the information is uncertain |
|---|---|---|
| Name and description | Approved sales name, recipe, and actual offering | Remove unsupported ingredients, origins, or preparation claims and ask the responsible person |
| Price and size | Approved current prices, portions, bundles, and add-on rules | Hold the item until the price and its conditions are confirmed |
| Allergen or dietary label | Recipe, supplier information, and preparation practices | Do not let AI fill the gap; seek confirmation from someone responsible for the food and process |
| Food image | Actual serving, portion, vessel, and included sides | Revise or reject an inconsistent image, even if it looks appealing |
Allergen information and dietary labels are not interchangeable. An ingredient’s absence from a picture does not establish its absence from the food. A recipe alone also does not establish whether cross-contact occurs during preparation. This guide does not specify jurisdictional labeling requirements; check the rules that apply where the menu will be used.
Let food images show the dish, not certify it
Build the image prompt from confirmed dish information. Prioritize details that shape customer expectations: ingredients, portion, serving vessel, included sides, and arrangement. “Premium” or “generous” is not a substitute for those details.
A useful prompt structure is:
> Candidate food image of [approved dish name], containing [actual ingredients], in [confirmed portion], served in [actual vessel], with [included sides]. Do not add ingredients or sides outside this record. Do not generate a dish name, price, or label inside the image.
Replace every bracket with confirmed information. These are requests to the generator, not guarantees about its output. Review the candidate for added sides, extra portions, and vessel proportions that could make the serving look larger than it is. If you cannot compare it reliably with the actual dish, do not approve it as that dish’s sales image.
For new image creation, the InkRoom image generation entry lets you enter a prompt and select from configured models. Availability, parameters, and fees depend on the current interface and account configuration. This is an option for producing candidate food images—not a claim that InkRoom lays out a complete menu or verifies prices, names, or allergens. An AI-generated concept image is not evidence of an actual photographed serving.
Keep names and prices editable
Keep menu text in editable layout fields rather than baking the entire menu into one generated image. A price change can then be made to the relevant field without regenerating every visual element.
Review relationships as well as spelling. Is the price attached to the correct dish? Are small and large portions distinguishable? Could an add-on price be mistaken for the main item price? Does the pictured combo include only what the stated price buys? If dietary icons are used, their meanings should be available without relying on color alone.
For translated menus, return to the same dish record. Translation may change phrasing, but it must not introduce an unconfirmed “vegan” or “gluten-free” claim, or turn a bundle price into a single-item price. Leave unresolved facts pending rather than making them sound certain through fluent copy.
Review the mobile menu and the printed copy separately
Shared data does not mean shared presentation checks. Open the actual mobile destination and check whether a customer can find the dish, size, and price without depending on zoom. Look for long descriptions pushing prices out of place, and verify that the QR code opens the intended release.
For print, review a proof at the intended finished size. Check small text, trimming, and image detail. Follow the printer’s specifications for bleed and file delivery rather than assuming a clear screen preview guarantees a clear printed result.
Keep a release identifier, approver, and corresponding files for each version. When a price or side changes, use the dish ID to locate the affected content, then update the website, QR destination, and print file. If old physical menus remain in circulation, arrange their replacement; saving a new file does not update those copies.
The useful finish line is not “the AI generated a menu.” It is that the expectations created by the images, wording, and prices match what the restaurant actually provides.
Related articles and cases
- AI App Icon Generator: From Concepts to Delivery Checks
Turn an app idea into icon candidates, compare them at small sizes, and keep visual design separate from platform asset preparation. This guide offers a working method, not unverified store specifications.
- AI Product Shadow Generator: From Cutout to Contact-Shadow Review
Adding a shadow should ground a product without changing it. Learn how to prepare a cutout, describe the lighting and surface, and compare the edited image with the original.
- AI Eyeglasses Virtual Try-On: Frame Scale, Overlays, and Privacy
A virtual preview can help you compare frame styles, but it cannot establish physical fit. Learn what face positioning, overlays, and generated images mean, what to inspect, and what to check before uploading a face photo.
- AI Image Quality Assessment: Combining Automated Screening with Human Approval
Separate file validation, no-reference IQA, and business approval. Use automatic checks to catch clear failures and prioritize review, then verify text, product details, brand compliance, and factual claims against approved material.