Candle Photography Ideas That Answer Buyers’ Questions
Plan candle photos around what customers need to see: the product, packaging, flame, scent cues, and place in a room. Each setup includes prop choices, reference requirements, and checks for glass, labels, and flames.
·
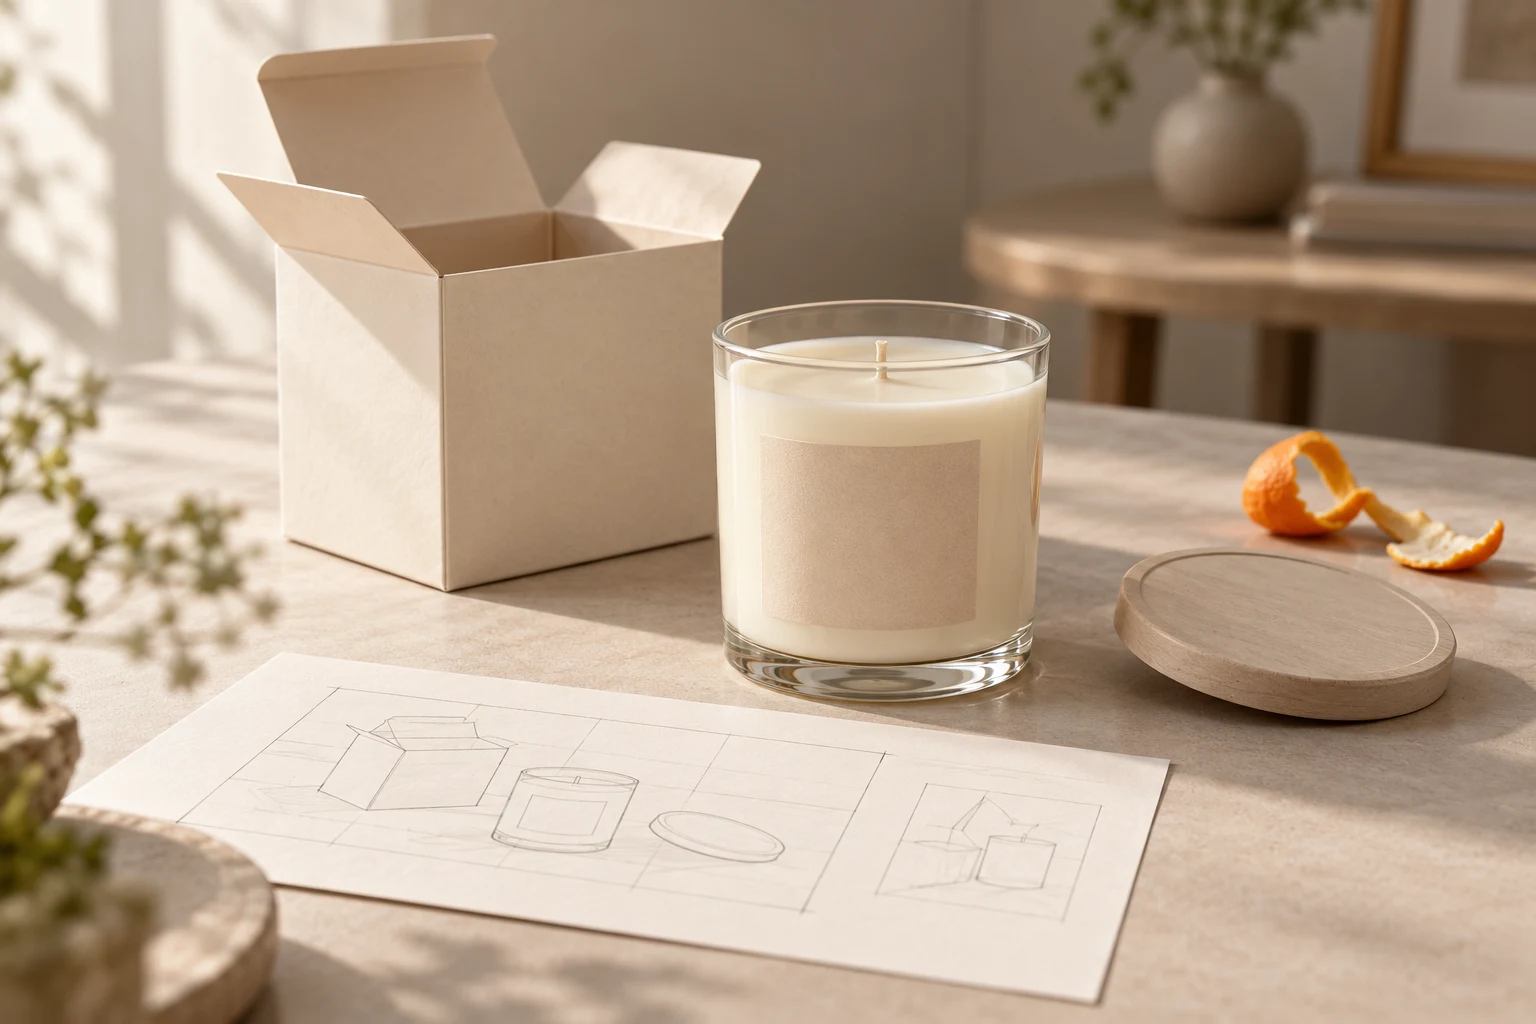
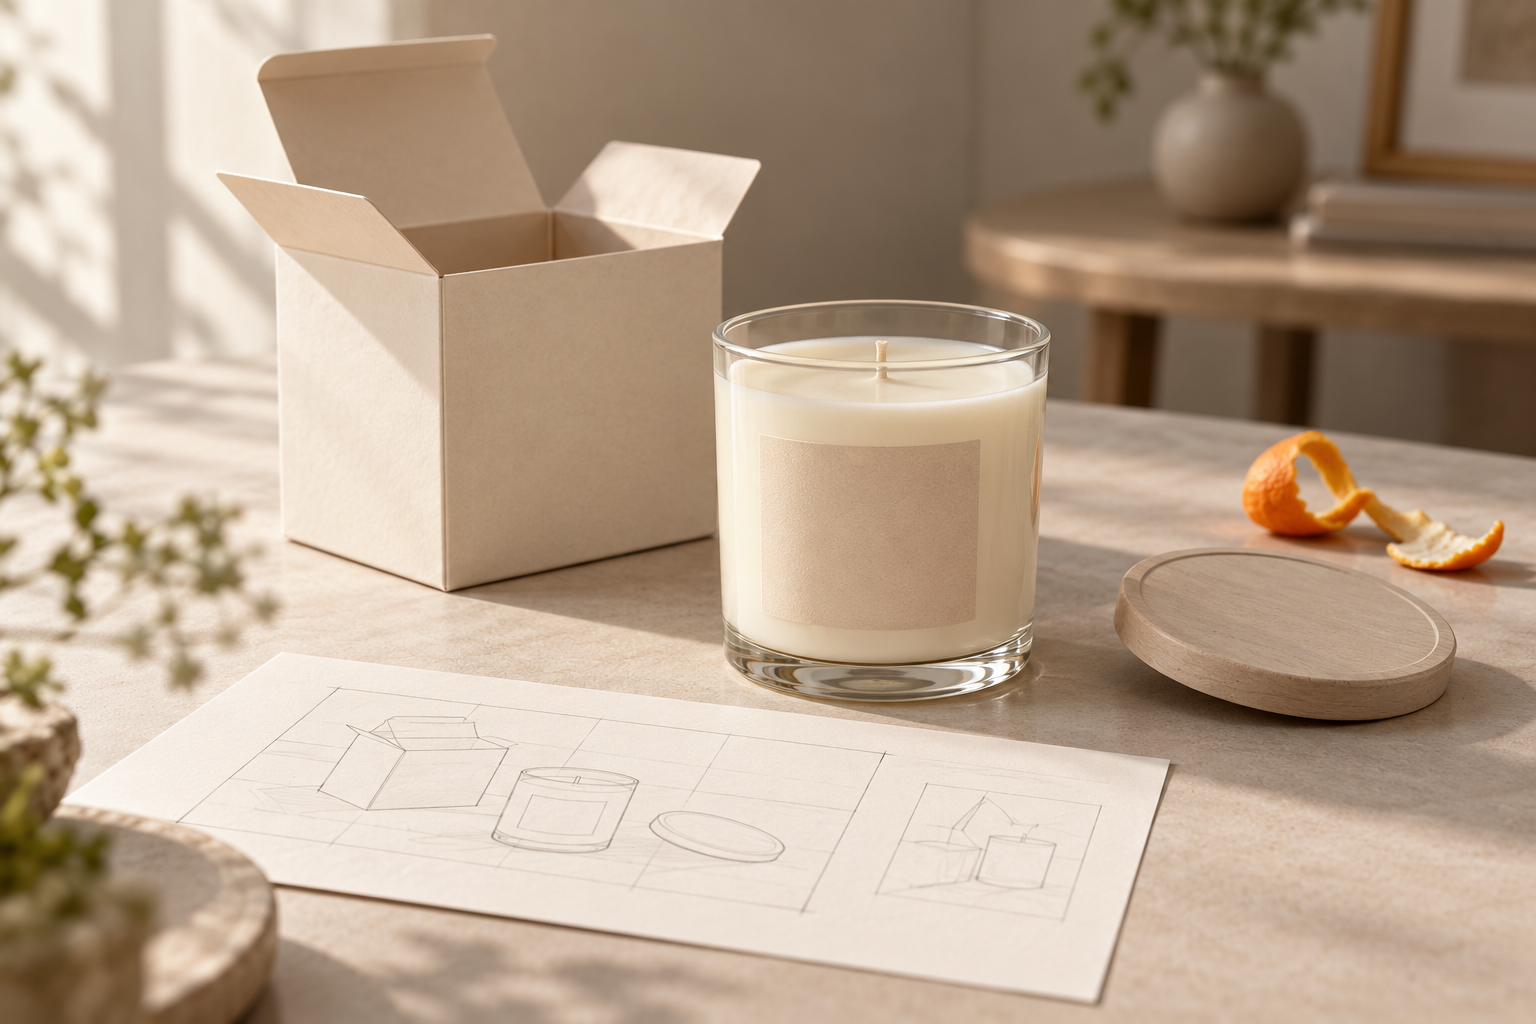
The most useful candle photography ideas start with a question, not a shopping list of props. Does this image need to show exactly what someone will receive, explain a scent, or help them picture the candle at home? Give each photograph one primary job instead of asking a single atmospheric image to explain everything.
The setups below are proposed shoot plans for small candle brands and creators. They are not tested setups or reports of a completed shoot.
Assign a buyer question to each image
Before styling, write a delivery requirement: “The vessel and label must remain recognizable at product-grid size,” for example. Choose the background and props after that requirement is clear.
| Buyer question | Image to plan | Information to protect |
|---|---|---|
| What does the candle look like? | Unlit product image | Vessel shape, wax, label, color |
| What comes with it? | Packaging image | Box, lid, actual included items |
| What does it look like burning? | Lit detail | Flame, wick, rim, label identity |
| What scent should I imagine? | Scent-cue composition | Confirmed scent notes and the product |
| How might it fit in my home? | Room-context image | Placement, relative scale, surroundings |
You do not need every image for every update. Fill the information gap first: if customers cannot tell what is included, another mood shot is not the priority.
Build the scene around its job
Product image: make recognition easy
Start with an unlit candle, a plain background, and a stable surface. A proposed composition is a near-front view with a little of the side visible, keeping both rim and base in frame. Leave decorative props out of the first version.
Reference requirements: current front, side, and top photographs of the actual product, plus approved label artwork. Another brand’s photograph can inform a discussion about spacing, but cannot establish your product’s appearance.
Acceptance checks: can you distinguish the glass edge from the background? Does a reflection obscure the label? Do the vessel, wax color, and lettering match the physical item? Keep this image unlit rather than adding a flame purely for atmosphere.
Packaging image: distinguish styling from what is included
Place the candle beside its box and show only the contents supplied with the current sale version. If you introduce a tray or ribbon, make sure the composition does not present it as part of the bundle.
Reference requirements: the current packing list, packaging samples, and box text. Do not mix an old box with a new product label.
Acceptance checks: product and box names agree; the vessel is not completely hidden; every apparent accessory is actually included. Plan this as an unlit scene, without introducing flame beside packaging materials.
Lit detail: separate flame visibility from label readability
Treat burning as a separate setup. Use a stable, heat-resistant surface with clear space around the candle, follow its burning instructions, and keep paper, dried flowers, and fabrics away from the flame. Do not leave it unattended.
Reference requirements: an unlit baseline of the same product and the burning state actually recorded during your shoot—not another candle’s flame.
Acceptance checks: the flame’s relationship to the wick is visible, the glass outline remains identifiable, and the label can still be recognized. If preserving flame detail makes small text unreadable, use this as a burning-detail image and let the product image carry the label information. A photograph does not establish burn time or safety performance.
Scent-cue image: suggest a note without inventing an ingredient
For a product with a confirmed citrus note, one possible composition is an unlit candle with a small amount of citrus peel placed to one side. This is a styling suggestion, not a description of any particular candle formula.
Reference requirements: approved scent copy. Without ingredient evidence, do not describe the prop as an actual ingredient or imply a natural formulation.
Acceptance checks: the prop does not hide the label or glass edge, and does not appear to be included with purchase. Keep this setup unlit; remove decorative materials near the flame before planning any separate lit version.
Room-context image: show placement without losing the product
Try an unlit candle on a stable side table, with a chair or books remaining in the background rather than crowding the vessel. A lit variation requires a fresh safety check and a cleared setting, not simply lighting the decorated scene as it stands.
Reference requirements: actual product dimensions, your location photographs, and the intended publishing crop. Use these to plan the composition rather than reproducing another photographer’s room arrangement.
Acceptance checks: the vessel remains identifiable after cropping, reflections do not erase its outline, and the label can be located. A room image need not make every small letter readable, but should not create a misleading impression of size.
Turn the idea into a shoot card
Record five things for the chosen image: purpose / essential visible detail / allowed props / product reference / reason to reshoot.
For example: “Packaging explanation / matching box and vessel names / actual included items only / current packaging records / restyle if a prop looks like a free accessory.” This gives a collaborator something more actionable than “make it feel premium.”
For an optional layout rehearsal, the InkRoom image-generation page lets you enter a prompt and select a configured model. Availability, settings, and fees depend on the current interface and account configuration; image results are not guaranteed. Use it to explore a new scene concept, not as a promise to edit an existing product photograph or reproduce a product accurately.
Label any generated draft as a concept illustration. Check flame, glass, and label details against the physical product; generated text, proportions, or burning behavior are not product evidence.
Review at the size customers will see
First inspect a thumbnail: is the candle still the subject? Then inspect the full-size file for label, glass-edge, and flame problems. Finally, place it in the intended layout to check whether the crop removes the rim, packaging information, or necessary space.
Sort images into “product-ready,” “context only,” and “reshoot.” A mood image does not need to do the work of a product specification image. Unlit images have no flame to inspect, but still need glass and label checks; lit images also need a review of the wick relationship and surrounding setup.
Source and limits
Shavaun Christian’s article on candle product photography discusses intentional image-making and restrained prop choices, while explicitly distinguishing its lessons from technical setups. This guide develops a separate buyer-question and acceptance framework; it does not borrow the author’s business results as proof of effectiveness. The supplied source images were not visually inspected, and the proposed scenes above are not descriptions of those images.
Related articles and cases
- Perfume Product Photography: Glass, Metal Caps, and Readable Labels
Plan perfume product photography around accurate product details, then build the mood. Use material-specific lighting checks, a repeatable test process, and careful post-production comparisons instead of relying on a universal camera setup.